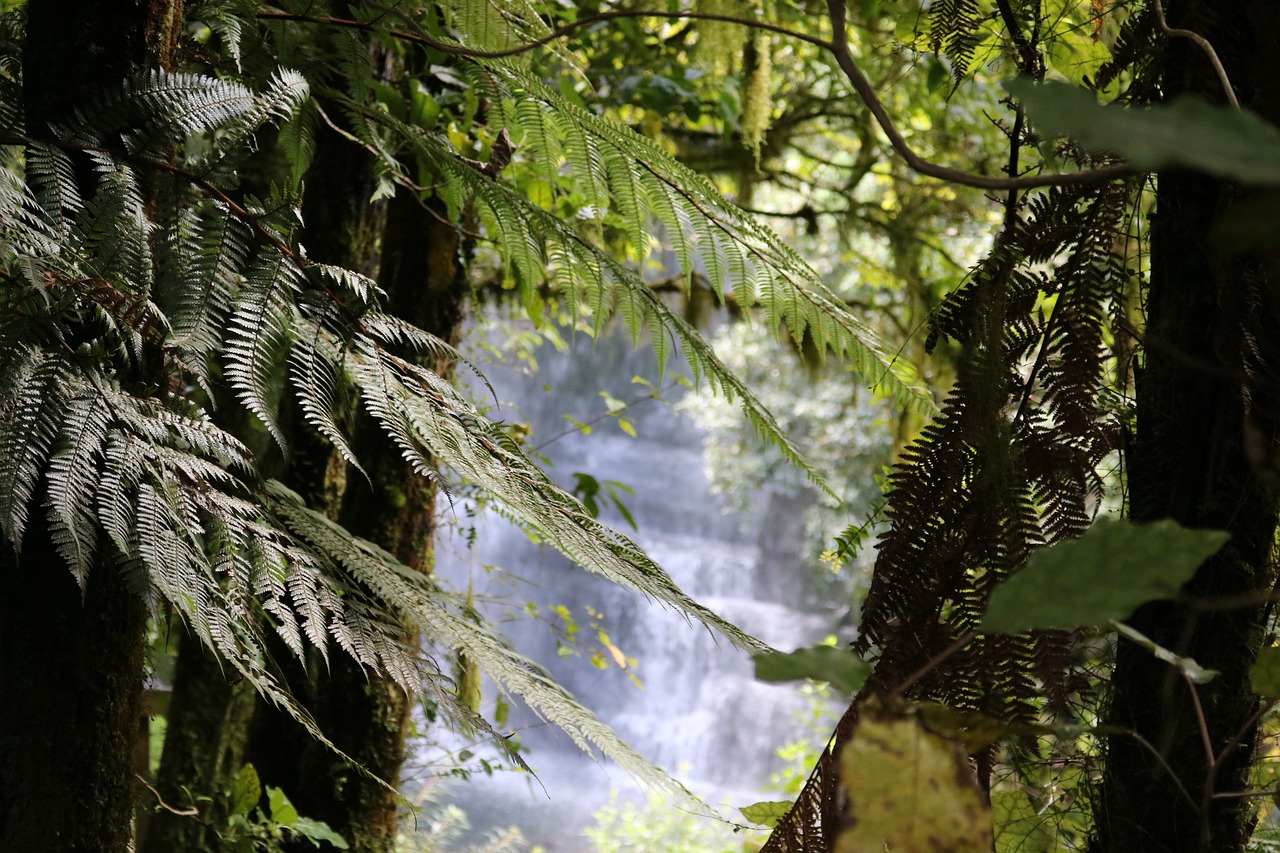
I want to start this article off with a dark secret…did you know the forest floor is a much more interesting (and darker) place than you ever imagined? Well, it is…there, now you know the secret!
You’ve probably already learned about the forest layers in science class, but I bet you didn’t pay much attention to the floor of the forest during your studies. All the cool plants and animals are up in the canopy, right? Not necessarily…
Please note, this post contains affiliate links. If you click through and make a purchase, I receive a small commission. This doesn’t cost you anything, but it makes me happy…so happy that I might even go out and hug a tree! Thanks for your support! Read my Disclaimer for additional information.
Layers of the Forest
As you know, forests are composed of various layers. A rainforest looks like the diagram below, with an emergent layer (trees that grow extra tall), the canopy (mature trees), an understory layer (young trees), and the rainforest floor.
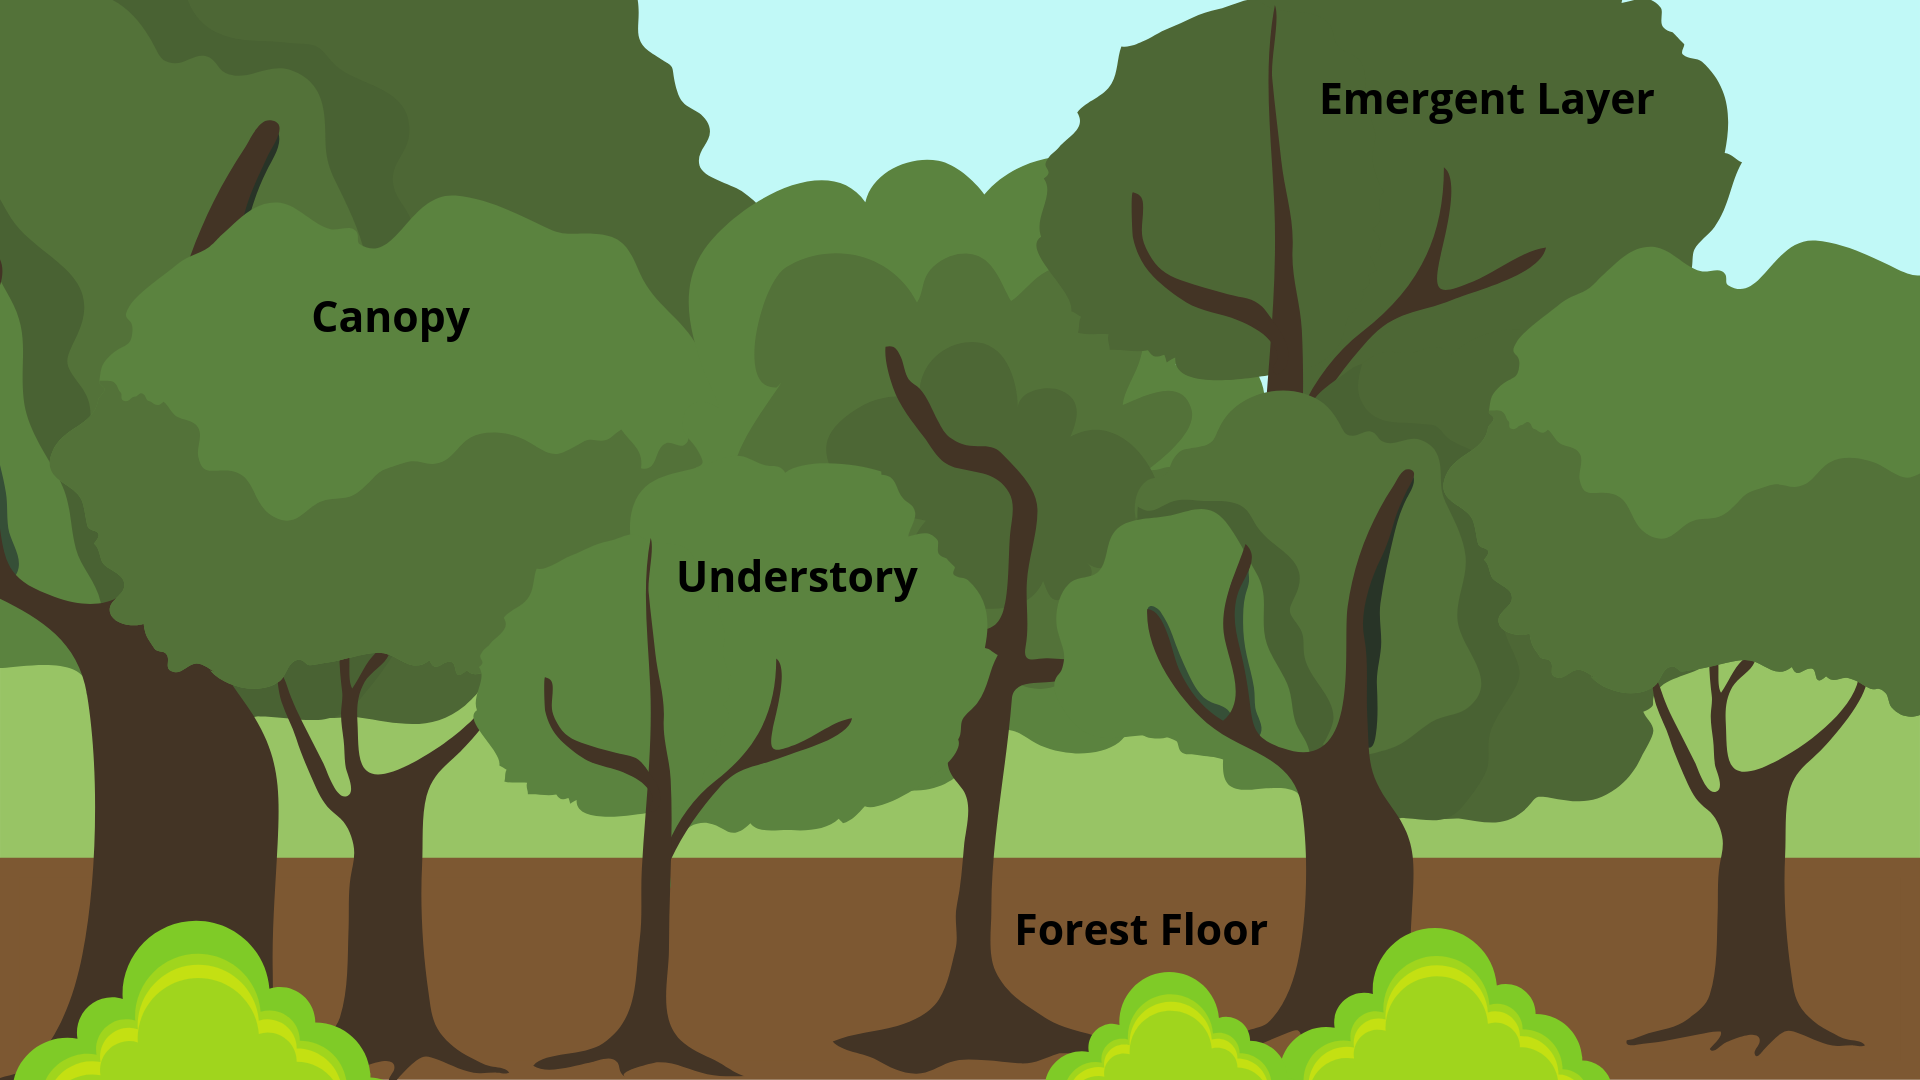
In a rainforest (see image above), most of the sunlight is absorbed by the emergent and canopy trees, leaving very little for the understory and almost nothing (roughly 2%) for the floor. As a result, plants living on the rainforest floor must be able to survive in low light conditions. Despite this obstacle, rainforests are certainly not lacking in plant or animal life…quite the contrary! Life in the rainforests is more abundant than in any other habitat on earth (excluding the oceans).
A temperate forest, like what you would find in the United States (with the exception of the Pacific Northwest), looks a bit different:
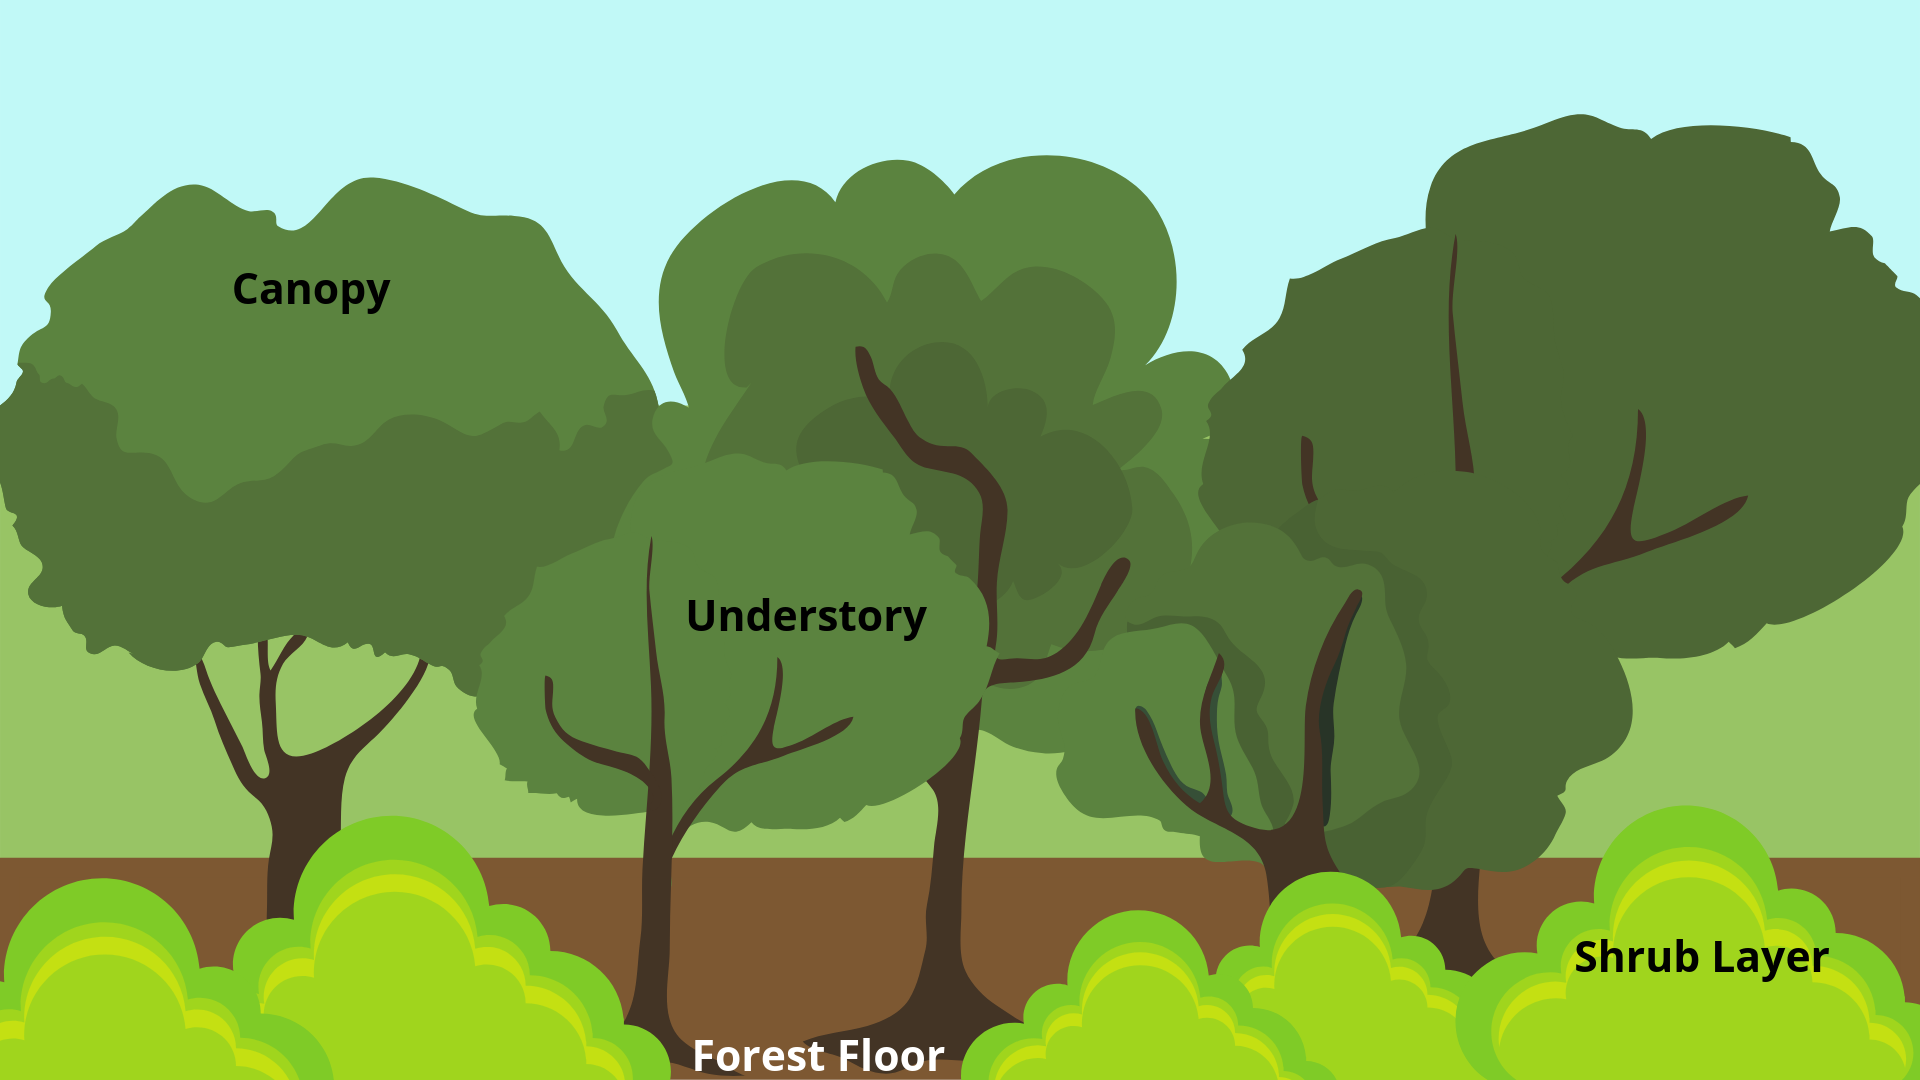
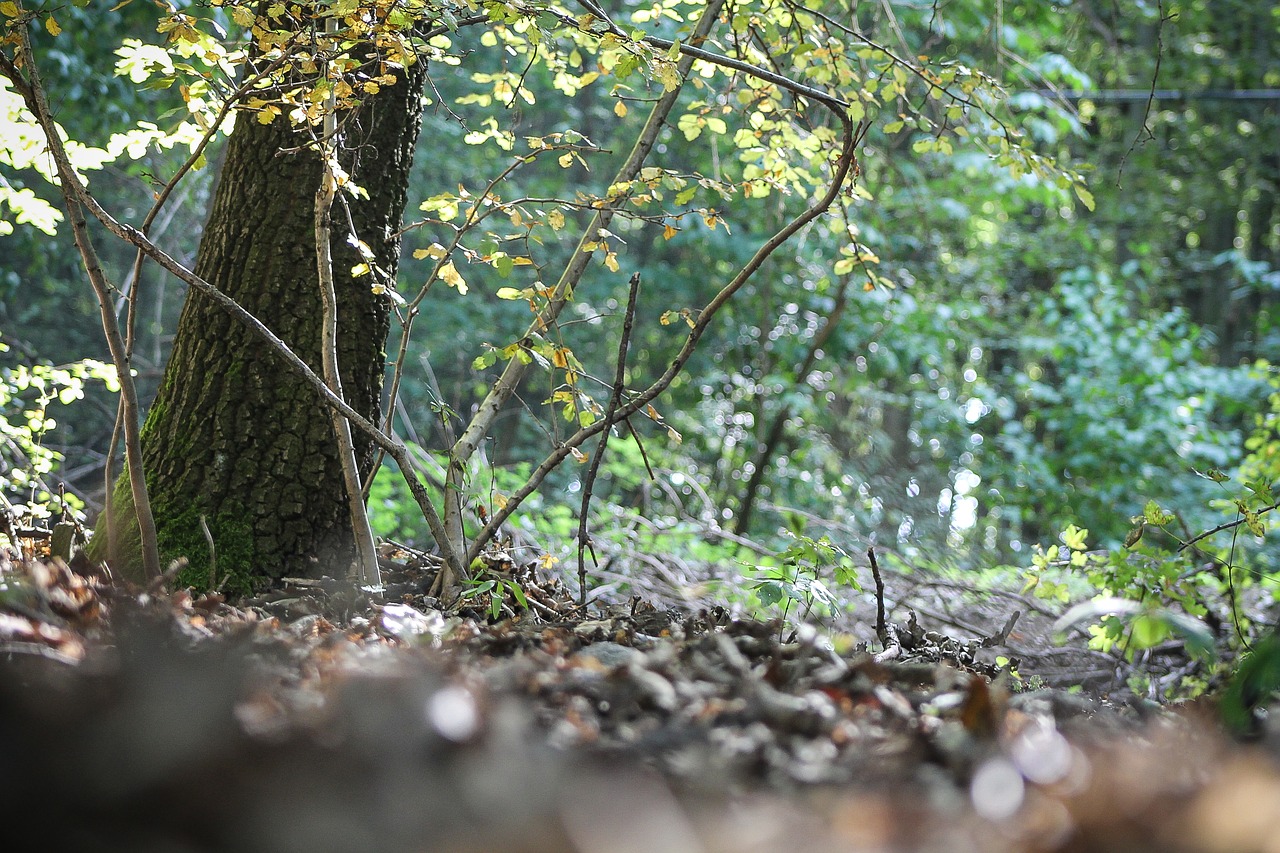
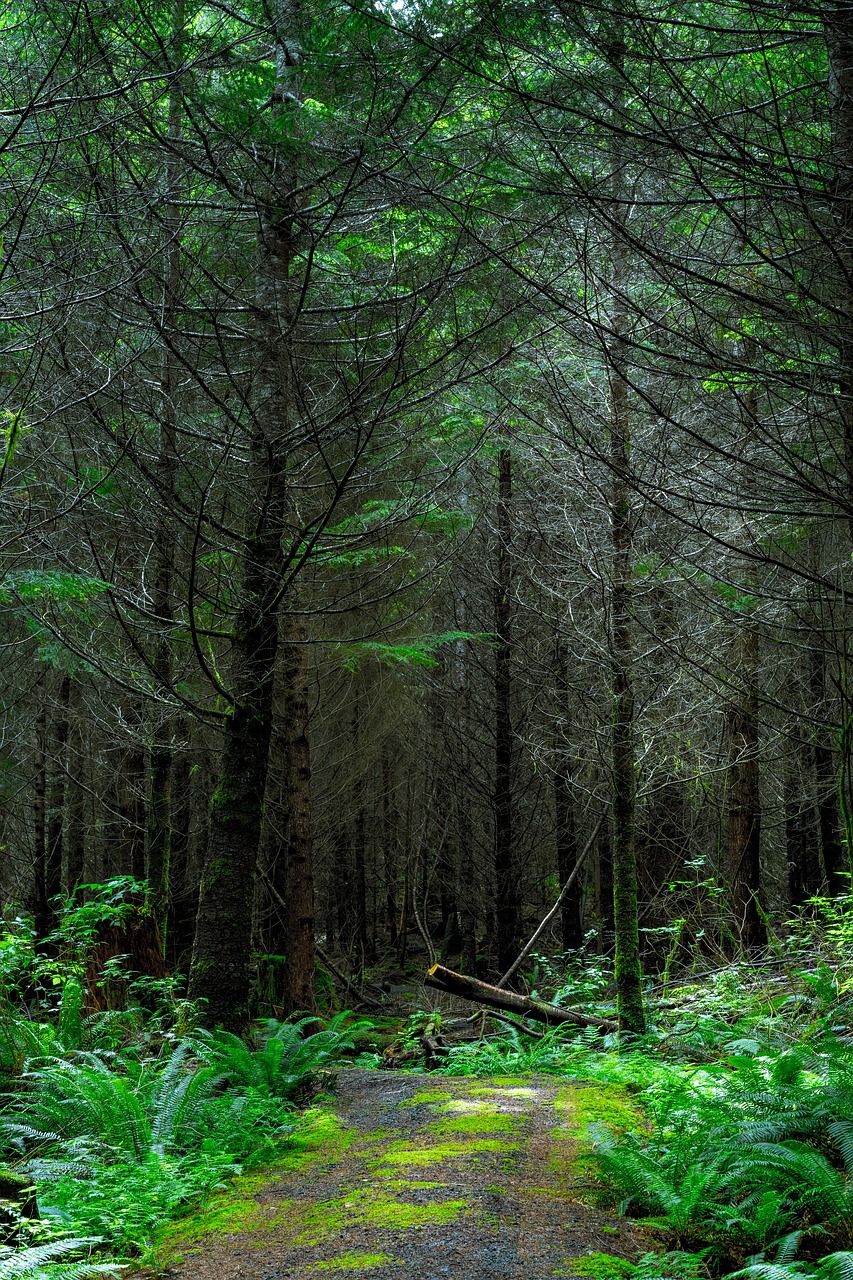
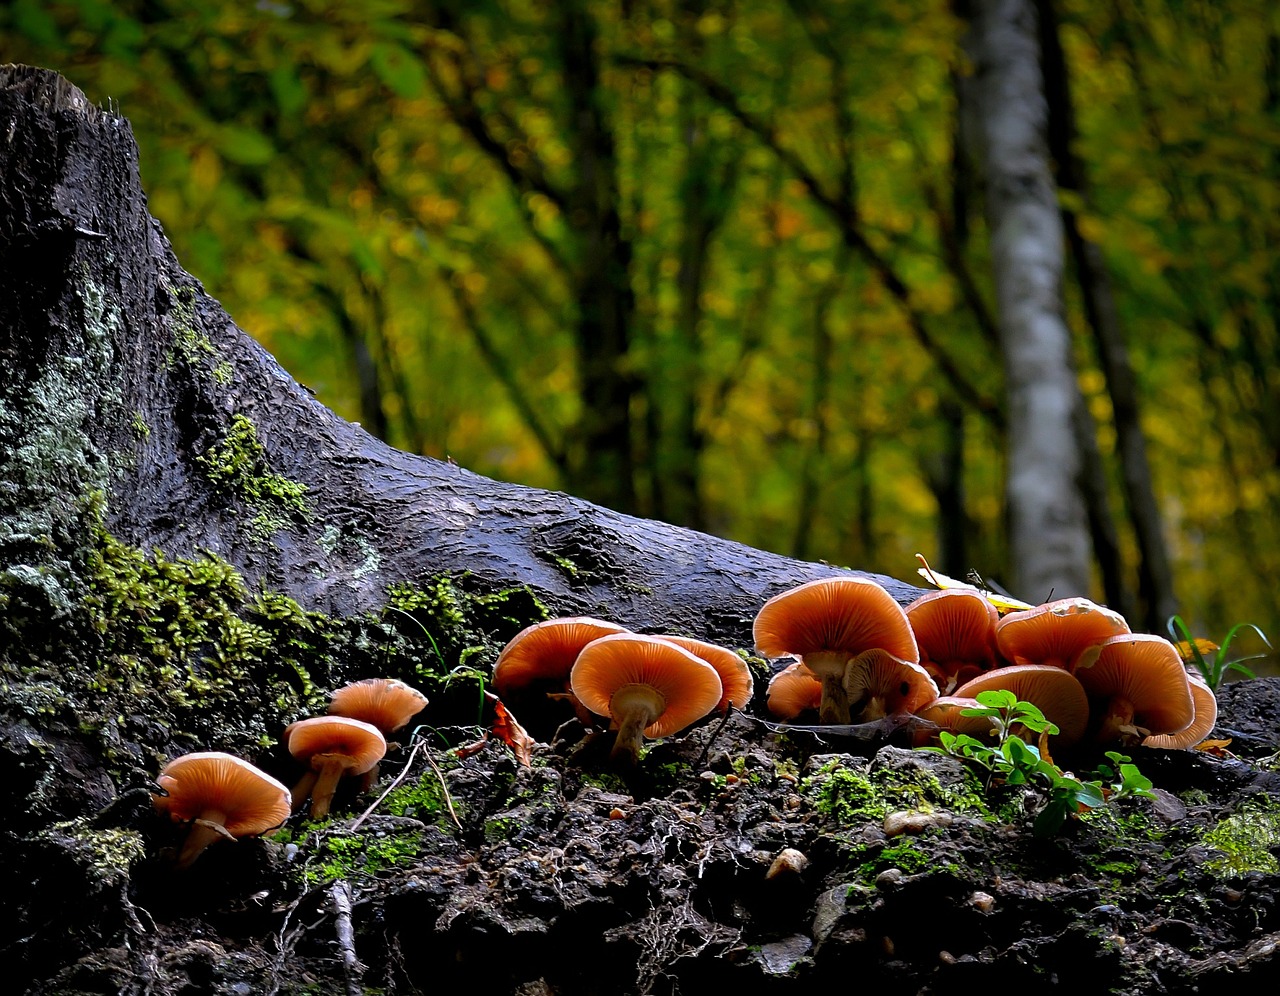
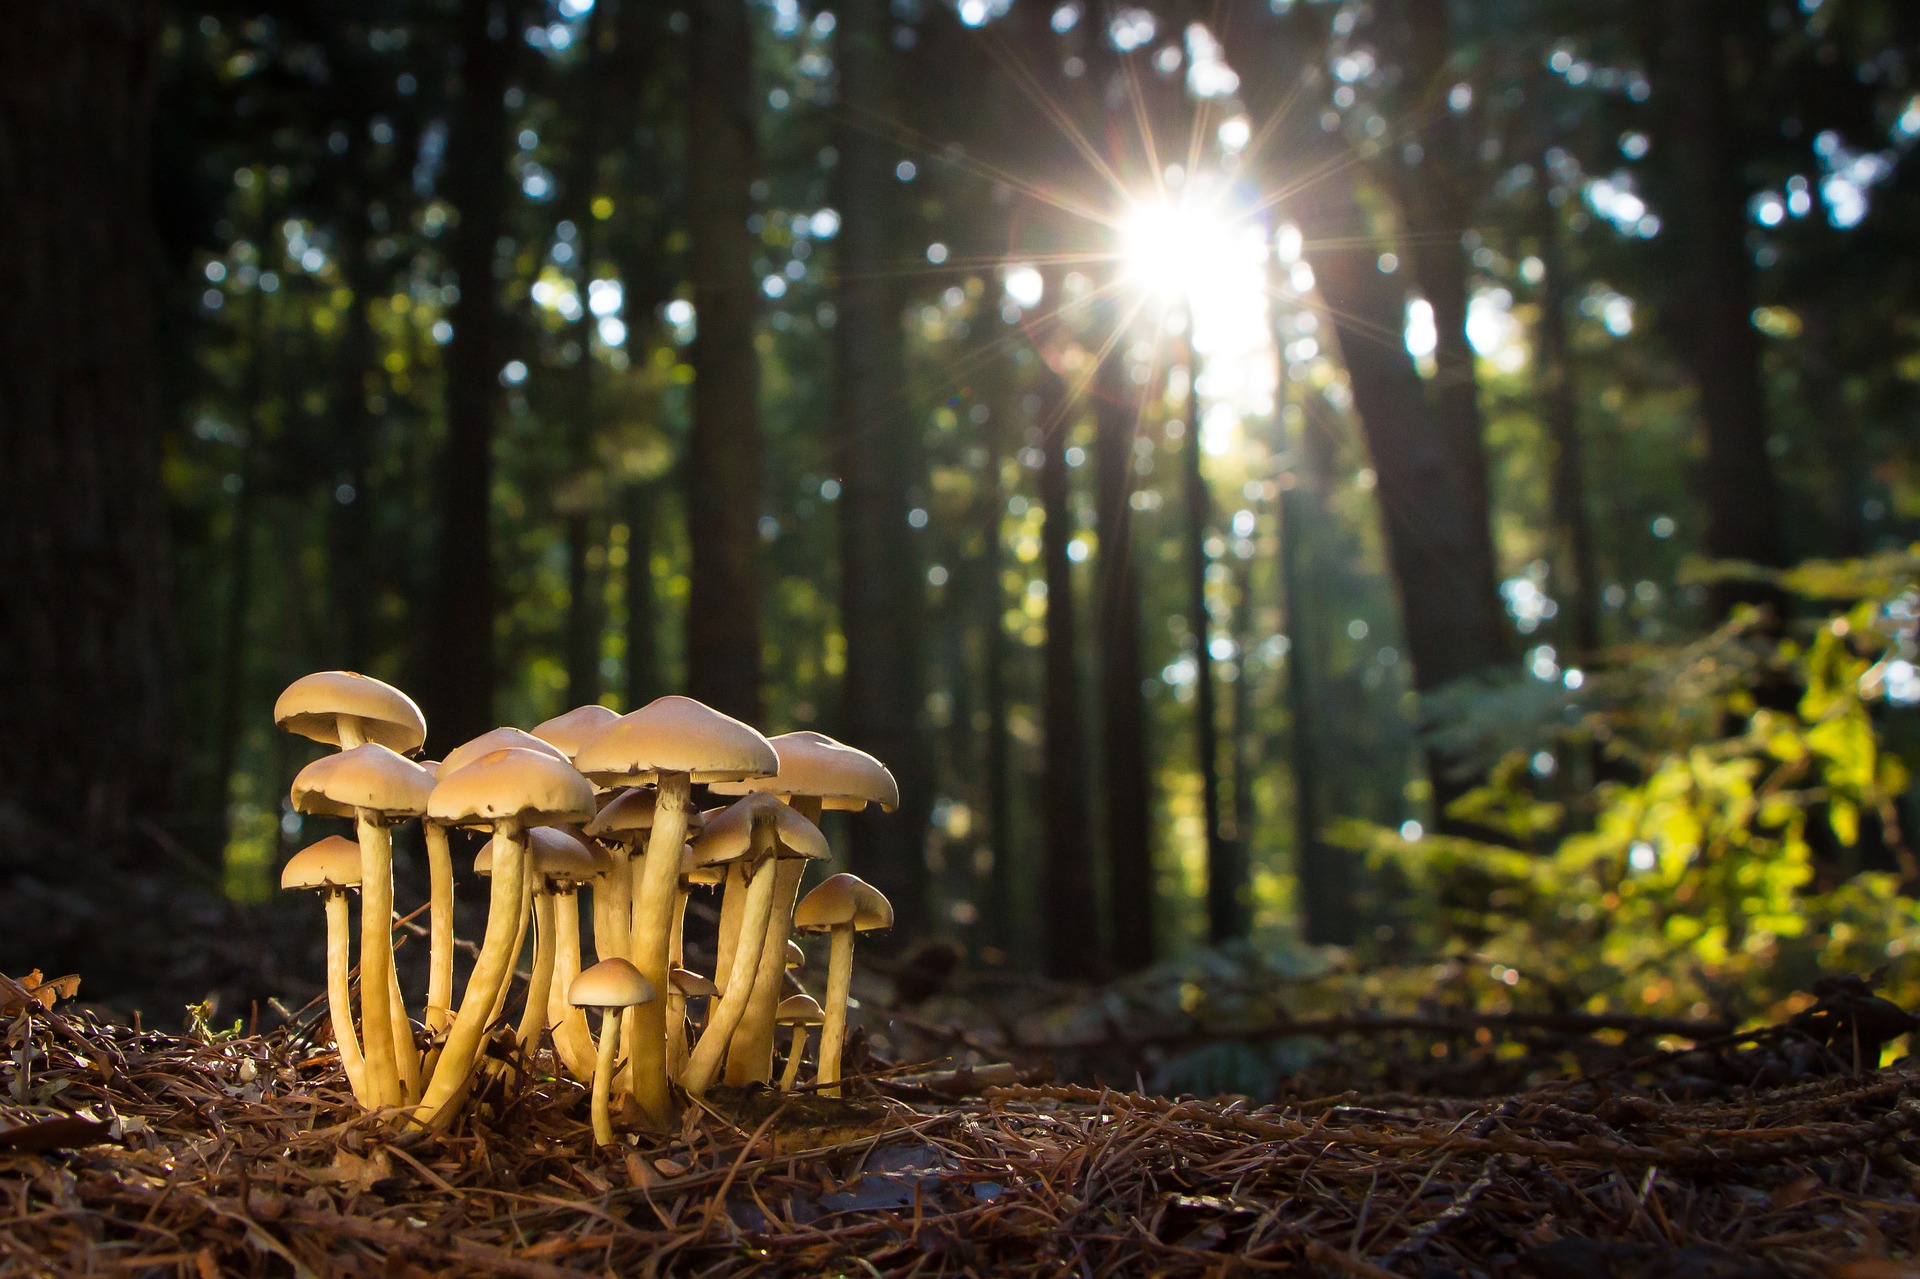
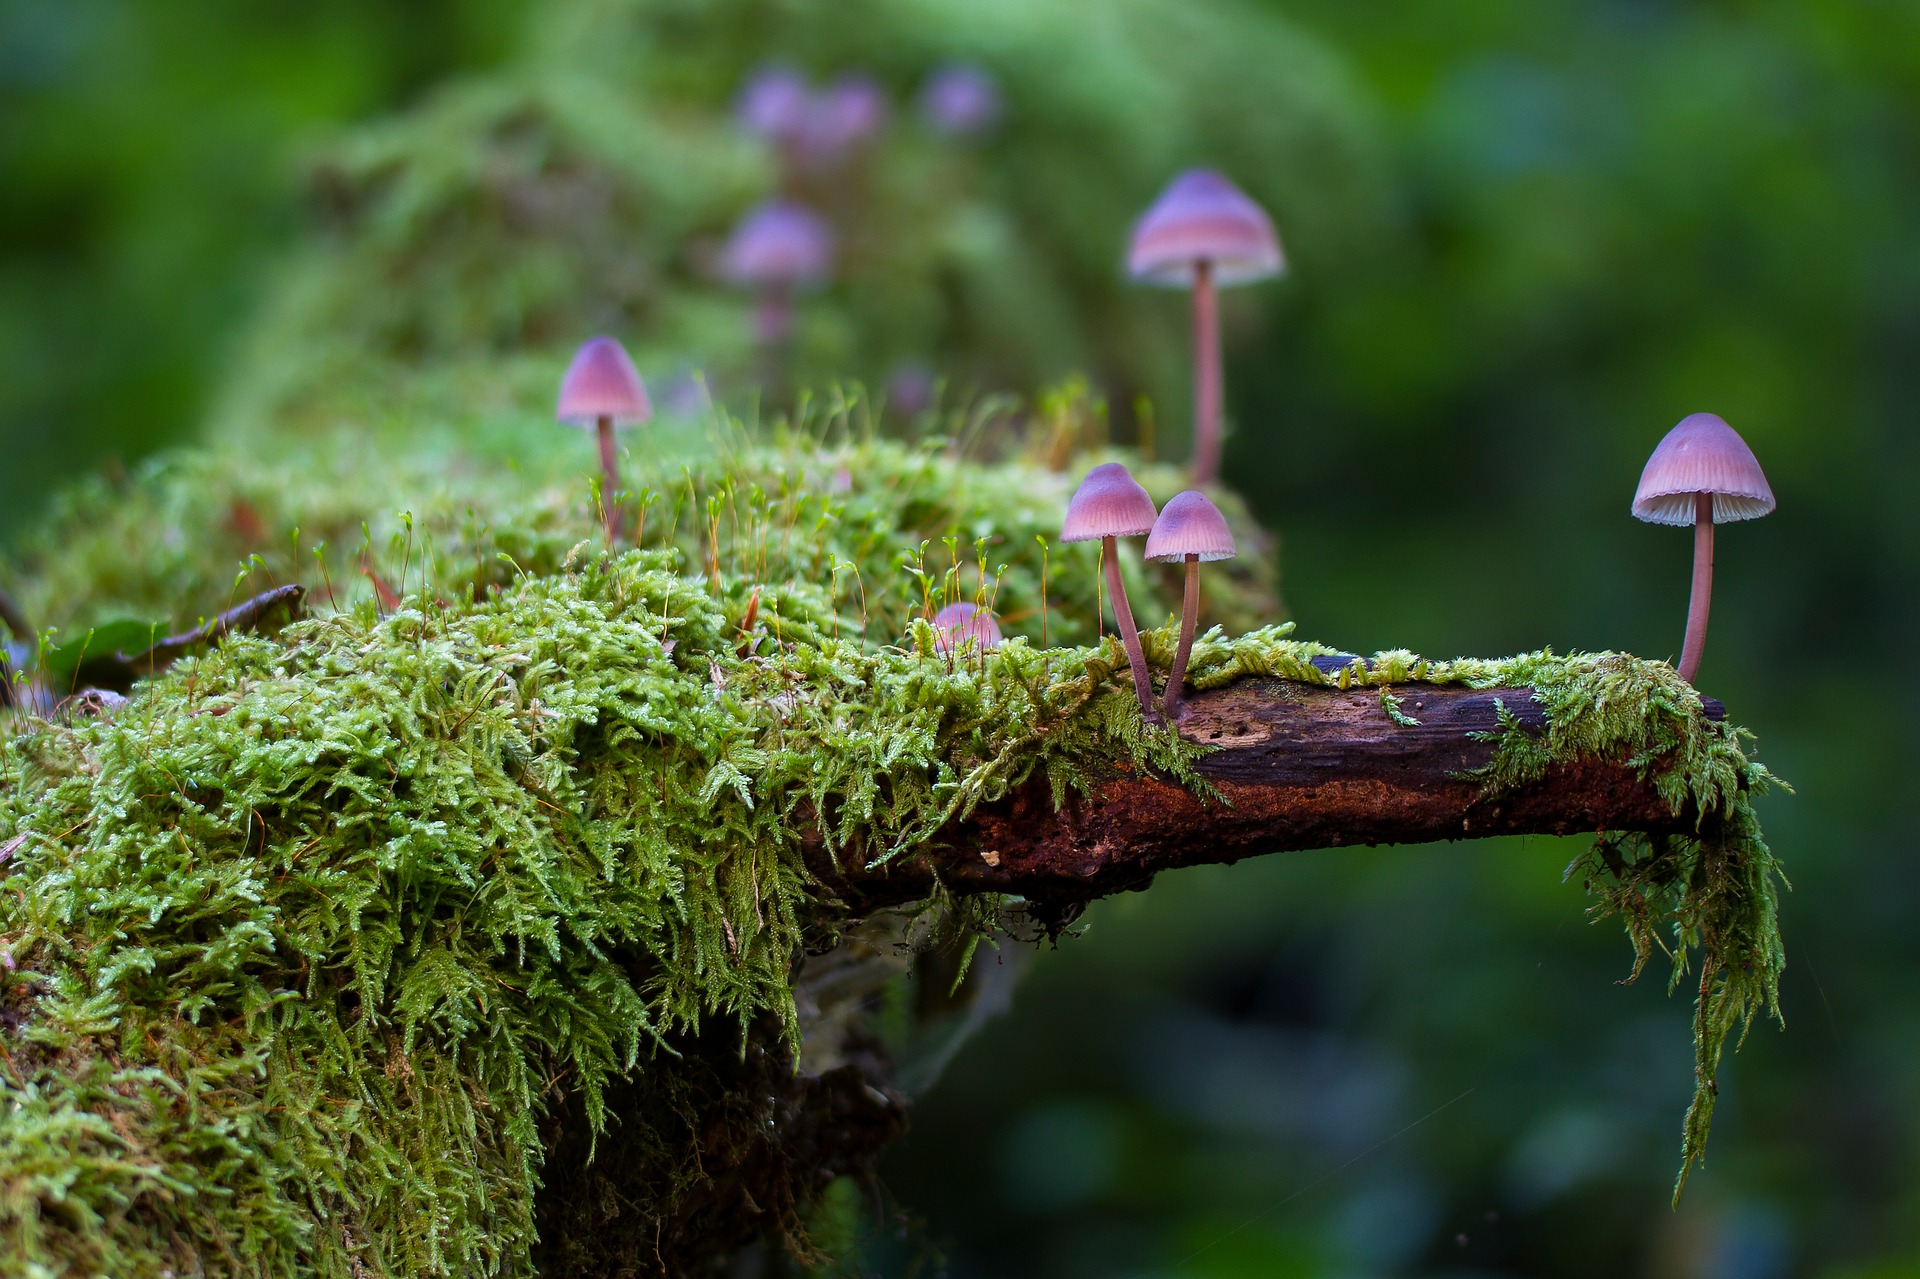
In a temperate forest, a lot more sunlight finds its way to the forest floor, which means the plants that grow there don’t have to struggle to survive in low light conditions. Here you’ll find grass, fungi, lichen, and moss growing below the shrub layer. Many species of insects and a variety of other small creatures live in this layer of the forest. Larger browsers such as deer can also be found feeding on the grass and other plants that grow there.
Above the forest floor, birds enjoy flitting through the shrub layer, and squirrels show off their acrobatic skills in the understory. Most of the photosynthesis that occurs in a temperate forest takes place in the canopy, where the sun bathes the tallest trees in its light. Animals that call the forest home tend to stick to certain layers, which allows everybody to spread out and reduces competition for resources.
More Forest Floor Facts
There’s a lot more going on in this dark and moist section of the woods than what I’ve described above. The forest floor is one of the most diverse layers of the forest, especially when it comes to the decomposers and predators that live there. The invertebrates and single-celled organisms, such as bacteria and algae, tend to hang out deep within the detritus. This non-living organic material, also called duff, is made up of vegetation (leaves, branches, bark, etc.) in various stages of decay.
In the rainforests, the floor is extremely moist from all the rainfall these areas receive each year. As a result, even though the soils in the rainforests (along with the lack of sunlight) don’t support much plant life, the rate of decomposition is higher than in temperate forests found in cooler and drier climates. This speedy decomposition is also one of the reasons rainforest detritus layers are thinner than those in temperate forests.
Soil Horizons
All this talk of detritus and decomposing stuff may not sound too interesting at first, but wait until you hear about what’s beneath the forest floor. That’s where it gets really interesting. If it wasn’t for that “duff stuff” above, the soil under it all wouldn’t be very nutrient-rich.
This lack of nutrients is why farmers are forced to abandon former rainforest land turned cropland after only a few short years. Although most of the nutrients in the rainforests are stored in the plants themselves as opposed to the soil, dead leaf and other plant litter does eventually make it to the rainforest floor. However, because of the efficiency of insects like termites and millipedes, that litter disappears quickly. The nutrients that might have been returned to the soil through a slower decomposition process are transported elsewhere by the insects.
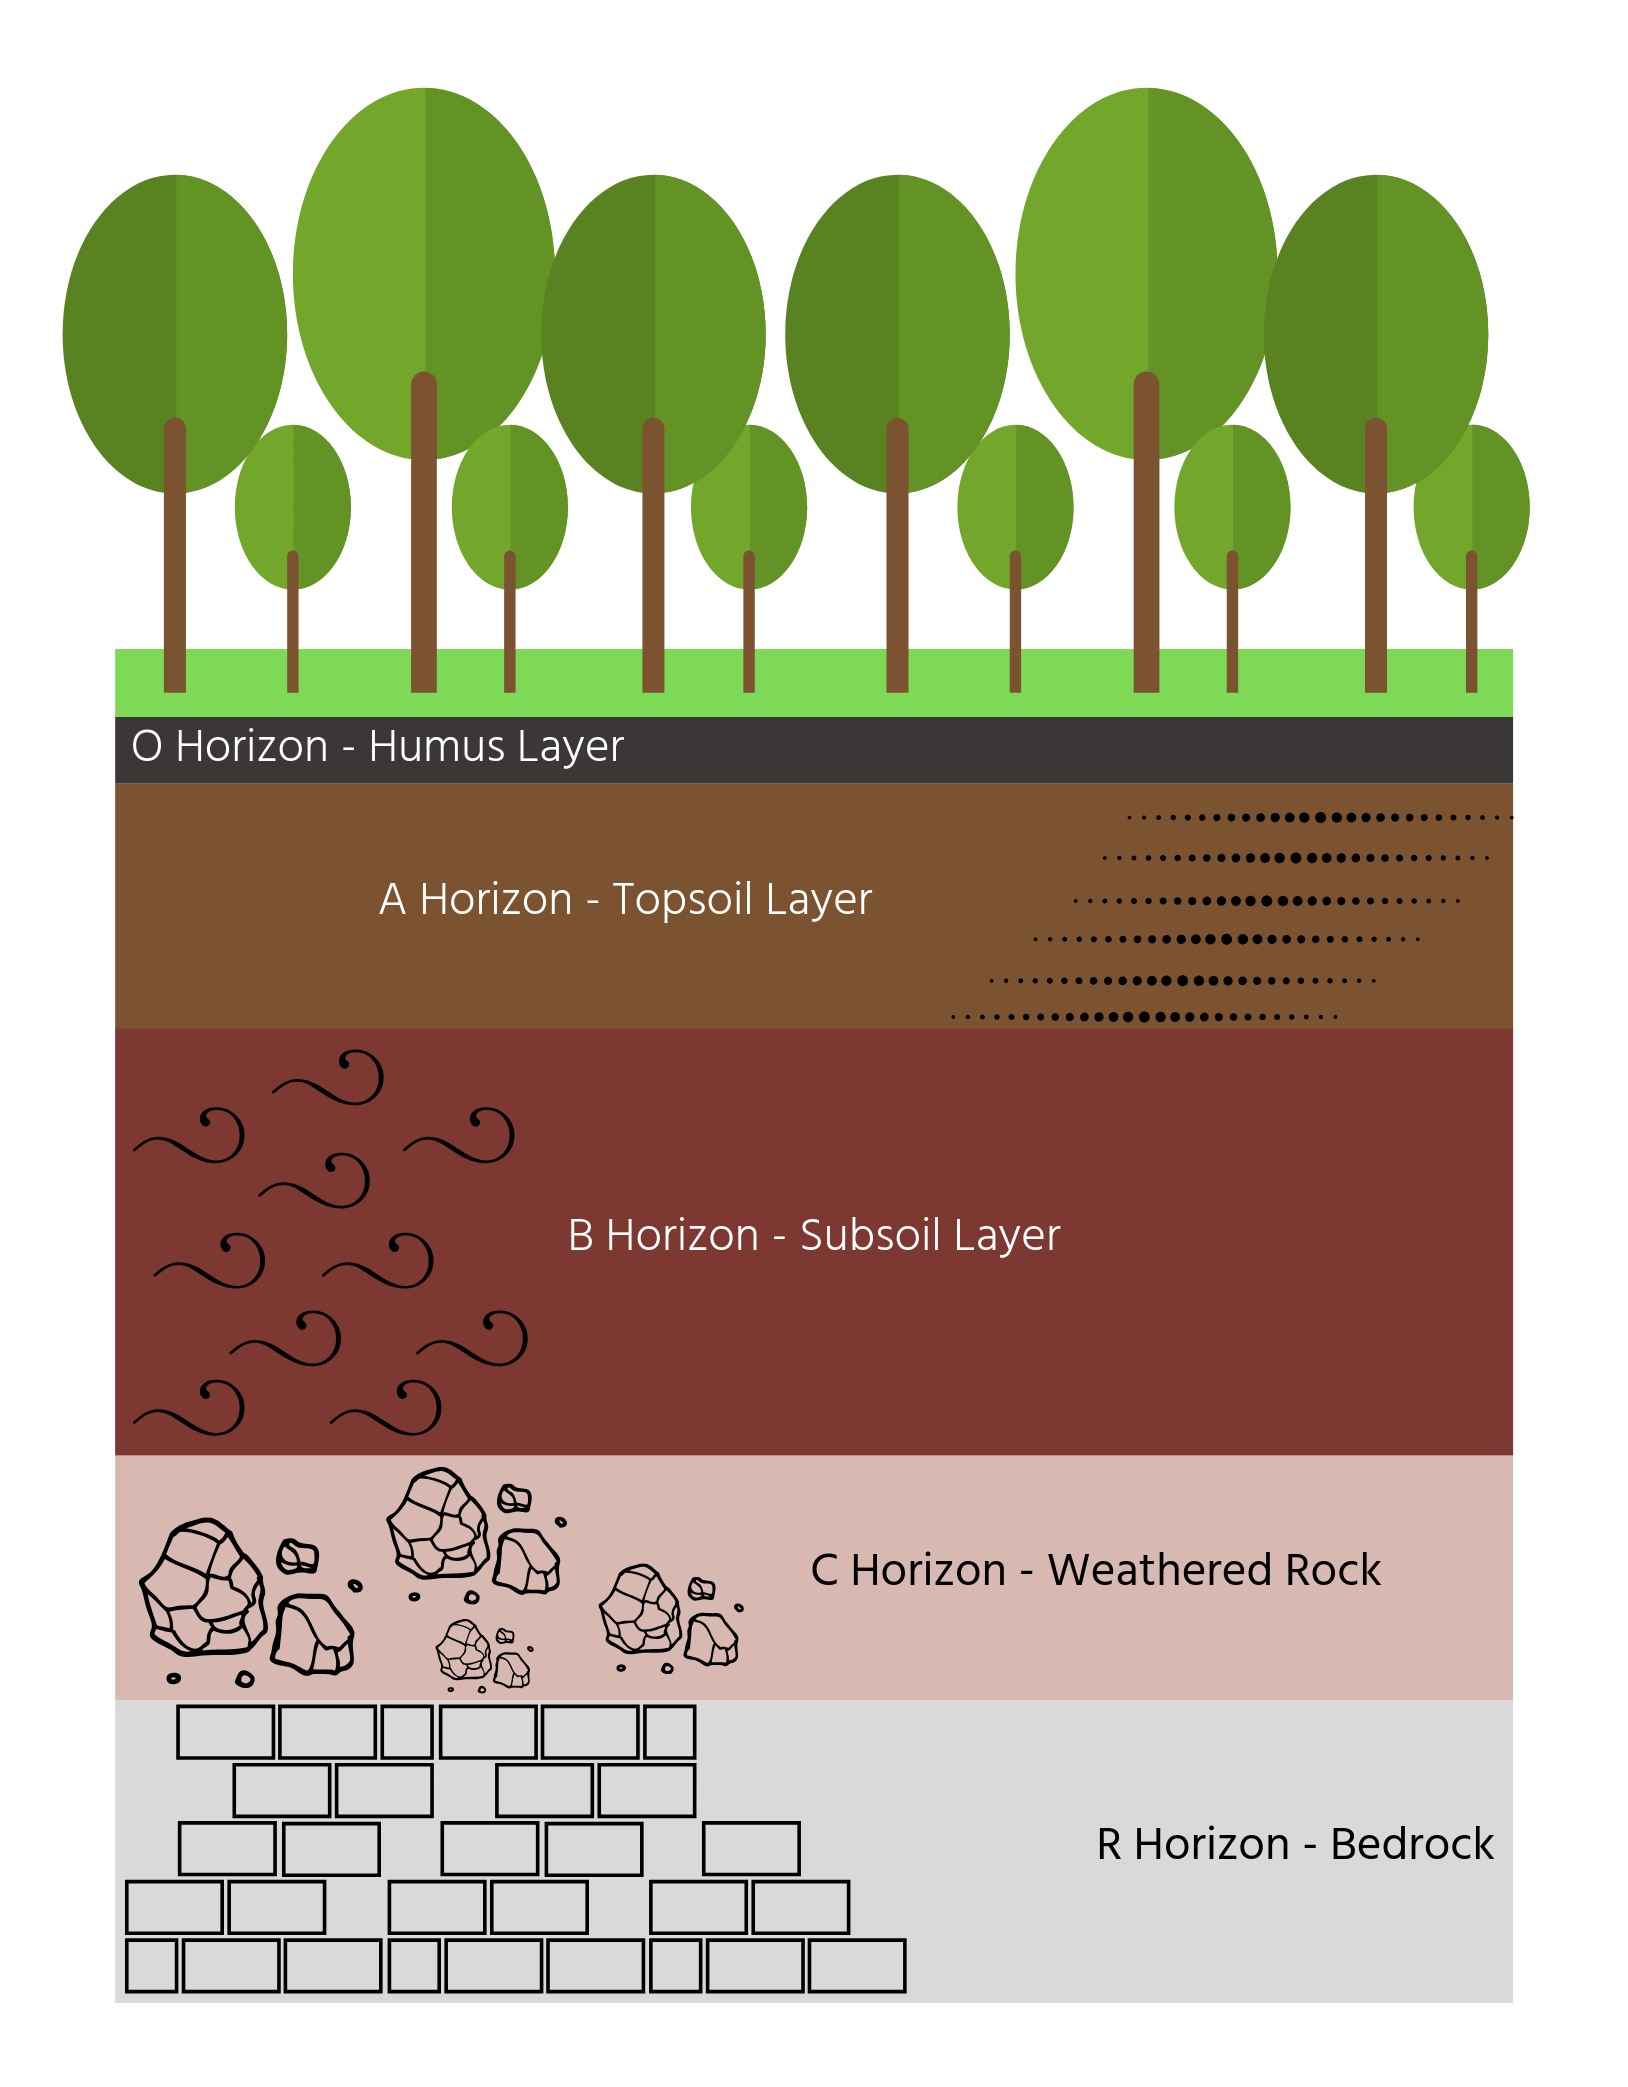
Forest floors in the United States are a different story. These nutrient-rich habitats consist of three primary zones (before you get to the soil itself): living ground vegetation, non-living organic matter in an intermediate state of decay, and humus, which is the finished product once decomposition is complete. These layers combined are often referred to as the O horizon.
The first layer of true soil is the surface soil (A horizon), where we find most of the invertebrates living beneath the forest floor. After that, we have a thicker layer of subsoil (B horizon), which is a mixture of soil and rock particles. Weathered rock and solid bedrock are found below the soil layers.
Are you curious about what lives beneath the forest floor? Now’s your chance to find out! Grab one of mom or dad’s garden trowels and take a trip to the nearest forest. Dig around and see what you find. Just be sure to return the soil to its original location when you’re finished exploring. Make notes or draw pictures of what you found in a journal or on your tablet.
What Role do Decomposers Play?
What image comes to mind when you hear the word “decomposer?” You might think of worms, beetles, millipedes, or even slugs, and you would be correct…mostly. Actually, these organisms are referred to as detritivores. What separates them from true decomposers is that they have to eat the dead leaves, twigs, and other plant and animal matter they find on the forest floor in order to fully break them down into nutrients that can be returned to the soil.
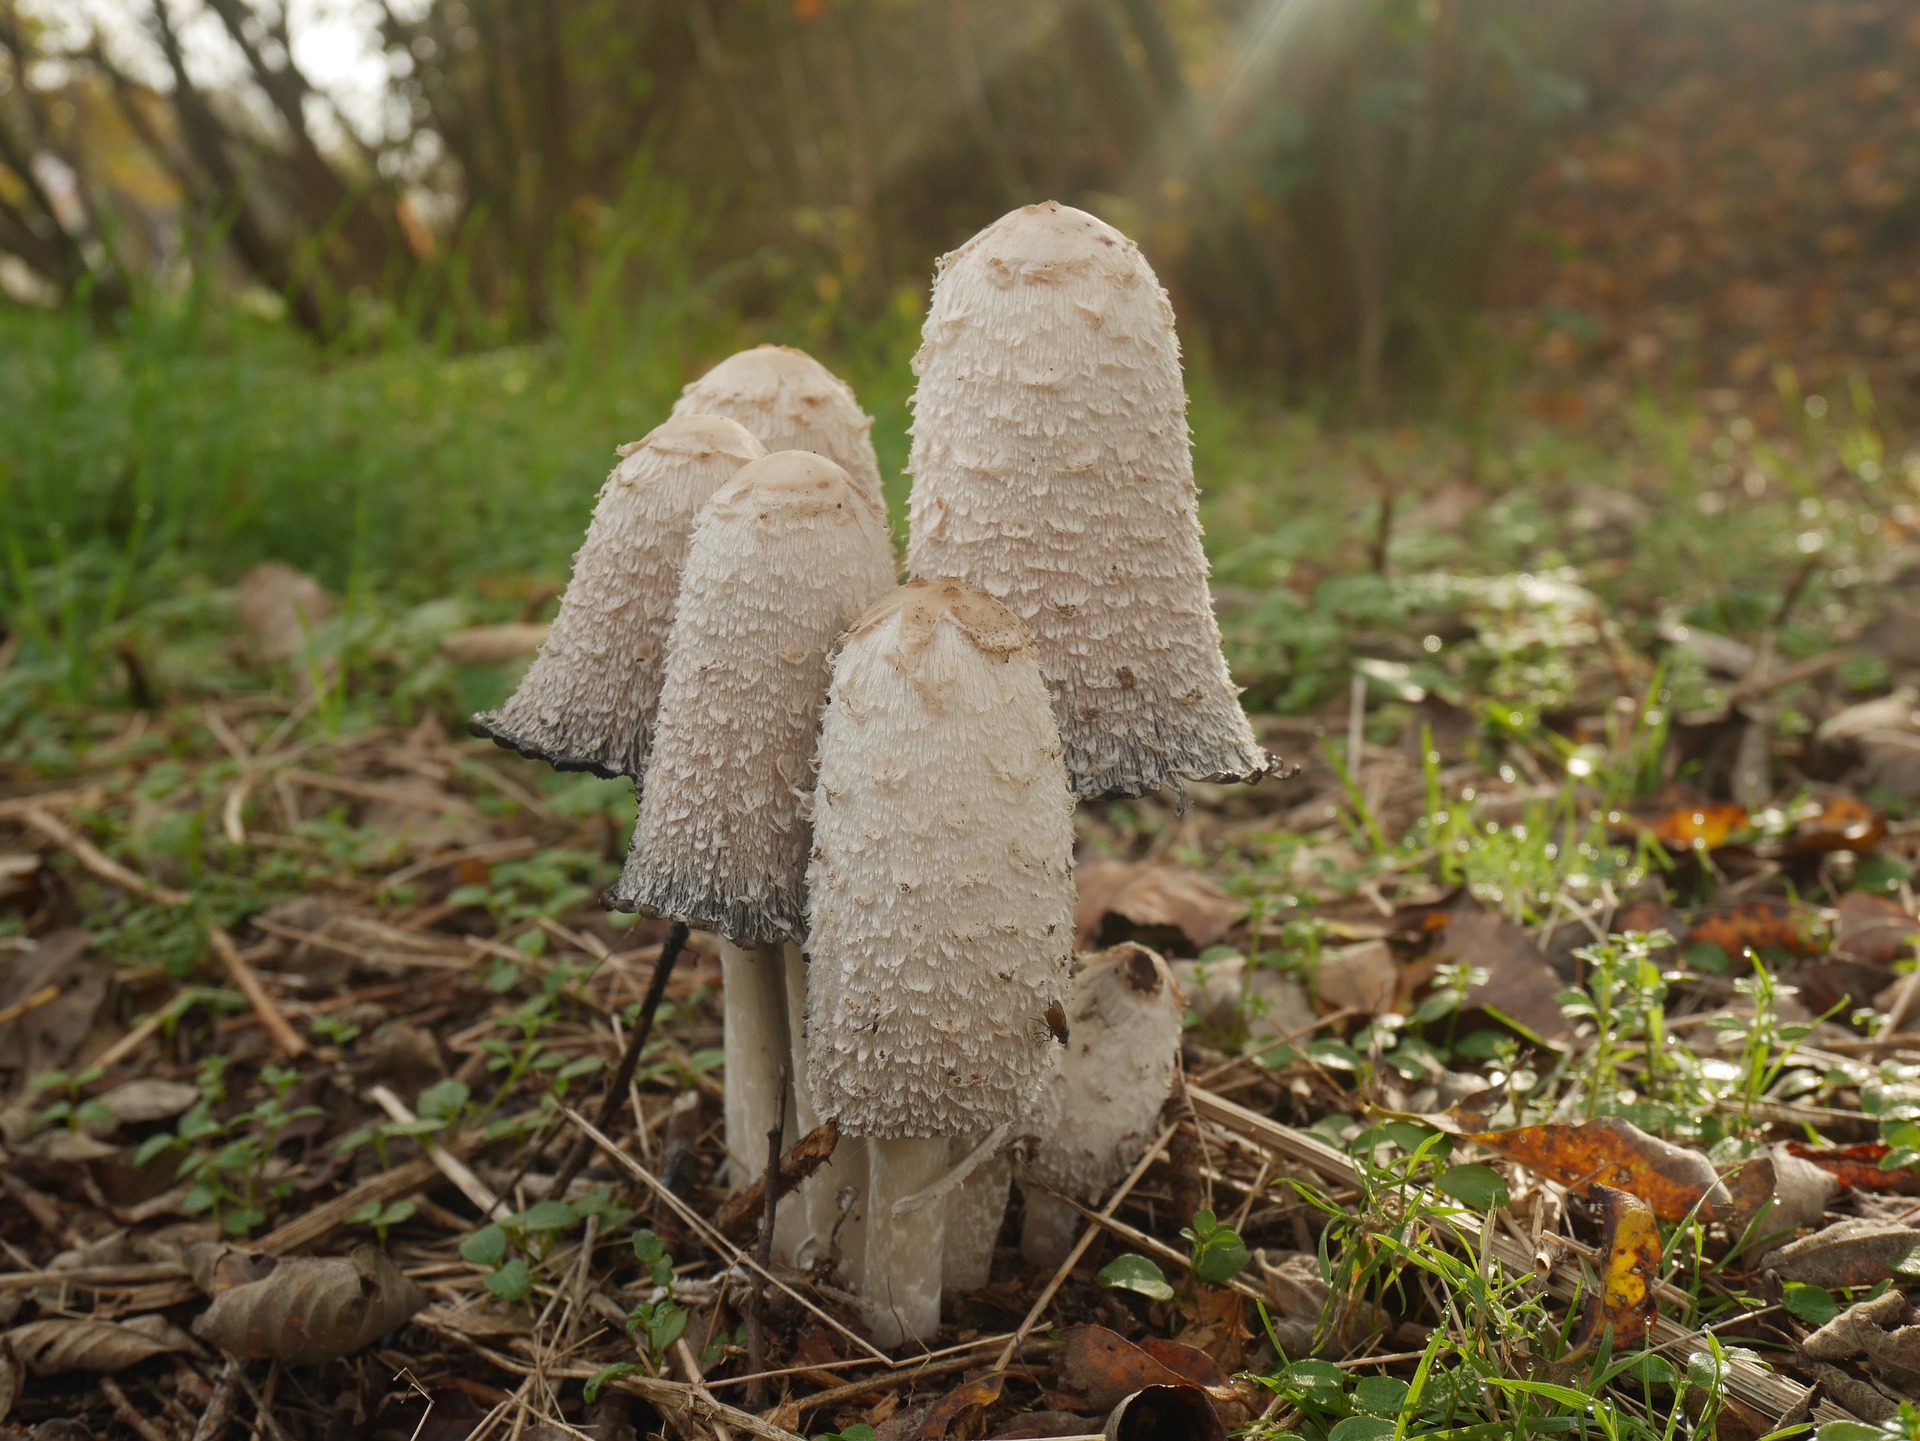
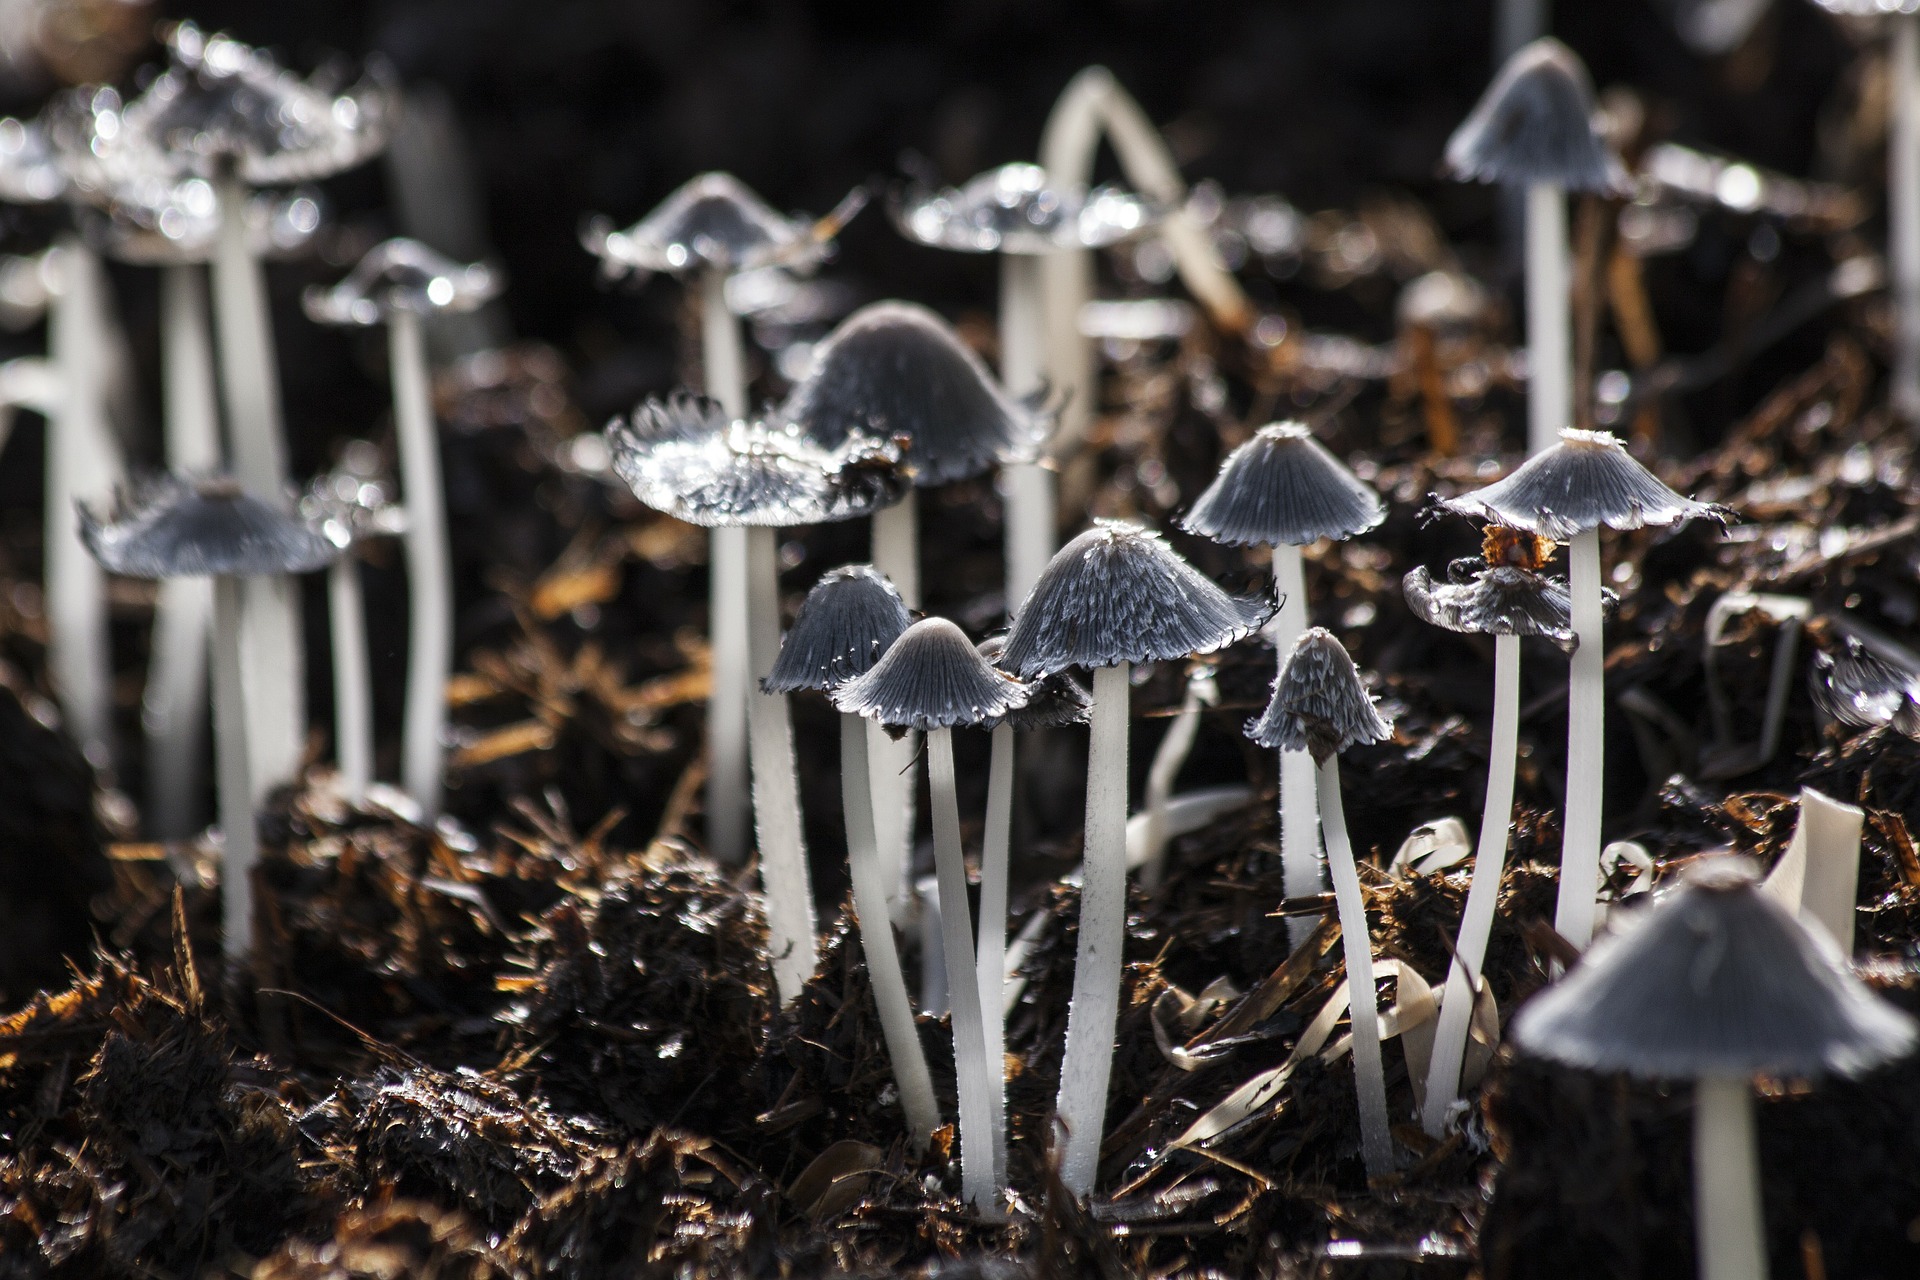
This is fairly efficient, but there’s another organism that does an even better job (without eating a thing). This “fun guy” thrives in cool, moist environments (like the floor of the forest) and is a true decomposer. Can you guess what it is? That’s right…it’s a mushroom, also known as fungi.
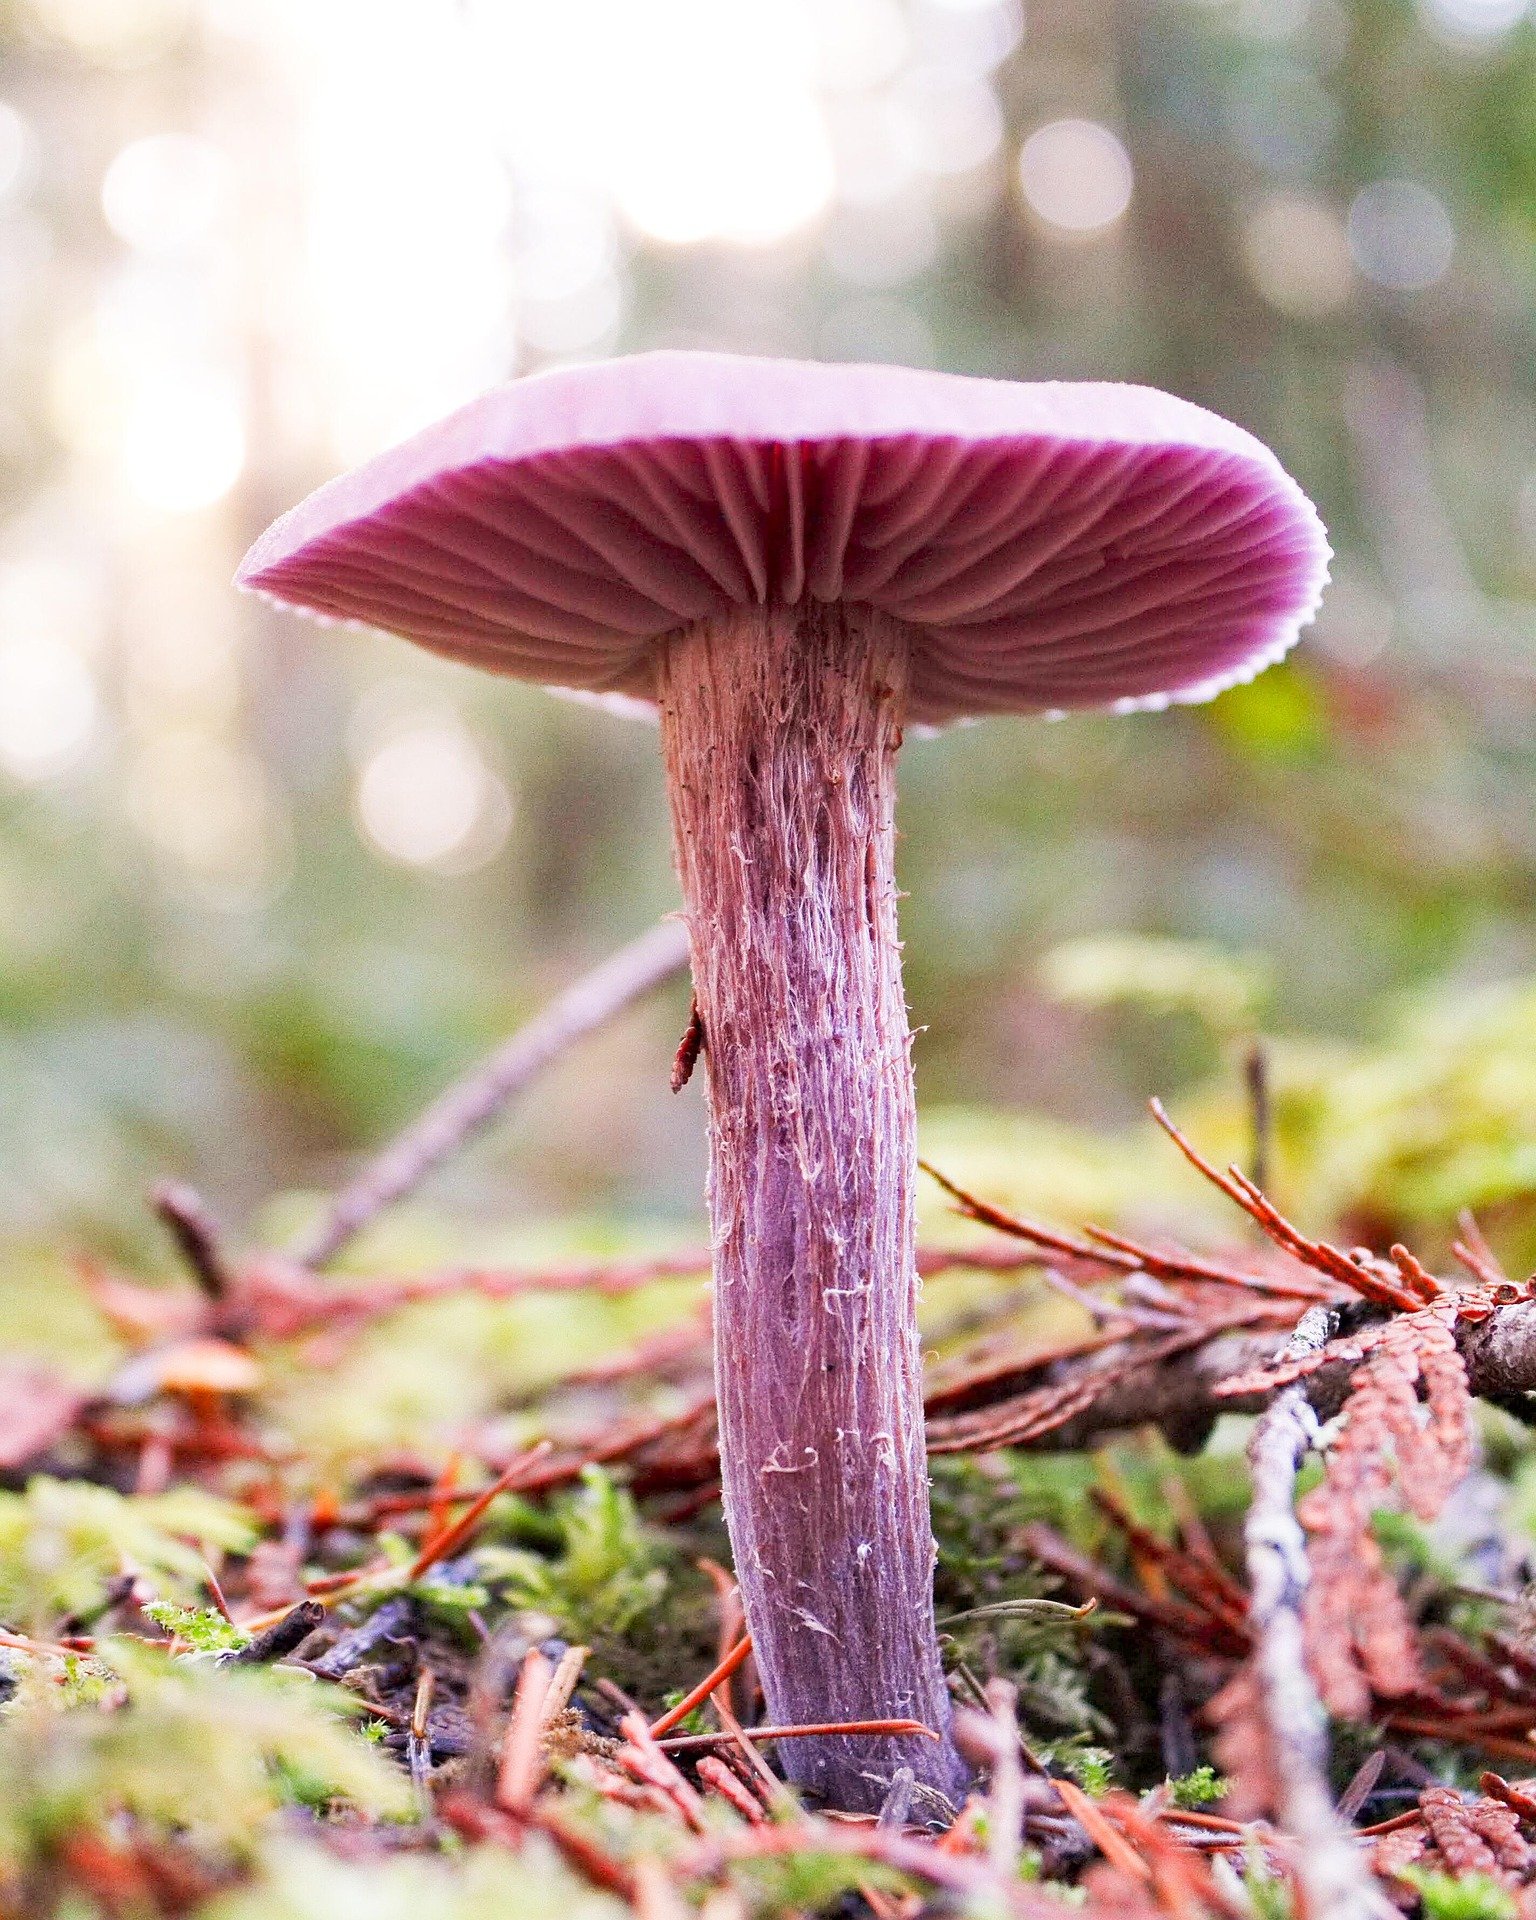
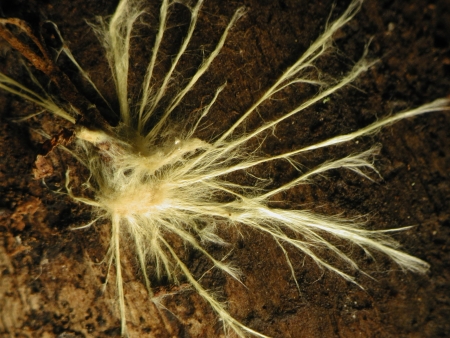
Photo Credit: David Malloch – The Natural History of Fungi, Mycology Web Pages, New Brunswick Museum
A Mushroom's Life
To be honest, if it wasn’t for the work of mushrooms and bacteria, the other primary decomposer in this ecosystem, we wouldn’t have such diverse life in our forests. So how does a tiny mushroom decompose a dead leaf, you ask?
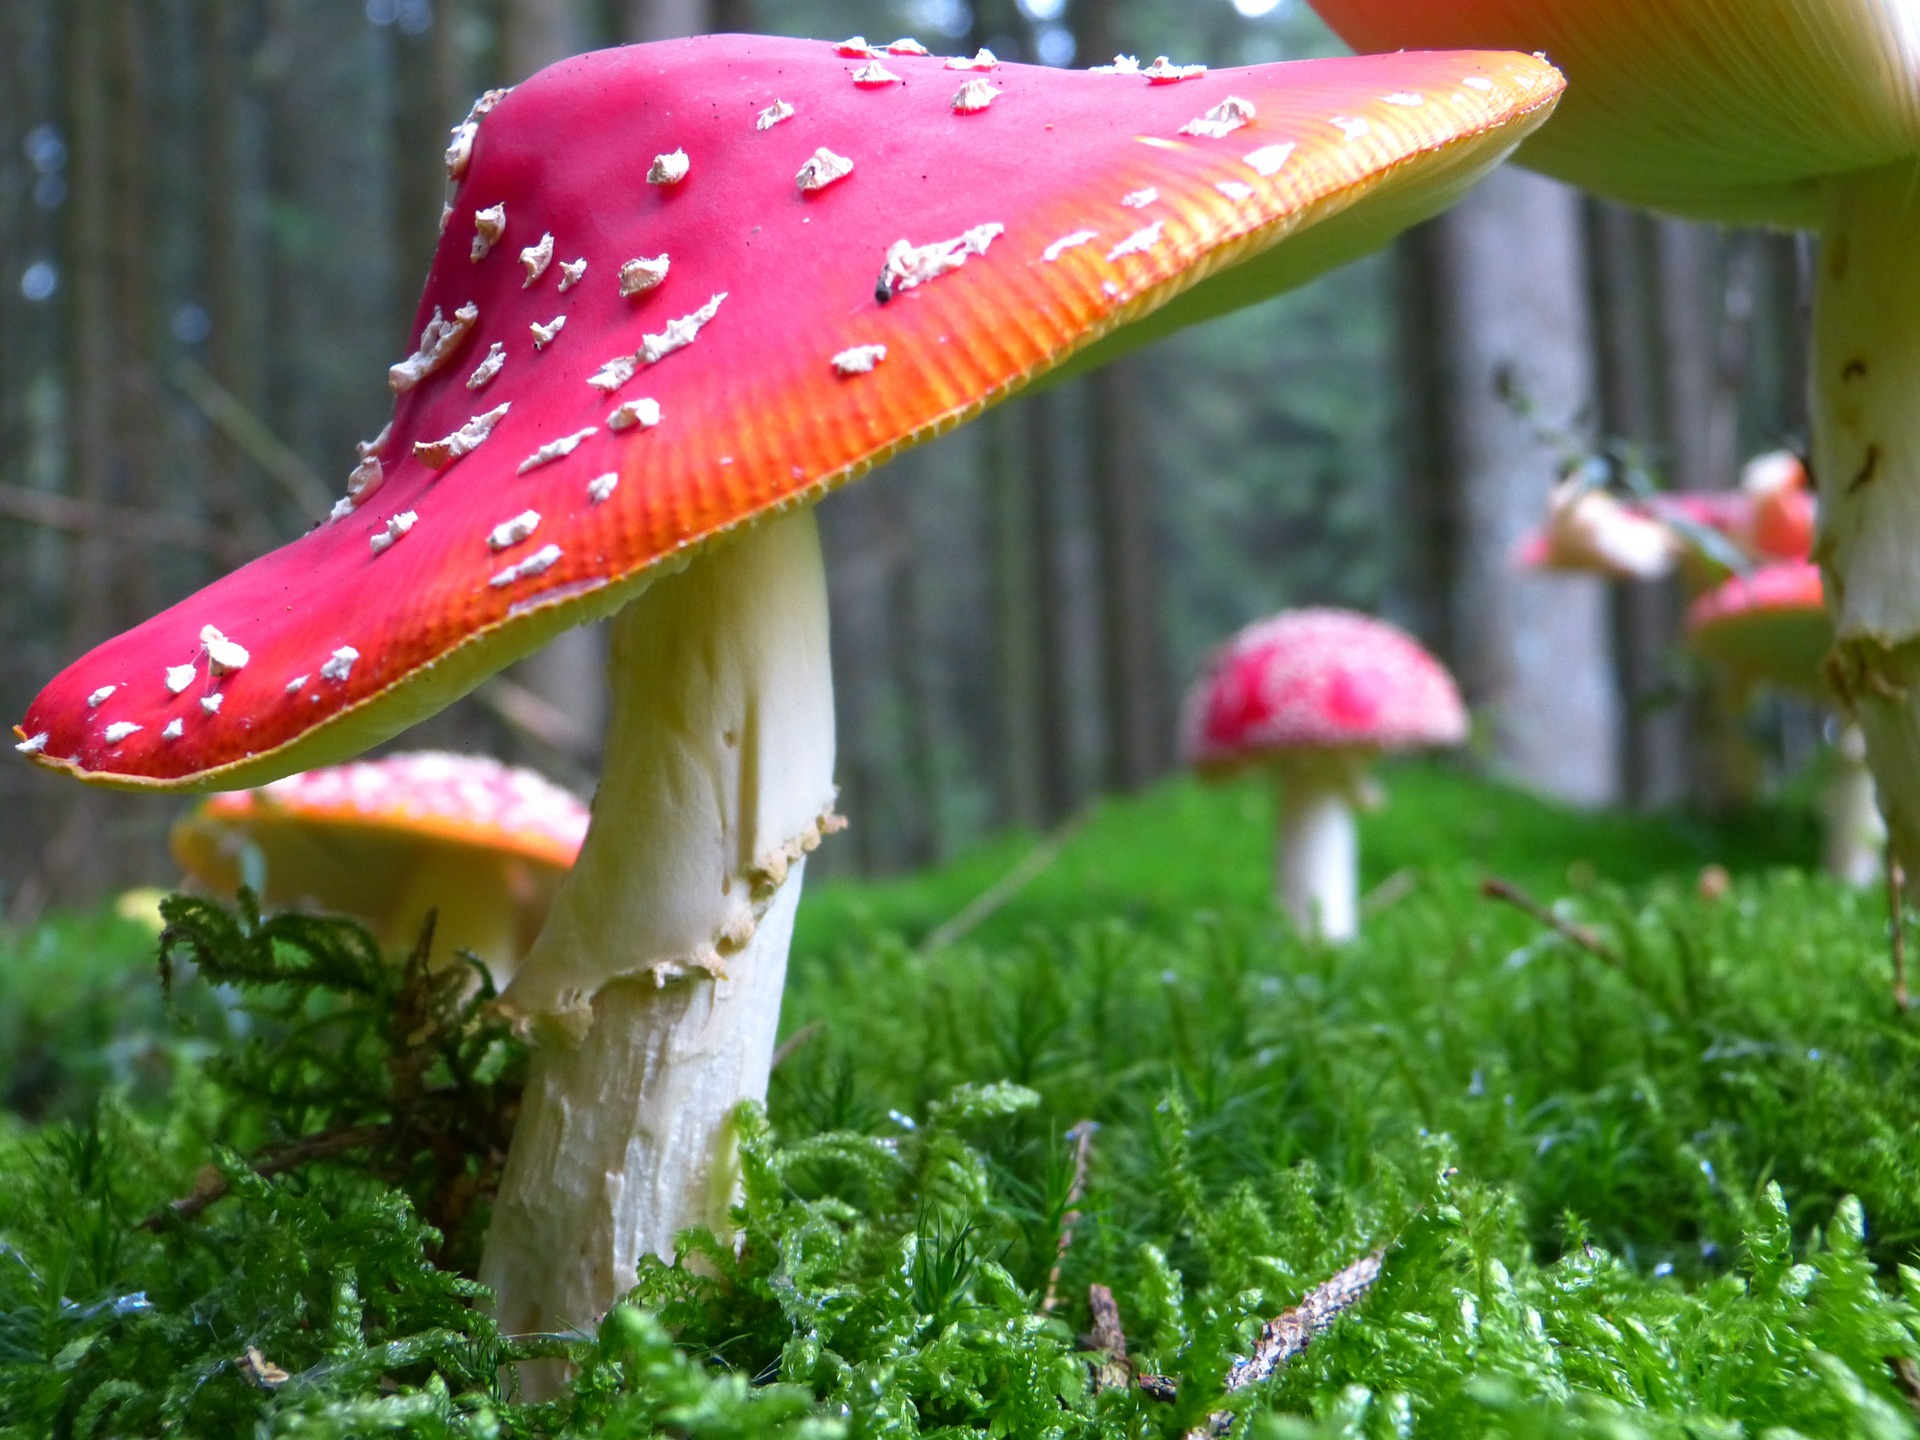
The fungi family includes yeast, mold, mushrooms, and toadstools. Fungi are not plants and don’t have roots, stems, or leaves. They also don’t have chlorophyll and therefore do not photosynthesize to make their own food. Instead, they rely on special enzymes to decompose dead organic matter, which then becomes their food source.
Fungi use their hyphae – long, thin tube-like structures that are hard to see – to punch through the bark of dead logs or the skin of dead animals. The hyphae break down and absorb the nutrients from the decaying plant or animal. During this process, fungi recover elements such as nitrogen and phosphorus that plants need to grow. They may also use the organic matter they absorb to fuel their reproductive process. When a mushroom dies, it is decomposed by other fungi and bacteria…and the cycle continues.

Fun with Fungi
Have you ever taken a close look at the spores produced by a mushroom? These are tiny structures that the mushroom releases to make more mushrooms. Try this simple activity at home; you’ll be pleasantly surprised by the result..
Spore Art
Supplies:
Large mushroom (from the store)
Dark and light-colored construction paper
Glass bowl
Knife
Hairspray or polyurethane spray
Instructions:
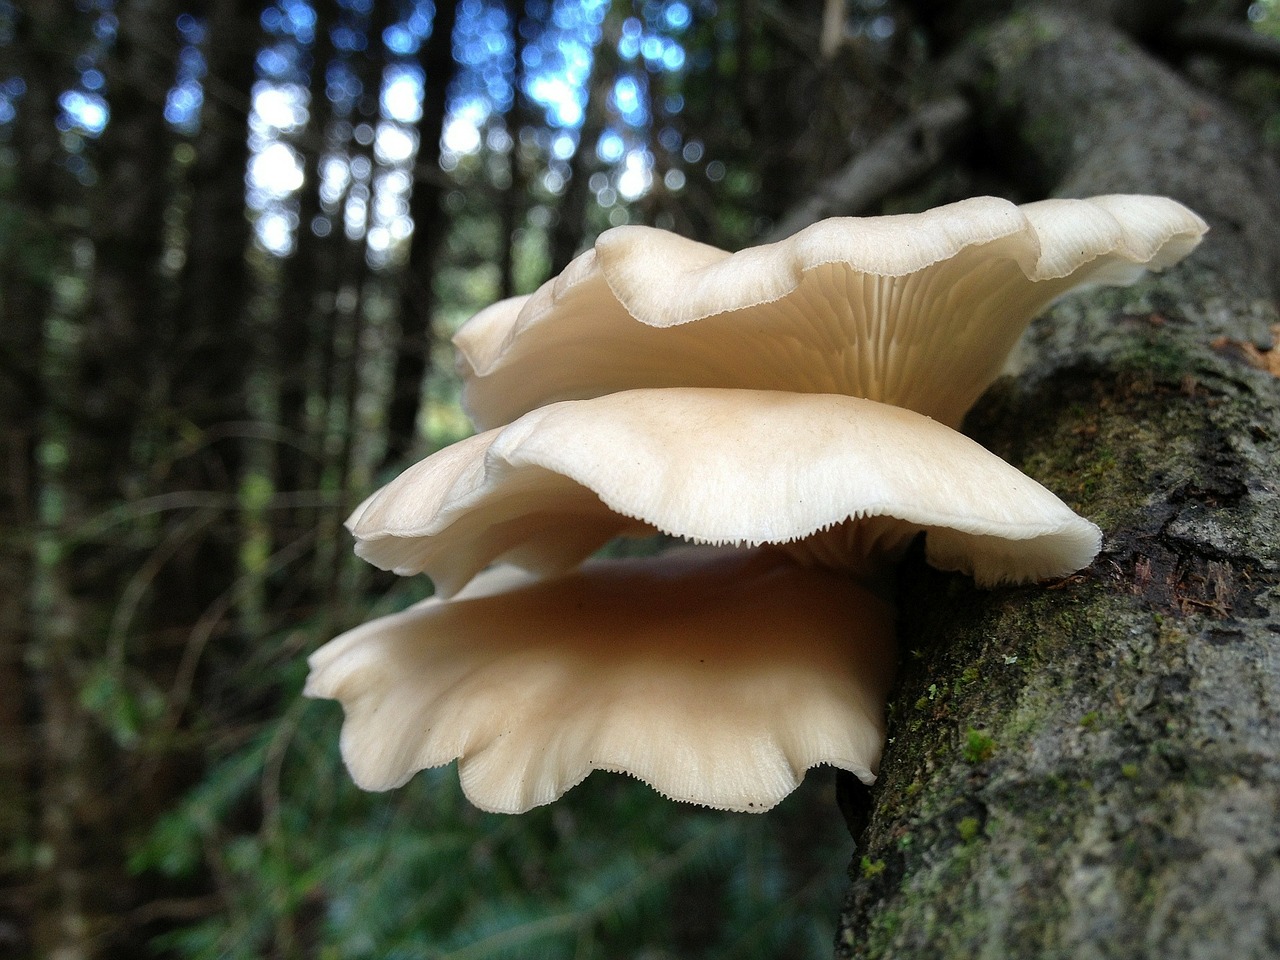
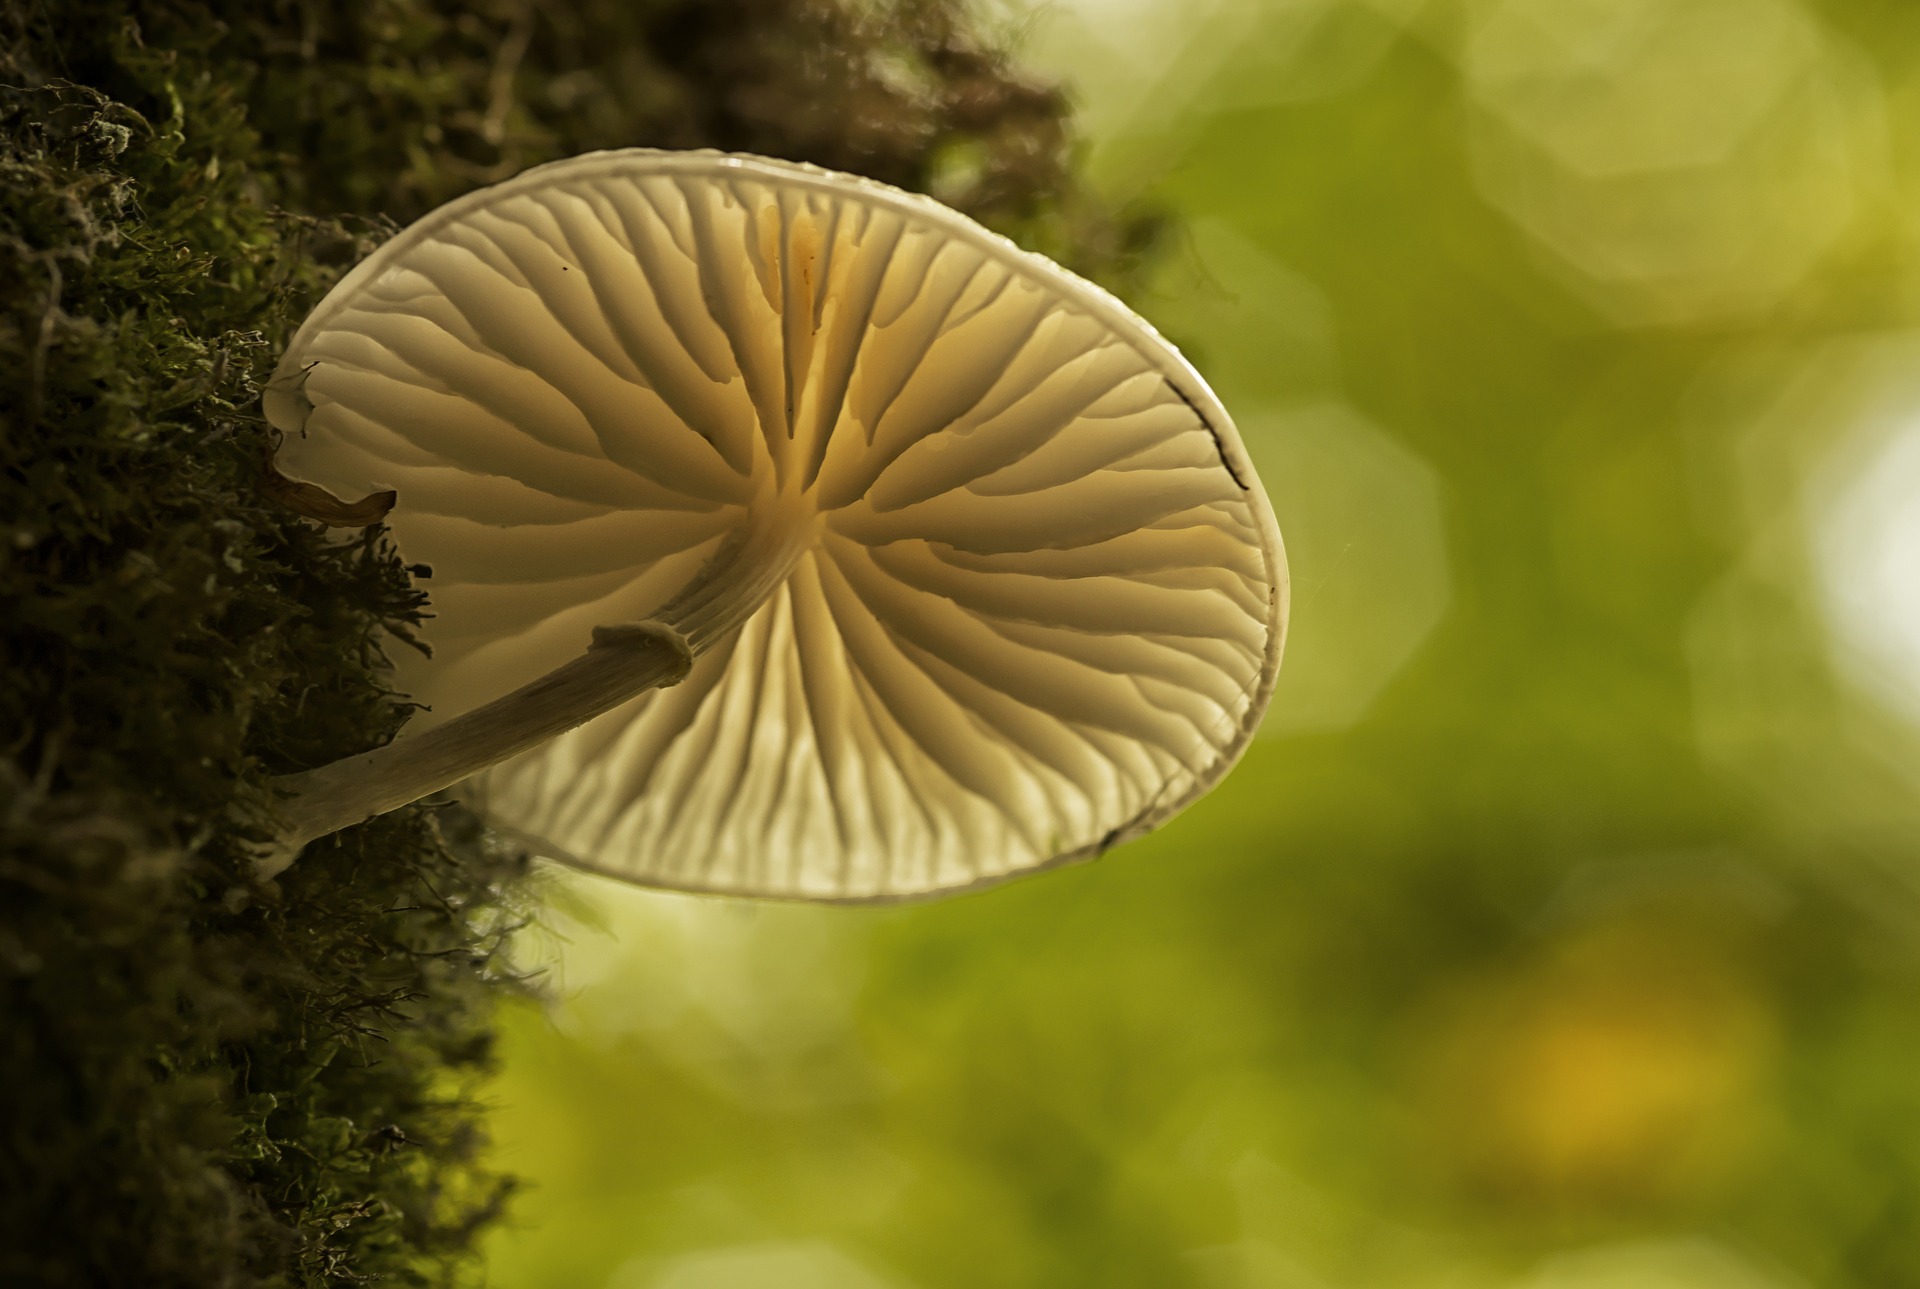
The cap of the mushroom is the top part that sits above the stalk. The photo above shows the underside of a mushroom cap. Those flaps are called “gills,” but they’re not the kind you see in fish. That’s where the spores are stored.
Have a parent use the knife to cut the cap from the stalk. Choose a piece of construction paper, either light or dark, that best contrasts with the color of the spores. In other words, if your mushroom has light-colored spores, use black construction paper.
Place the mushroom cap in the center of the paper, with the gills down. Cover the mushroom with a glass bowl and let it sit for 24 hours. Remove the bowl and lift the cap straight up so as not to smudge the print underneath. You should be able to see tiny spores stuck to the paper in the same shape as the gills.
Let your spore art dry and then spray it with hairspray or polyurethane spray to fix the spores in place. Display in your bedroom or on the refrigerator for your friends to see! I bet they’ll have a hard time guessing what it is…
A fairy ring is a group of mushrooms that grow in a large circle. They can be found in fields, forests, and even your lawn. In order for this to happen, an area must have a specific soil type, available nutrients, and few obstructions underground. The part of the mushroom that grows underground, called the mycelium, is responsible for this unique pattern. The mycelium starts out as a single point and grows outward in a circular shape. It continues to expand as it looks for “food” to consume (or more appropriately…decompose). The circle gets wider and eventually the mycelium produce mushrooms that pop through at the surface. Pretty cool, huh?
Of course, if you’re like me, you also enjoy imagining fairy rings as gateways to another world, too!
Craft and Learn: Make Your Own Miniature Forest Floor in a Box
One of my favorite mediums to work with when I’m feeling creative is polymer clay. It’s similar to air dry clay, but tends to be a bit harder, which makes it easier to work with. You can use either one here, but I recommend polymer clay because of its versatility.
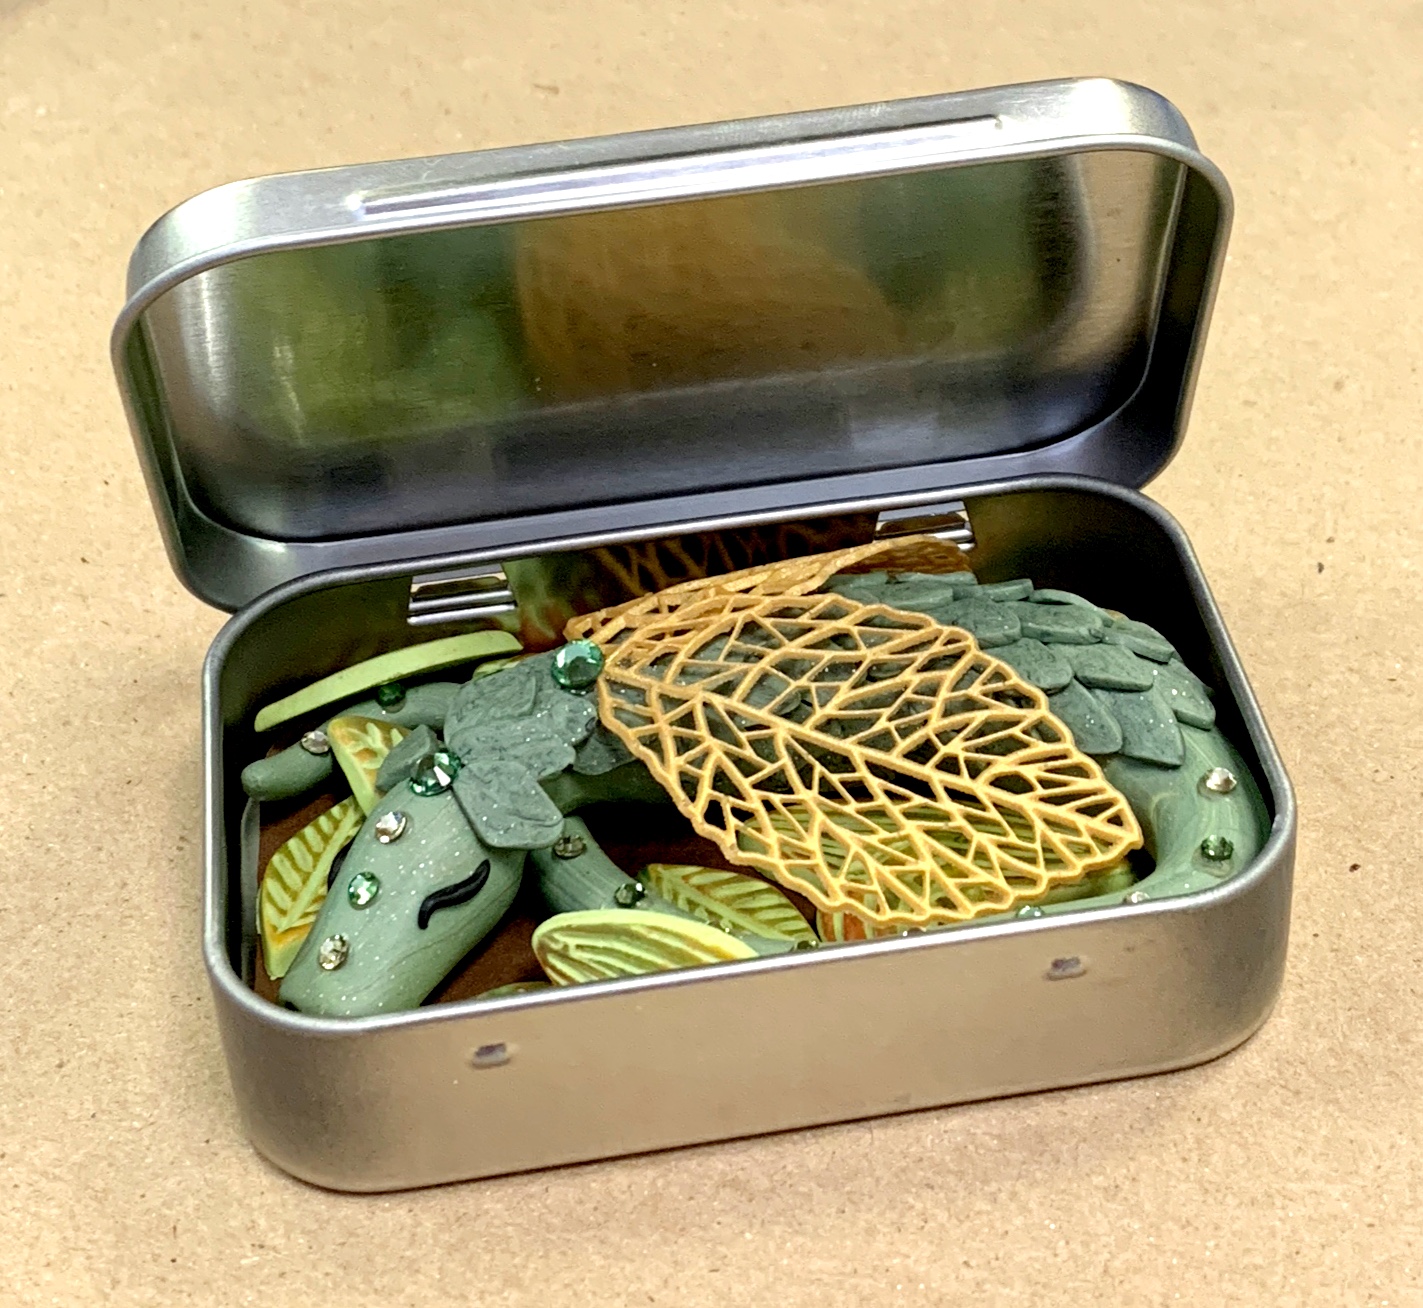
For this project, you’re going to make your own small section of forest floor out of clay. My example includes a tiny baby dragon. I like to think that small dragons like this little guy live deep within the rainforests, away from people and civilization. Hey, it could be true…there’s so much of the world’s rainforests we haven’t explored yet!
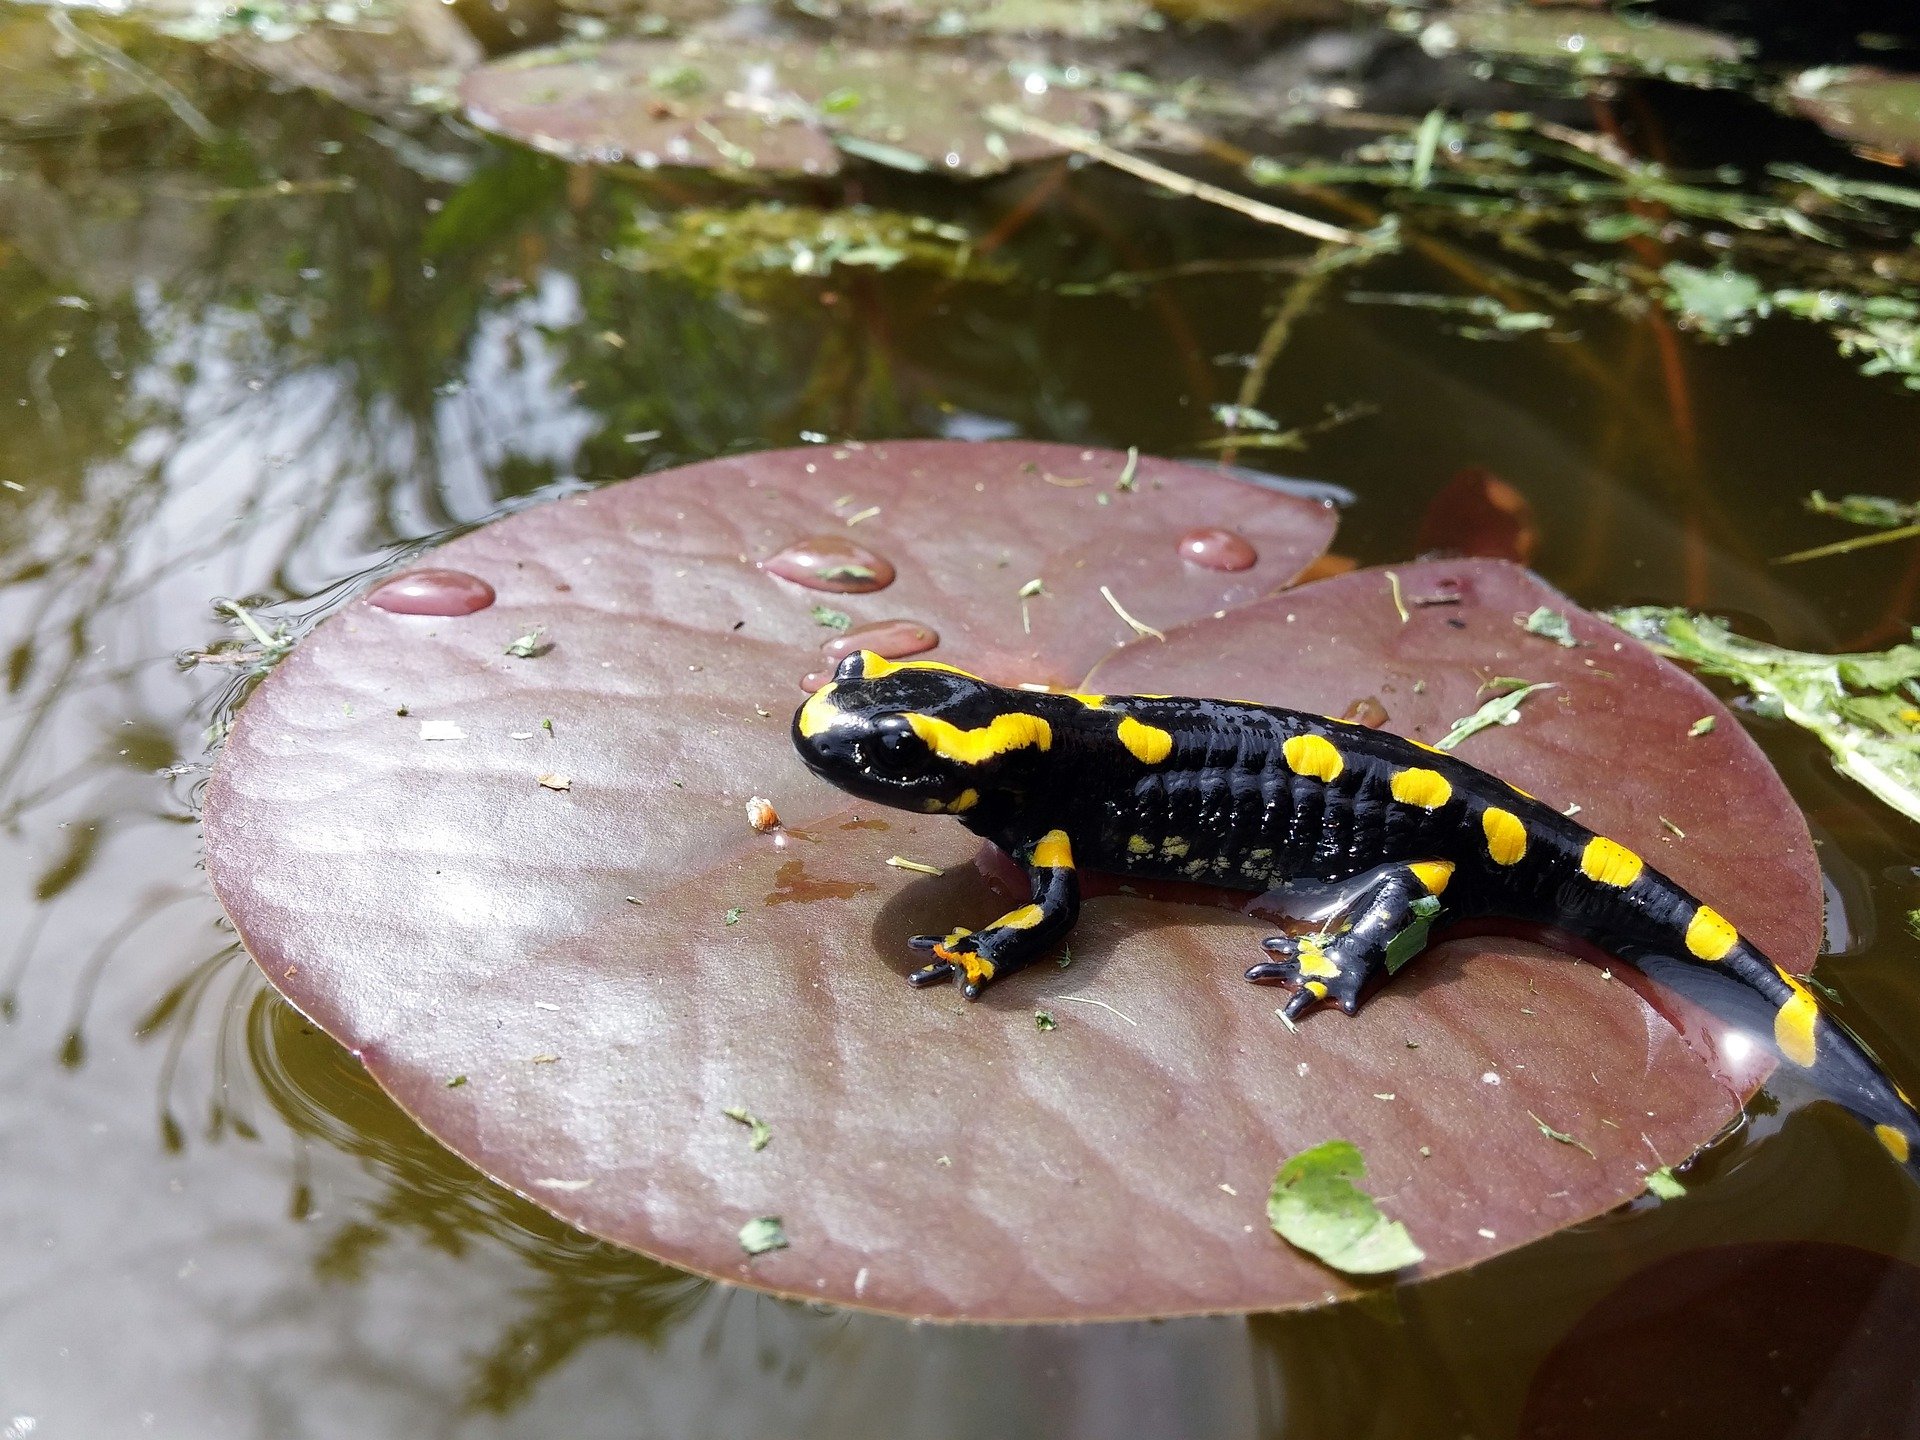
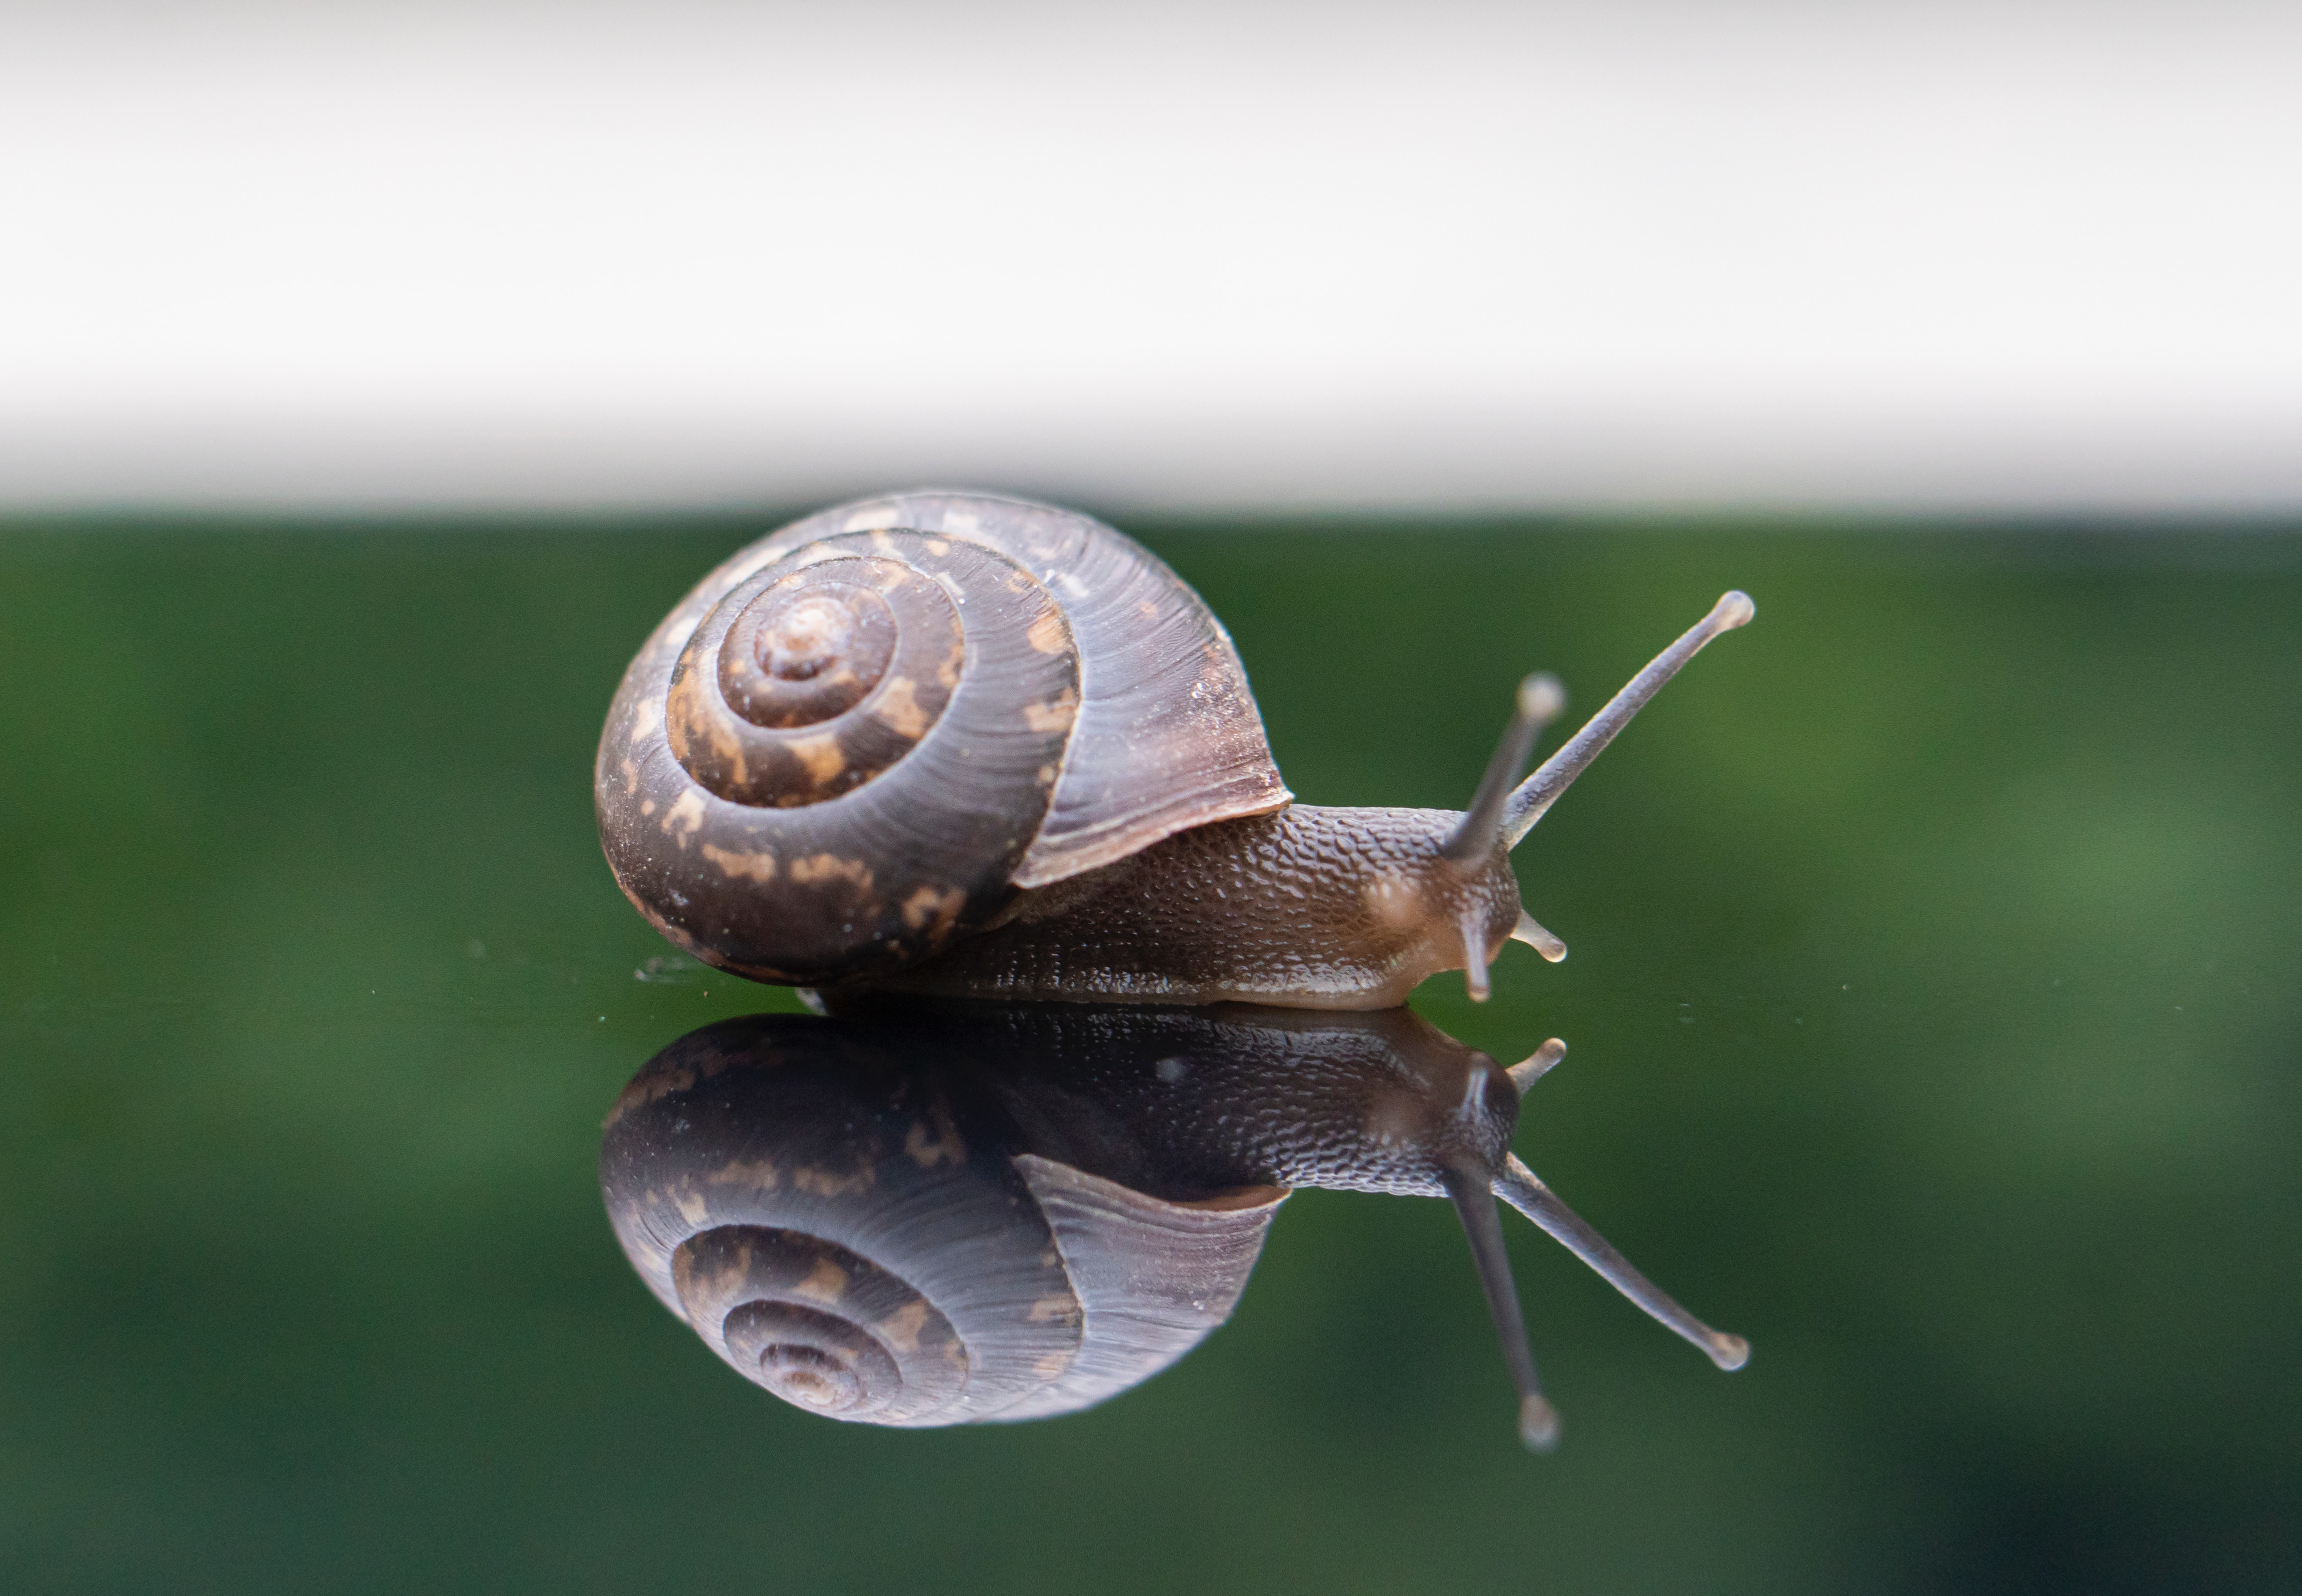
You might choose to make your own dragon…or perhaps a beetle, earthworm, salamander, mushroom, snail, or some other cool critter that lives in the humus layer of the forest. Whatever you choose, that organism will become the focal point of your box. You’ll also make leaves and other “detritus” to keep your critter (or fungi) safely hidden from predators.
You’ll notice there aren’t a lot of photos of the project in the various stages of development. That’s not a mistake. I want you to create your own miniature forest floor; I’d rather you don’t copy mine. That’s what makes art so much fun…everybody does it differently. So, be creative and enjoy yourself! I'd love to see a picture of your forest floor in a box! You can email it to me at [email protected]. Who knows...maybe I'll even add it to this page!
Supplies:
Tin box with lid (preferably a lid that can be removed)
Clay (air dry or polymer) in your preferred colors
Clay roller, rolling pin, or heavy glass bottle
Exacto knife or other precise cutting blade
Flatback glass crystals in your preferred colors
Silicone leaf mold
Optional: Toaster oven with thermometer (for polymer clay)
Optional: Glue for crystals (if using air dry clay)
Instructions:
Step 1: Begin by preparing your clay. If you’re using polymer clay, be sure to roll the clay around in your hands to warm and soften it. You’ll need to do this for each color of clay you plan to use. If you’re using air dry clay, roll it around on paper to help pull some of the moisture out of it. This may help harden it up just a bit, which will make it easier to shape and mold.
For polymer clay, I recommend Premo or Souffle by Sculpey. Souffle is much softer and is therefore easier for little hands to work with, but both are strong and resilient once baked.
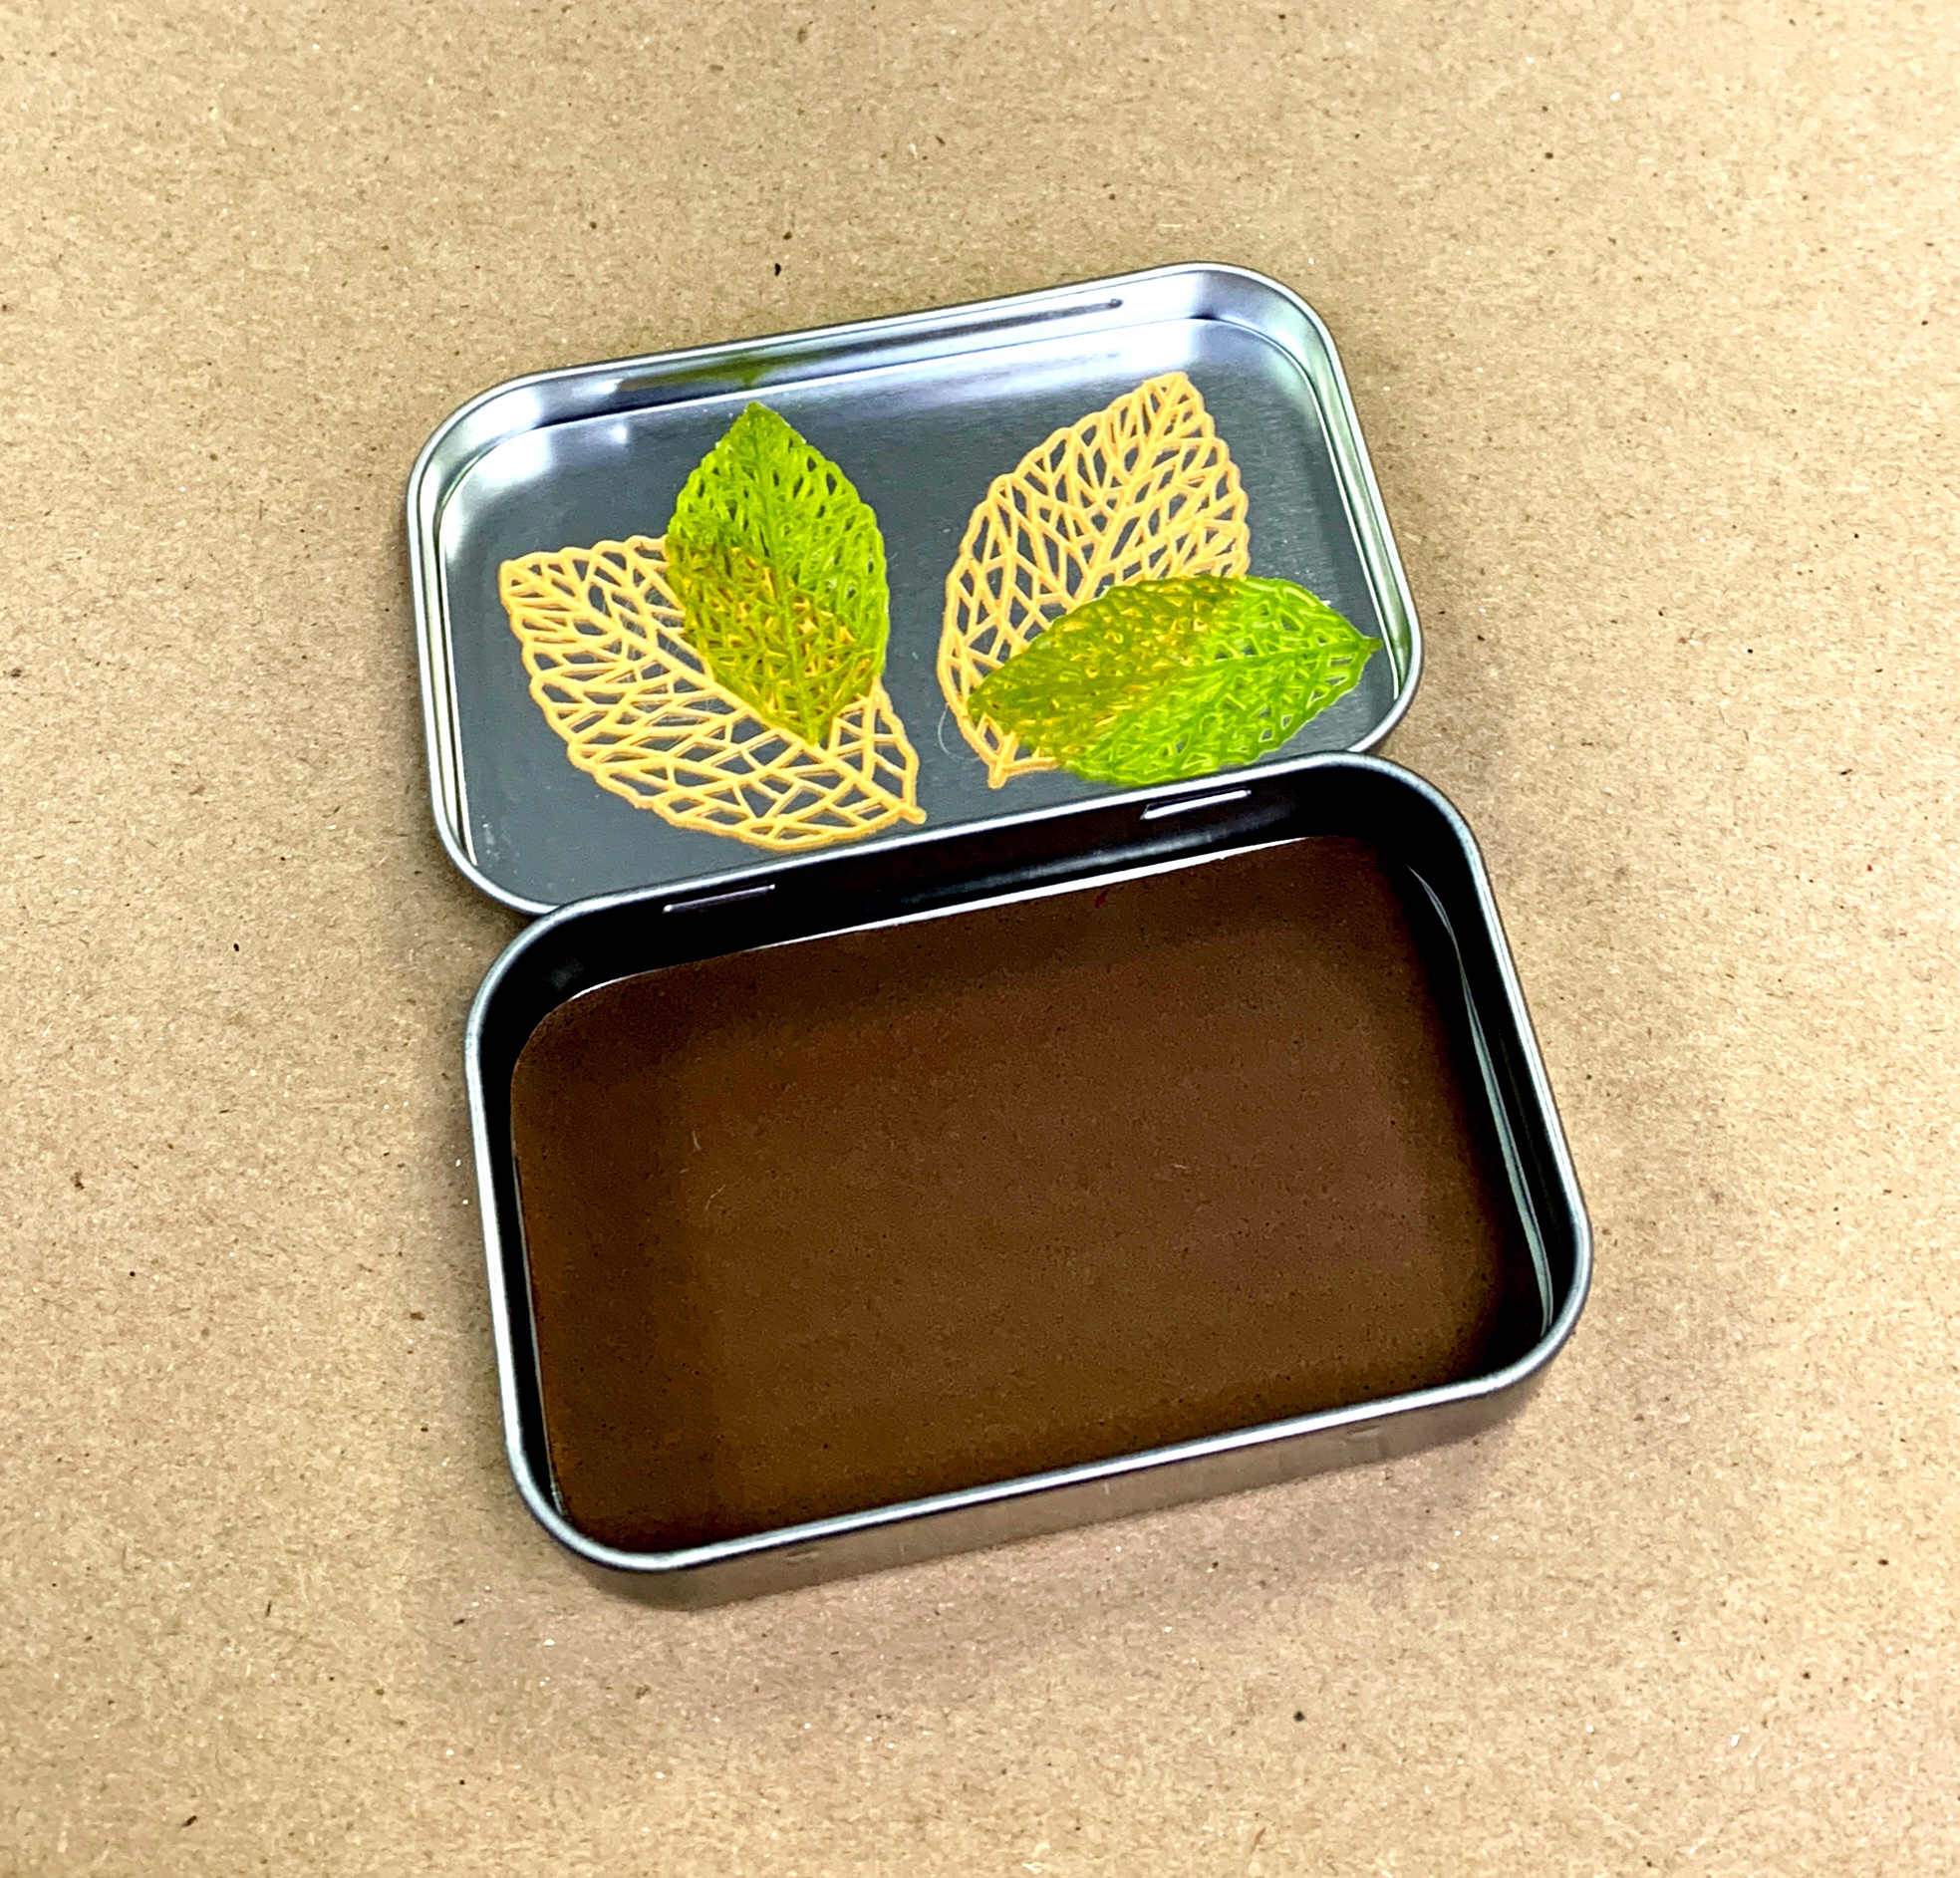
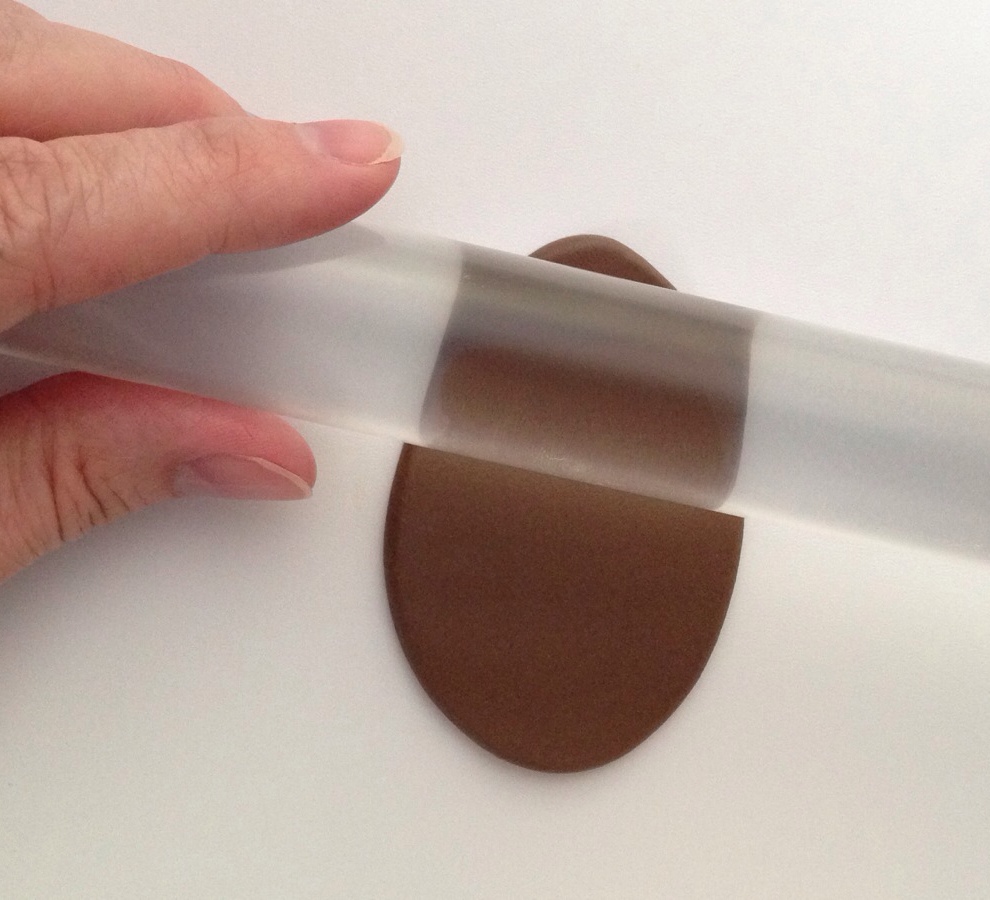
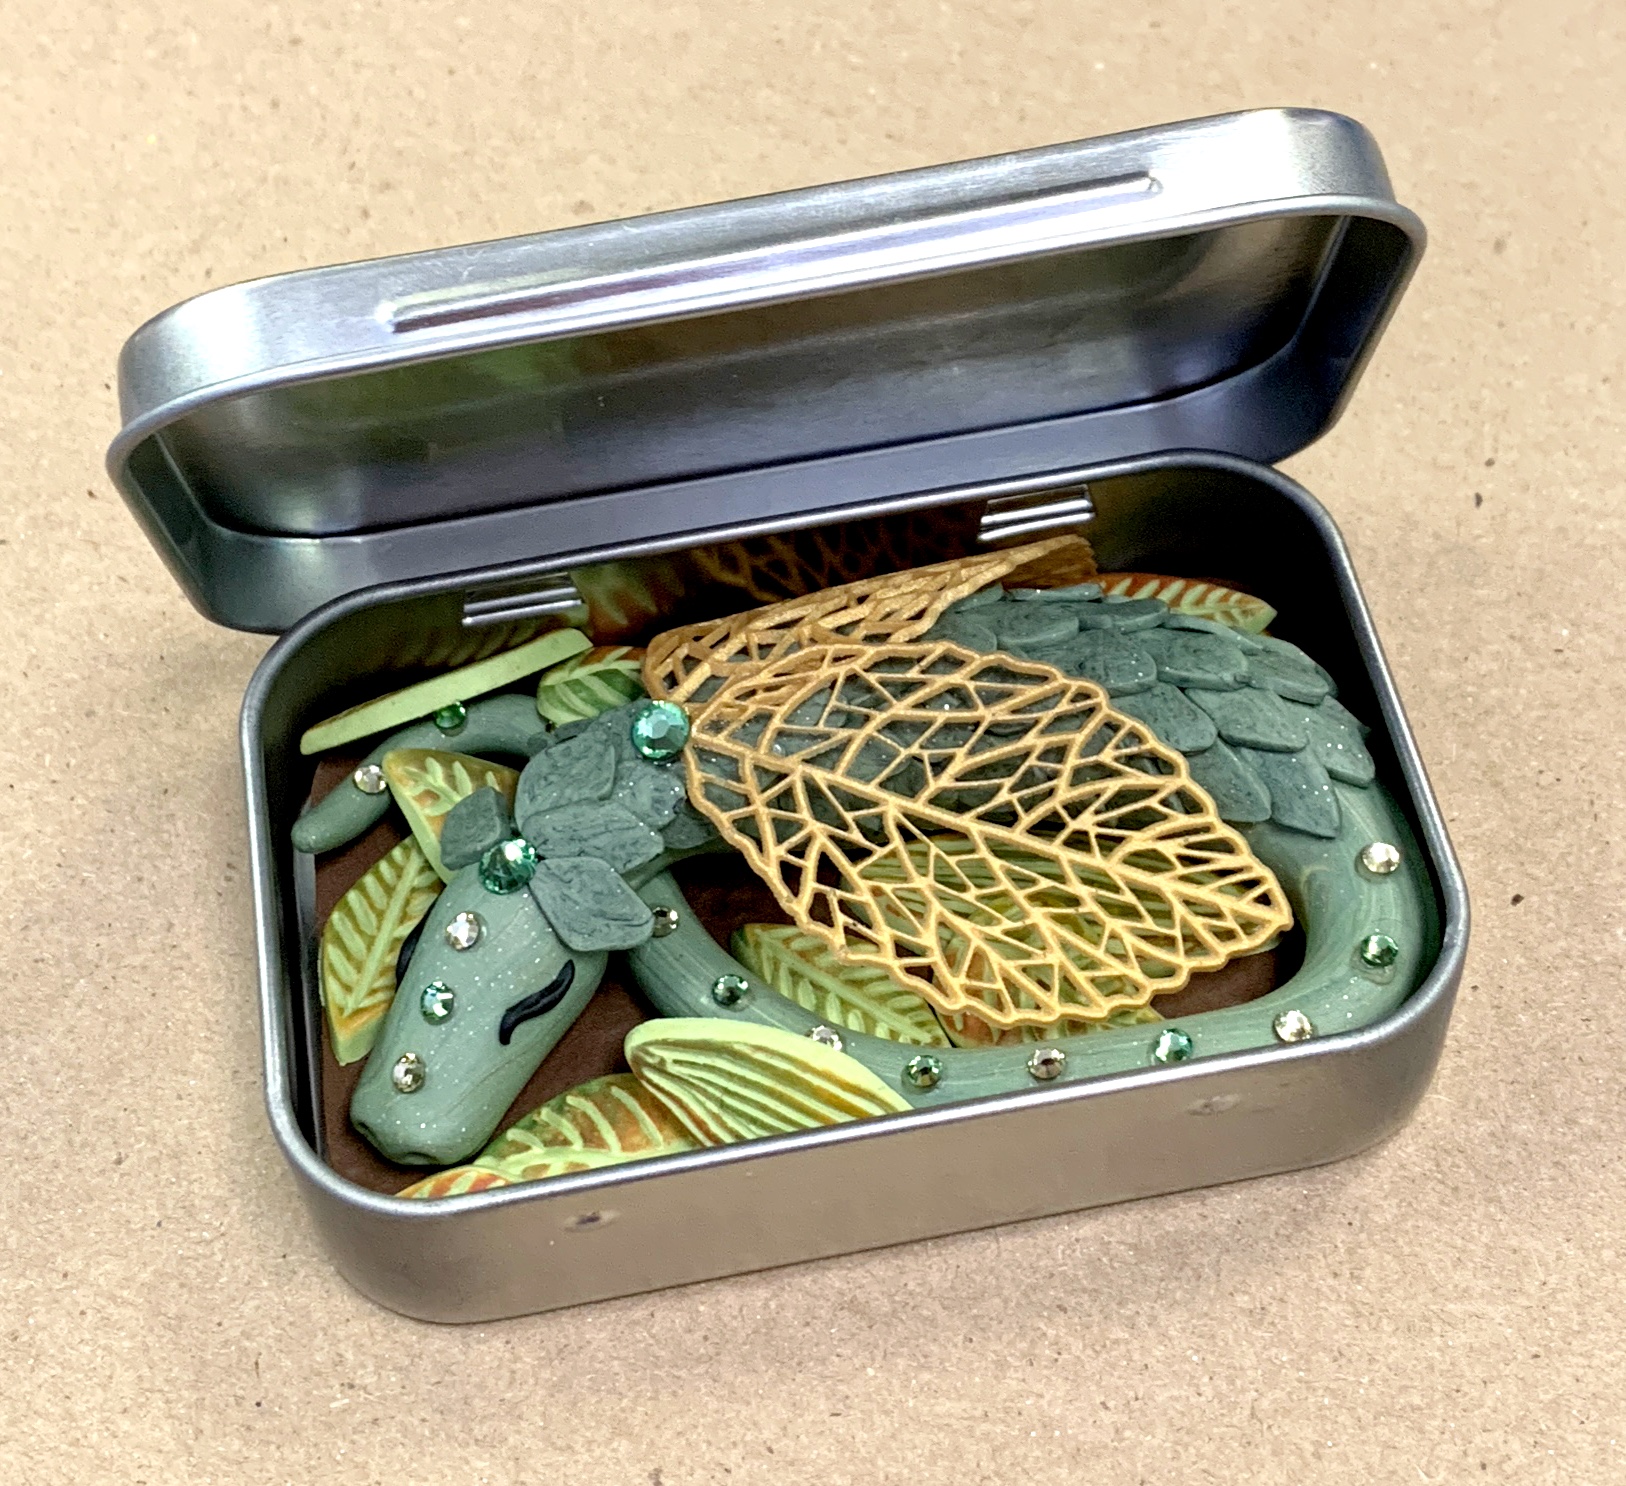
Step 2: Use a clay roller, rolling pin, or heavy glass bottle to roll out a thin piece of brown clay to represent the forest floor (if using a rolling pin, wash thoroughly after you're finished to remove clay particles and residue). Cut the clay to fit inside your tin box. You’ll notice I’ve also pre-formed my dragon’s wings as well. These were made using liquid clay and a silicone lace leaf mold. They are very soft and flexible.
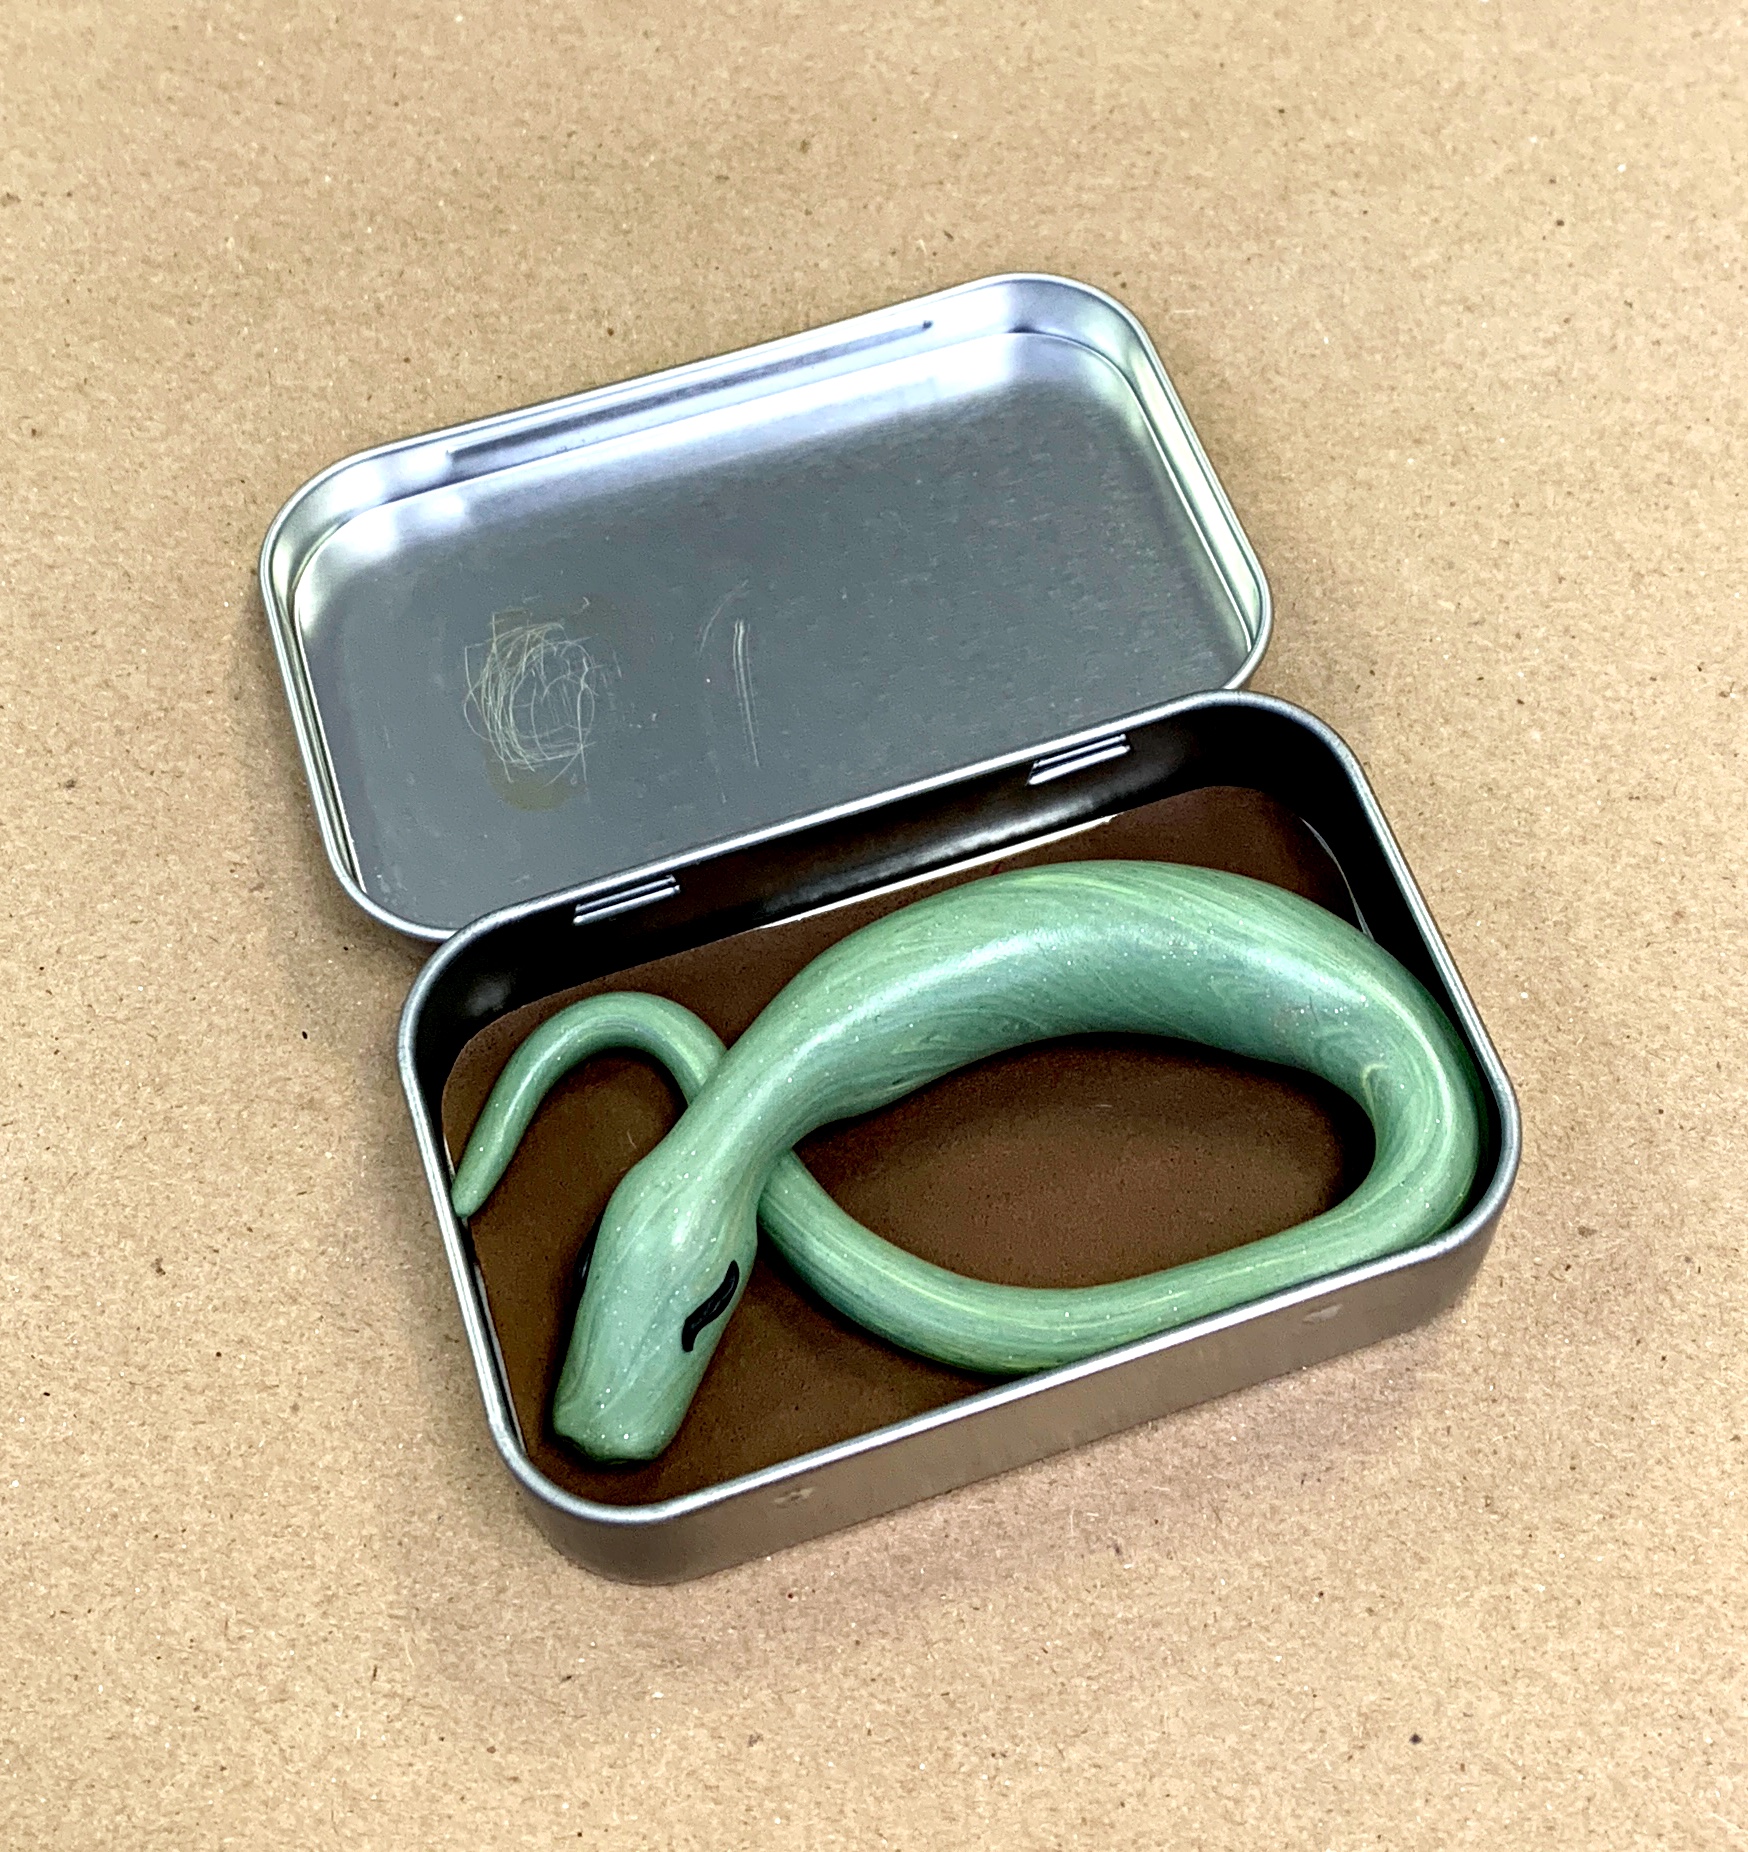
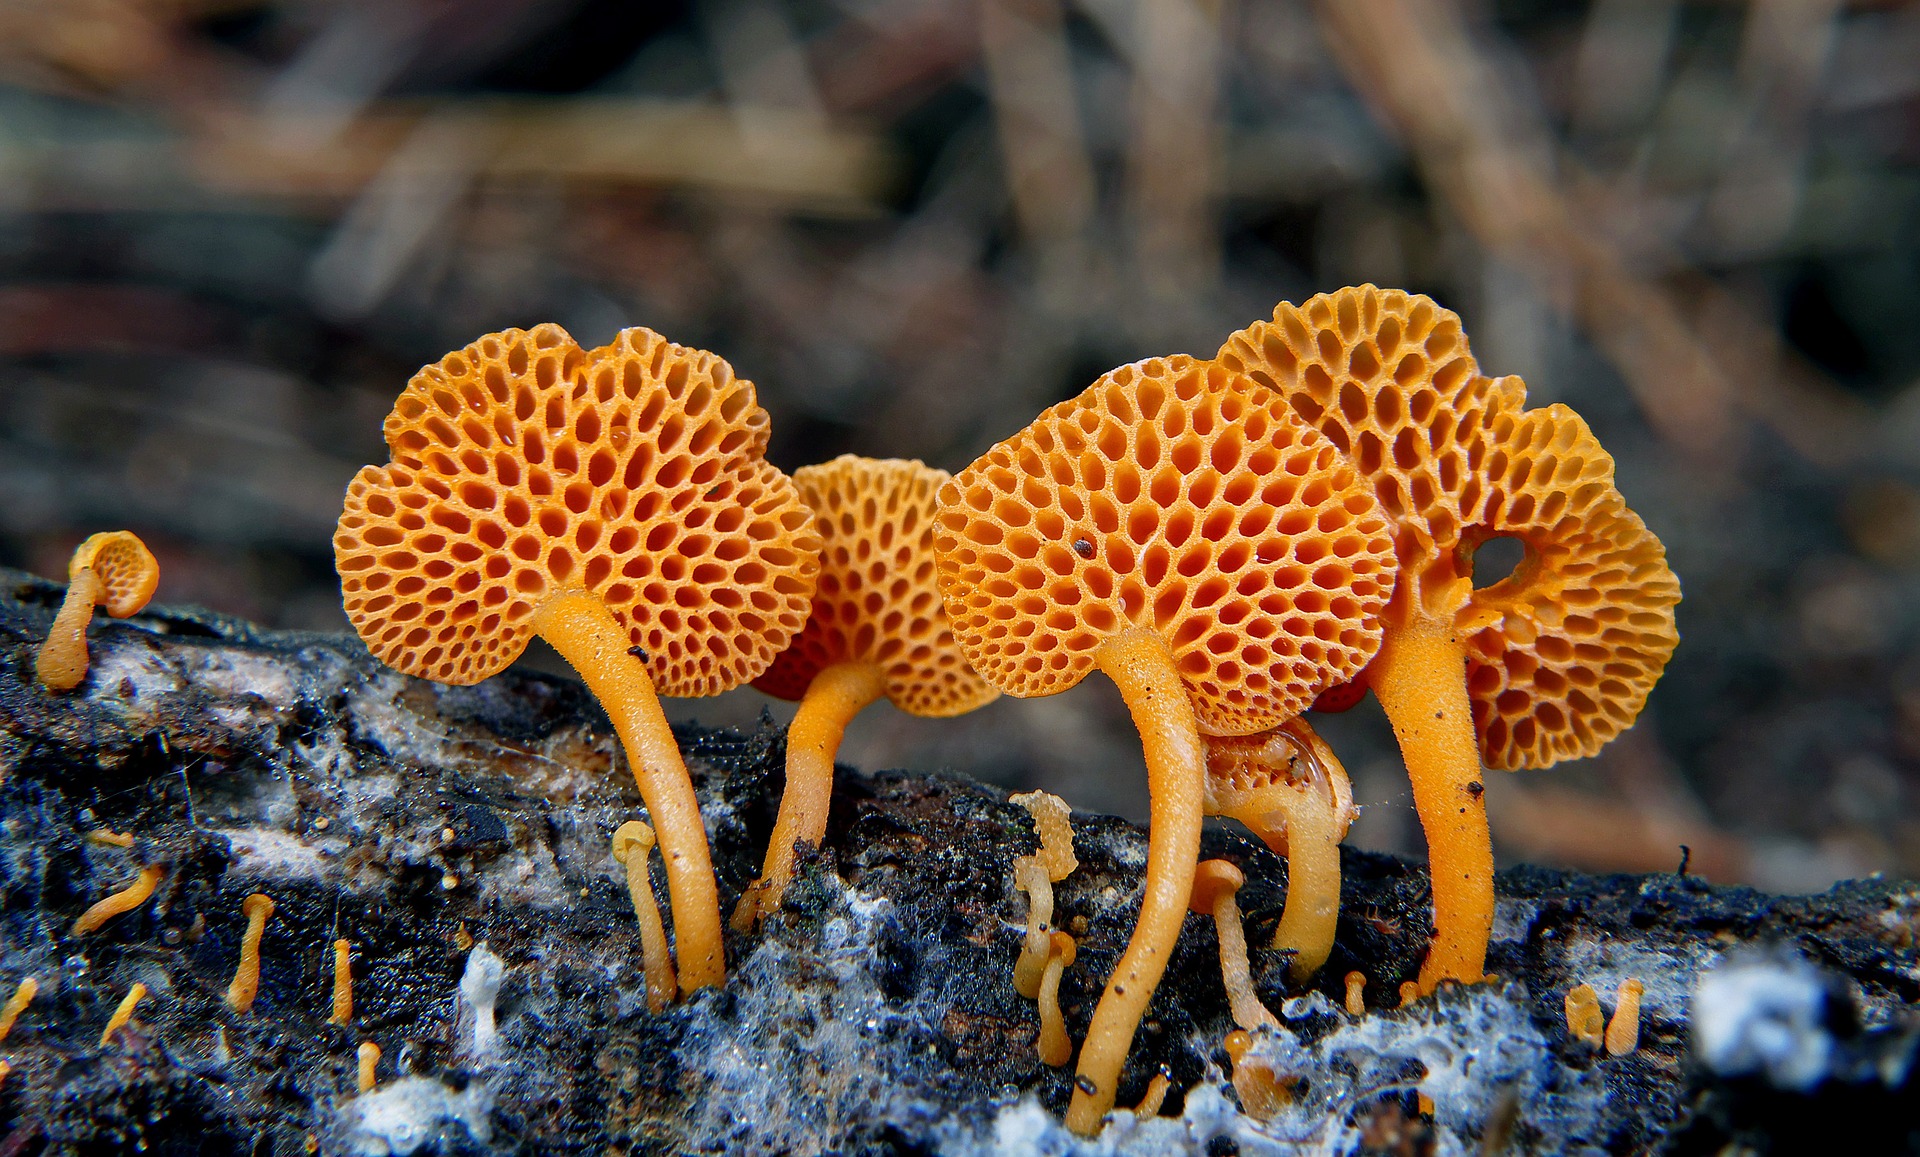
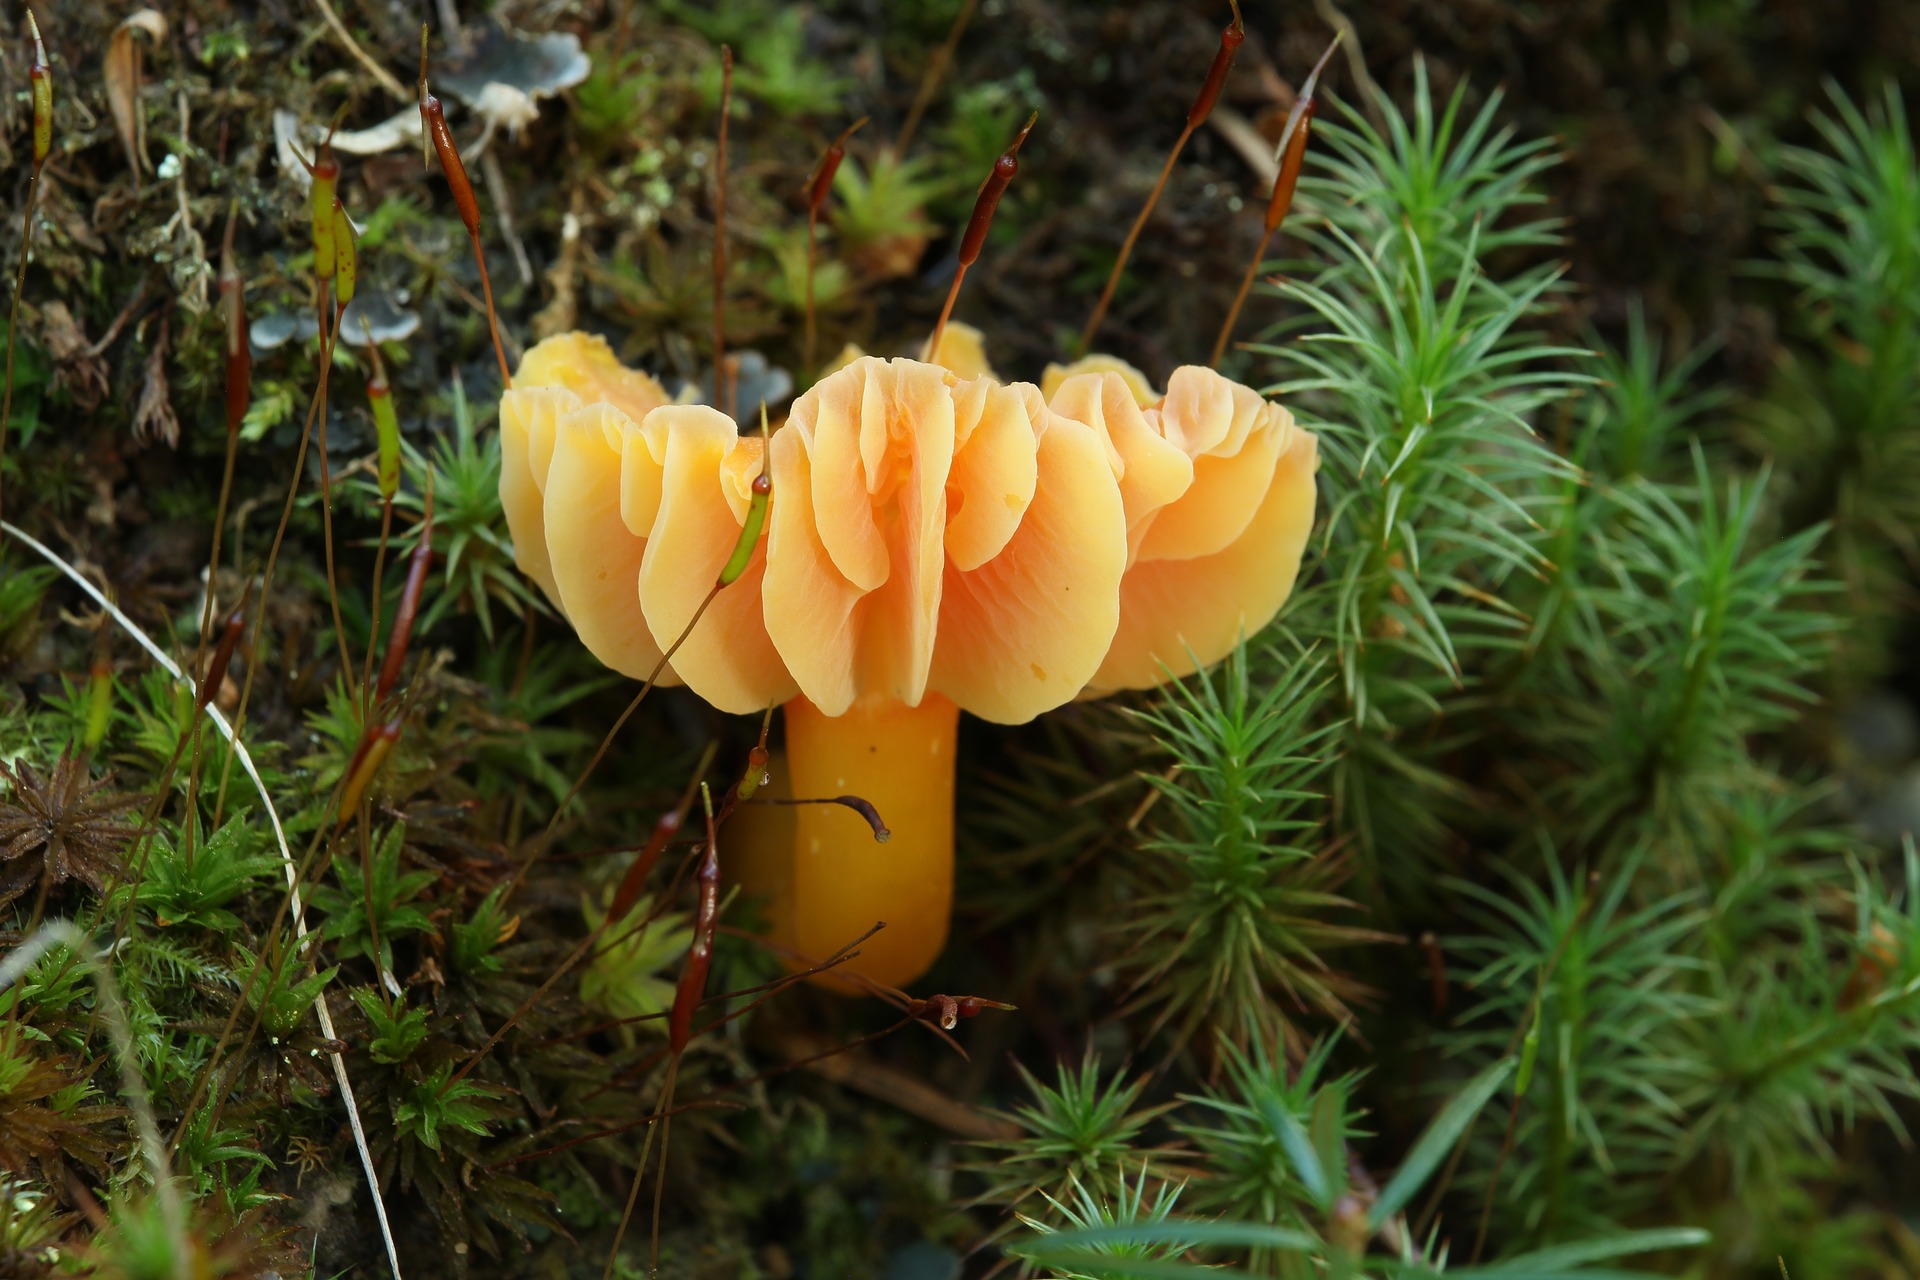
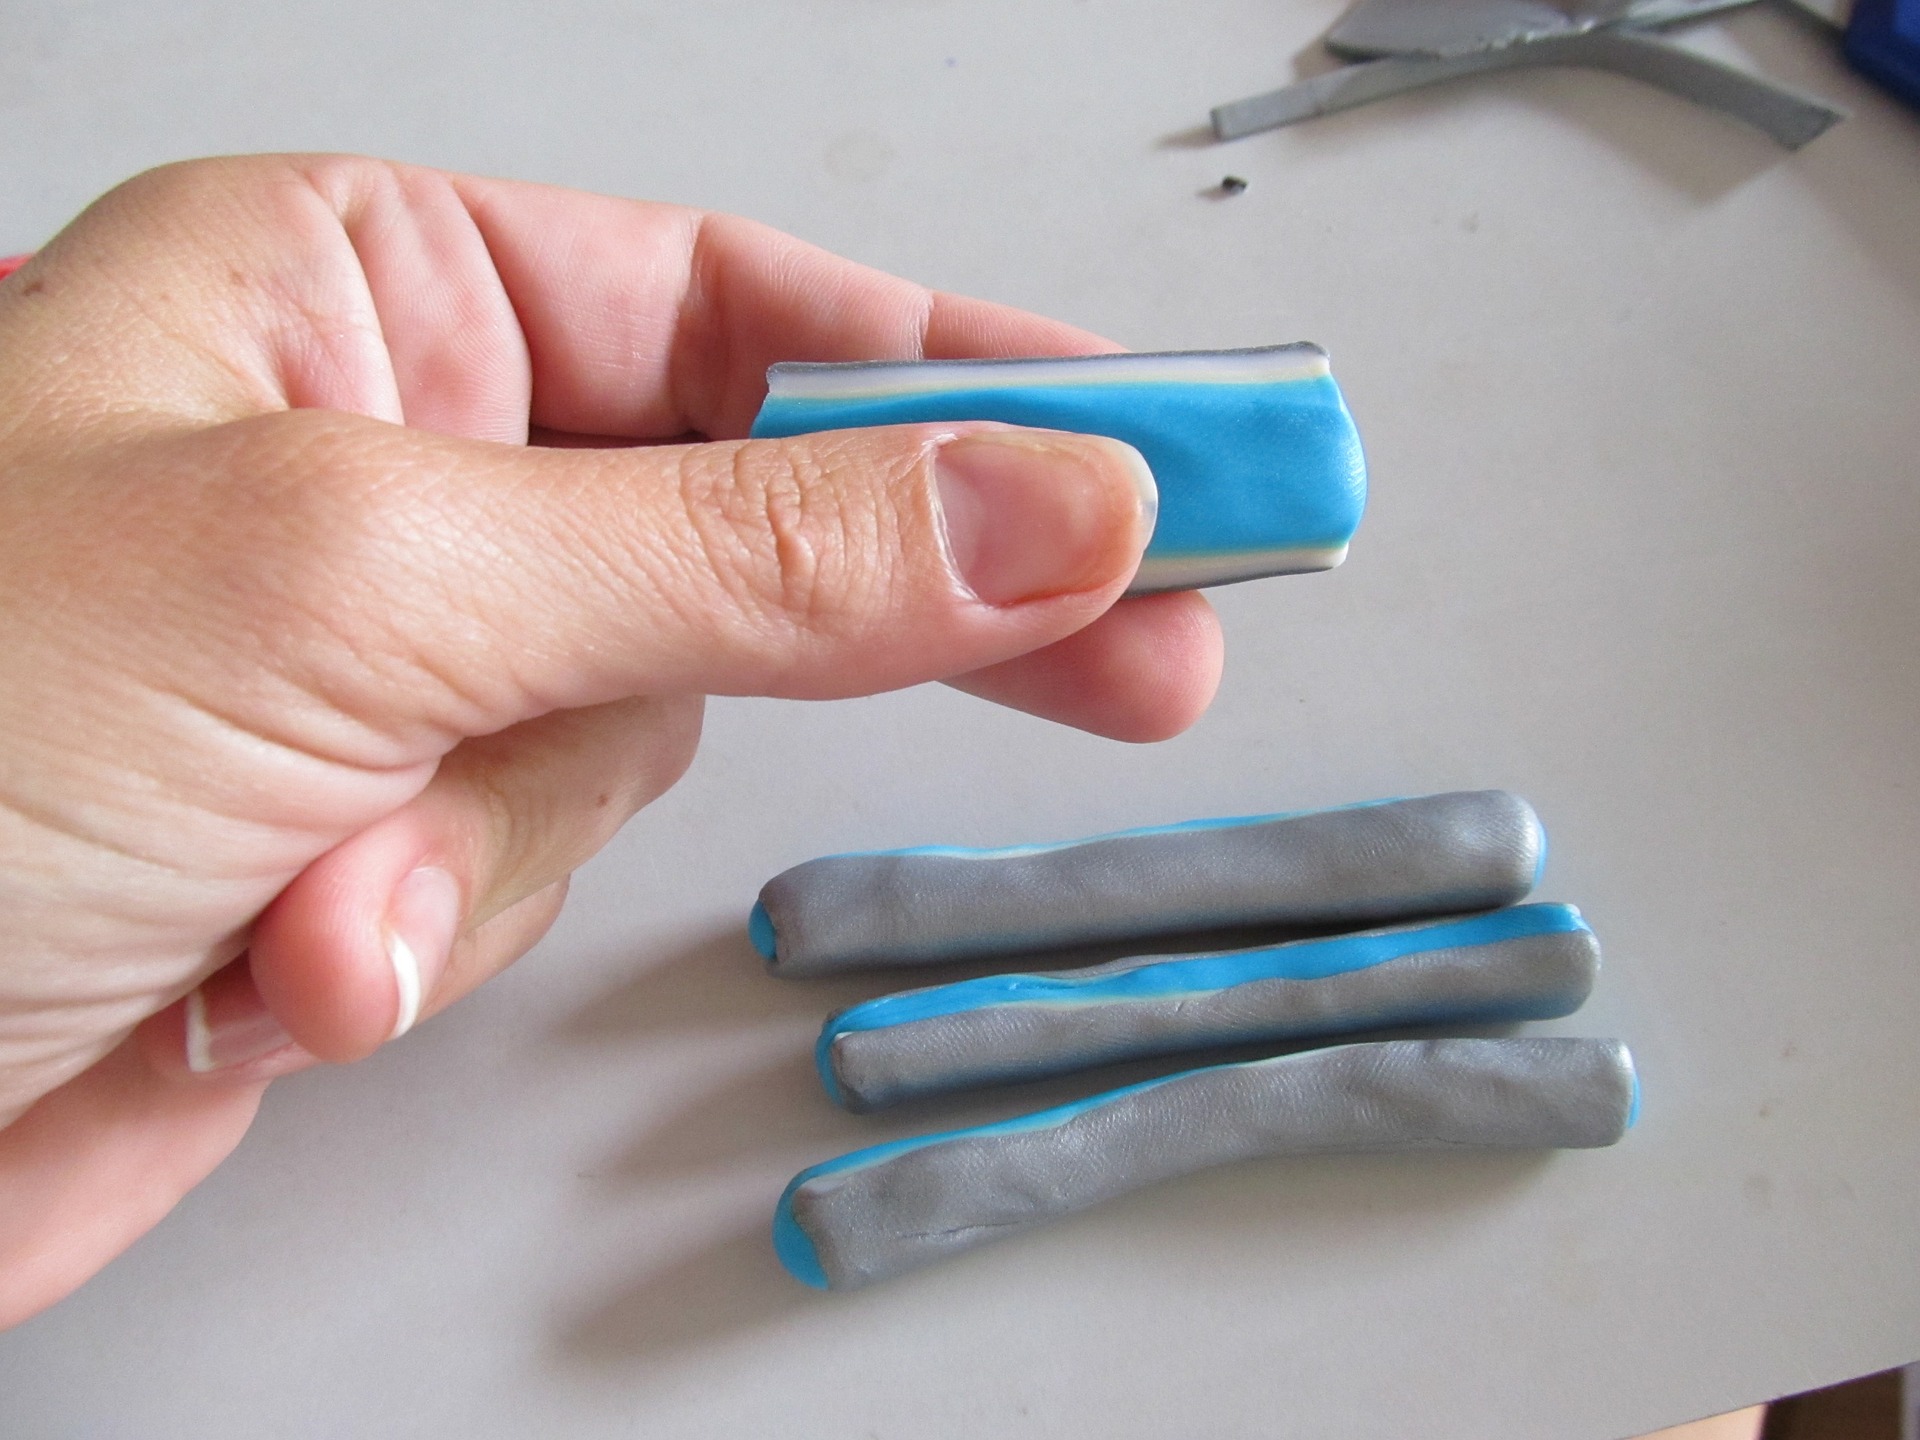
Step 3: Next, form the body of your critter or your mushroom. If you choose to craft fungi, you’ll want to make them fairly flat so they fit inside your box. That’s ok, because fungi come in all different shapes and sizes, as evidenced by the gallery of pictures in the fungi section above. If you want to make a dragon or salamander, roll out a small piece of clay into a thin log shape, stretching it out to a point for the tail. Refer to the picture for ideas. Make sure your critter isn’t too big for its box!
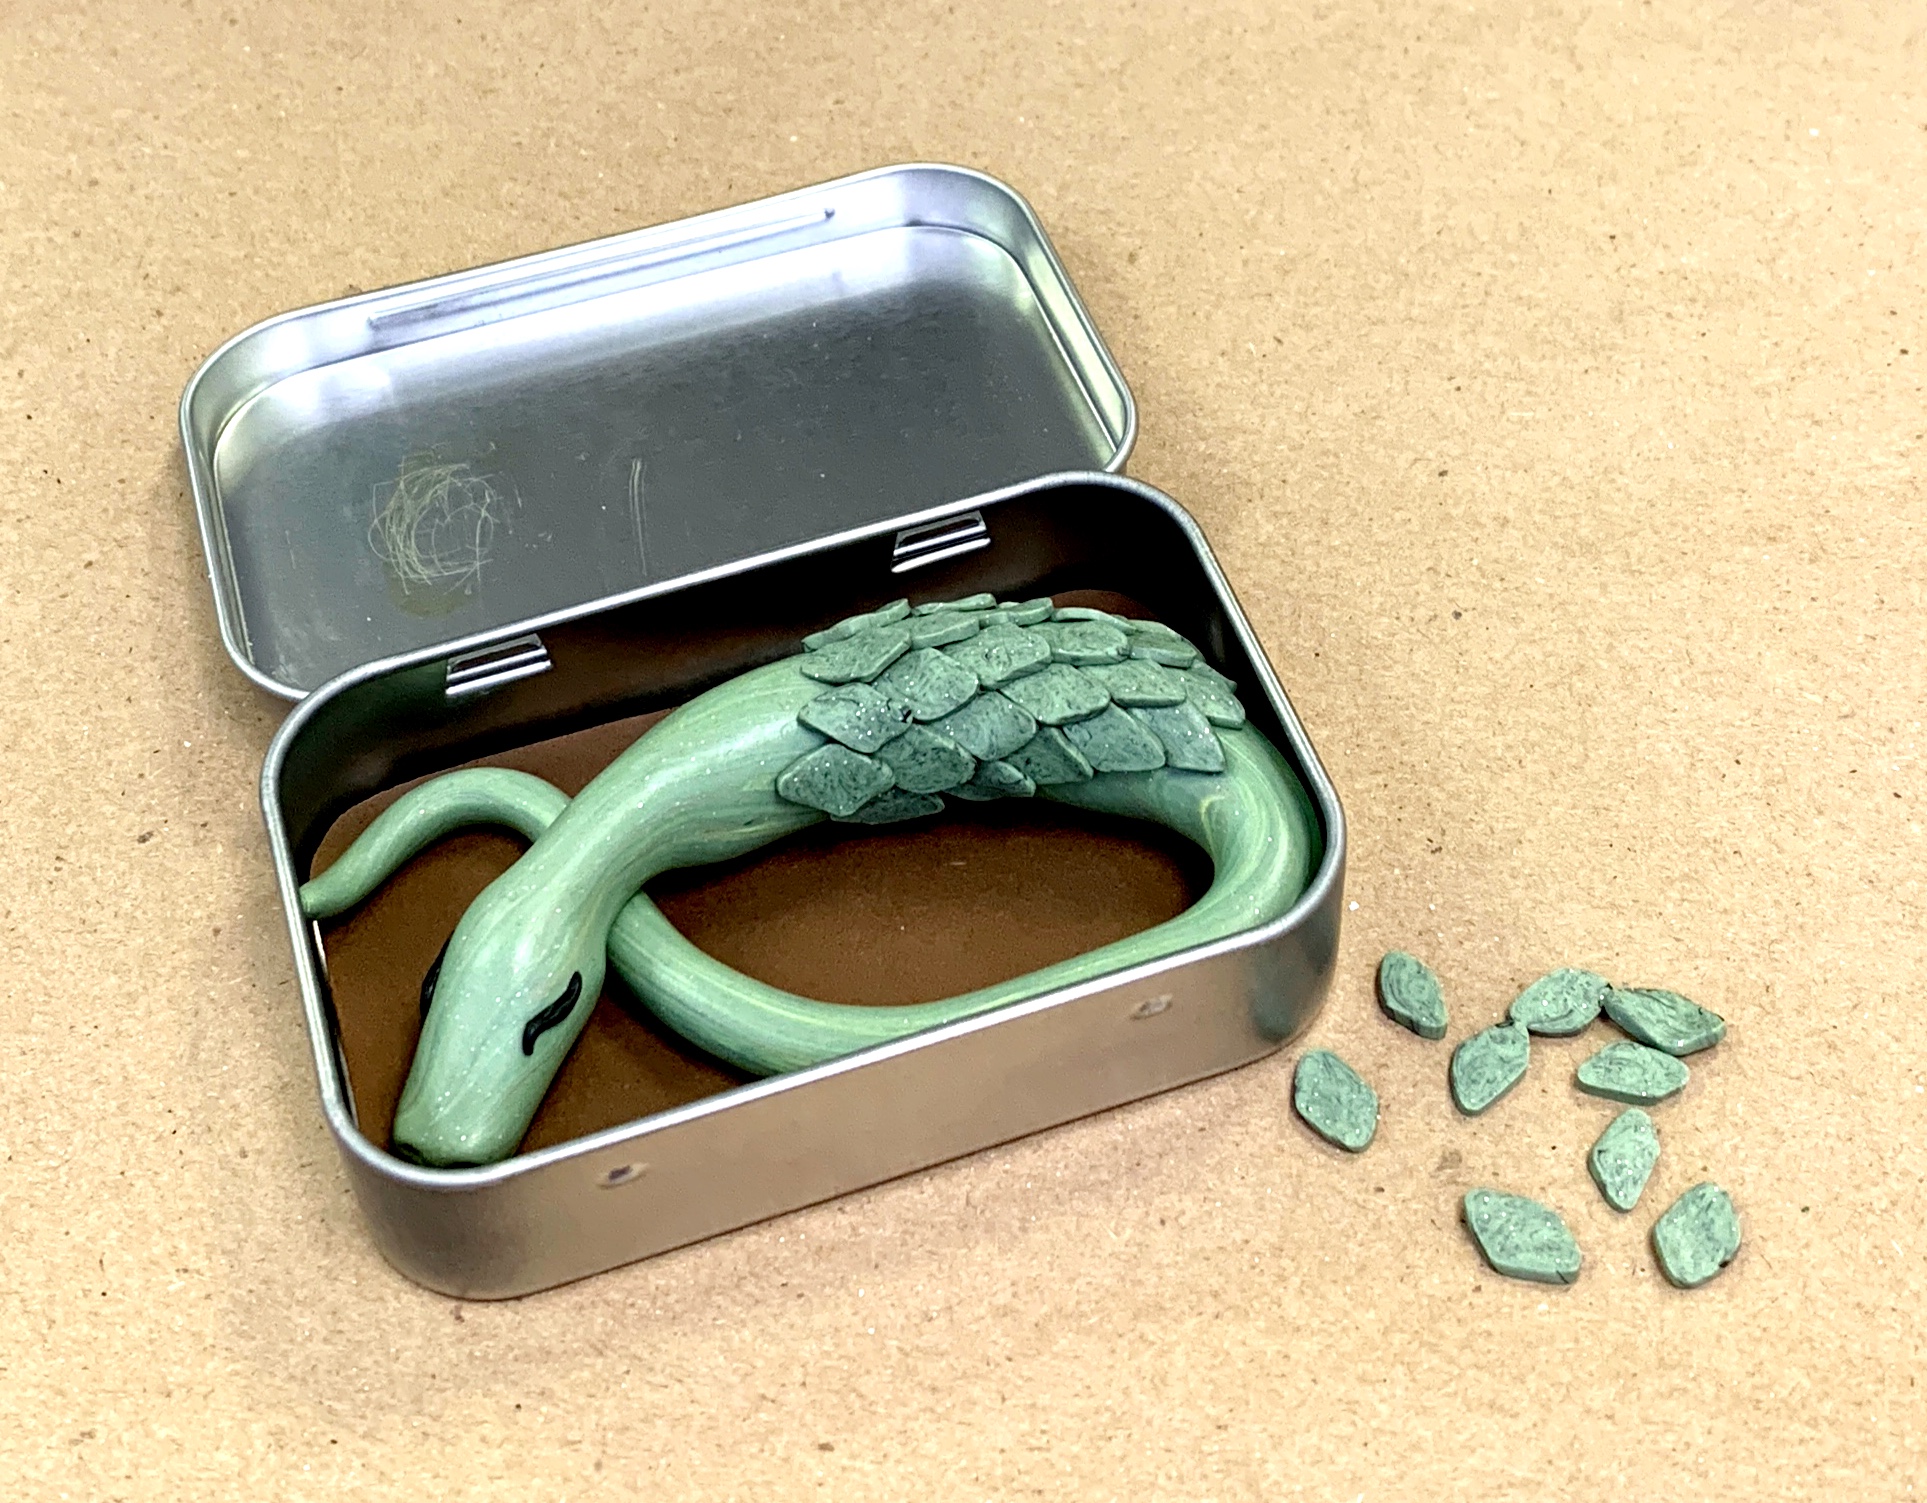
Step 4: Continue to sculpt your critter (or fungi) to your liking. I added small black pieces to represent closed eyes and individual scales on his back. For a salamander, you’ll want to add 4 legs and maybe some spots on its back. Be creative...this is your little square of the forest floor!
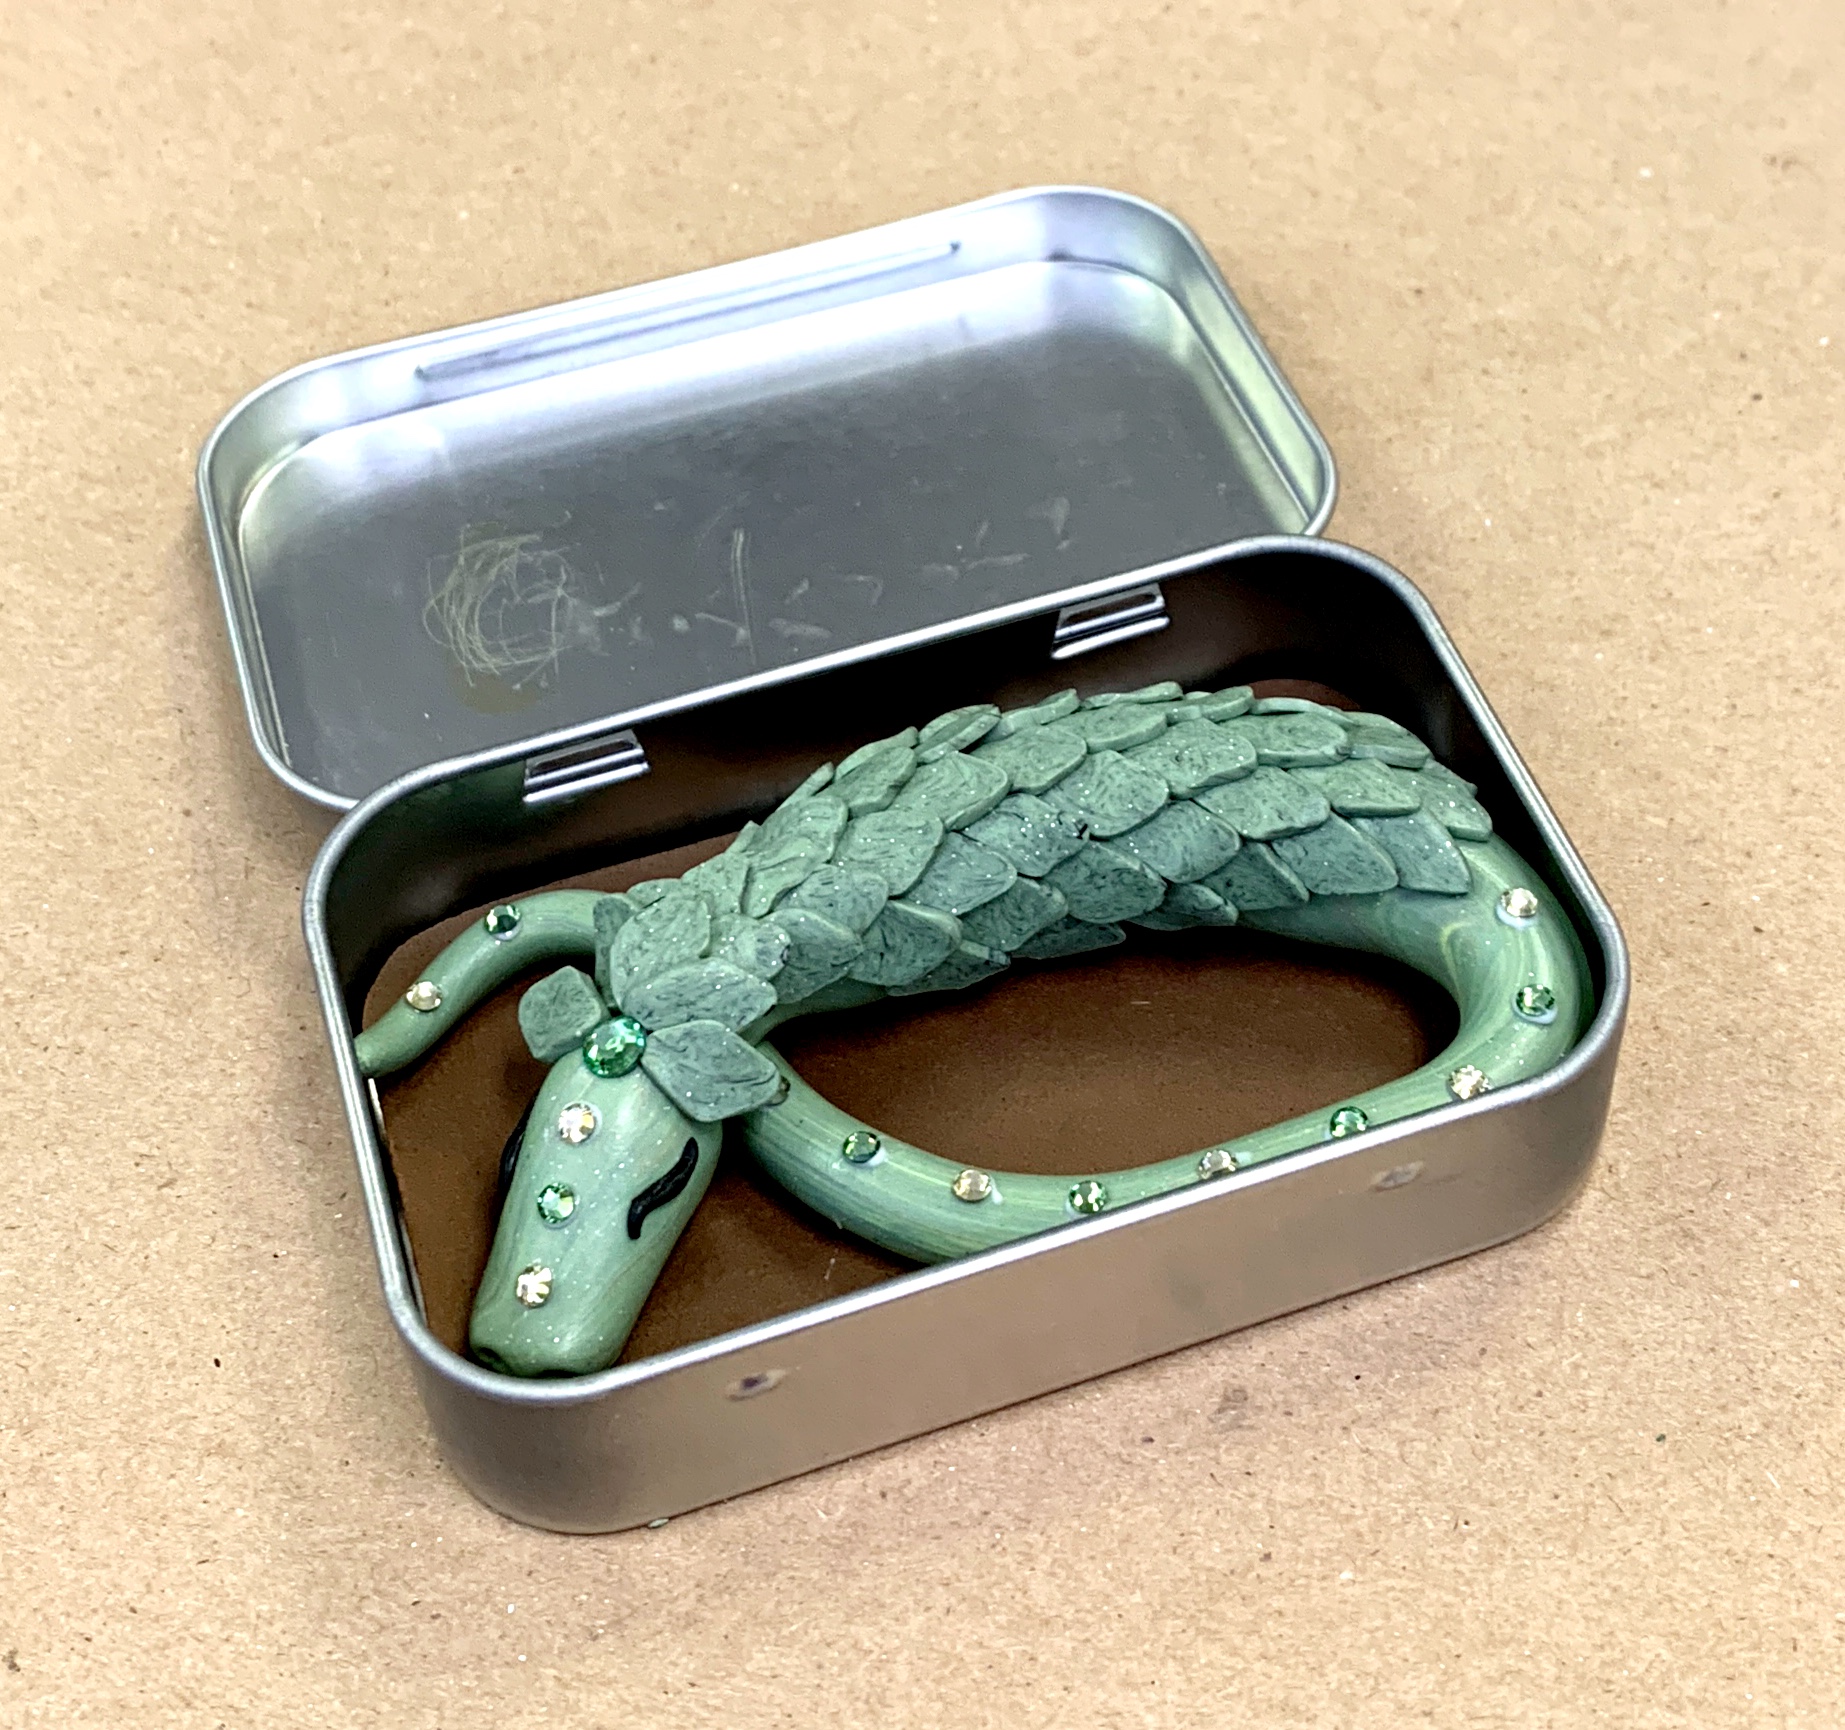
Step 5: Add a few sparkly flatback crystals (these must be glass or they will melt in the oven) for decoration, and your critter is ready to bake. If using air dry clay, wait until your critter has thoroughly dried before gluing the crystals on. If you plan to paint your air dry clay creation, crystals should be added after that step.
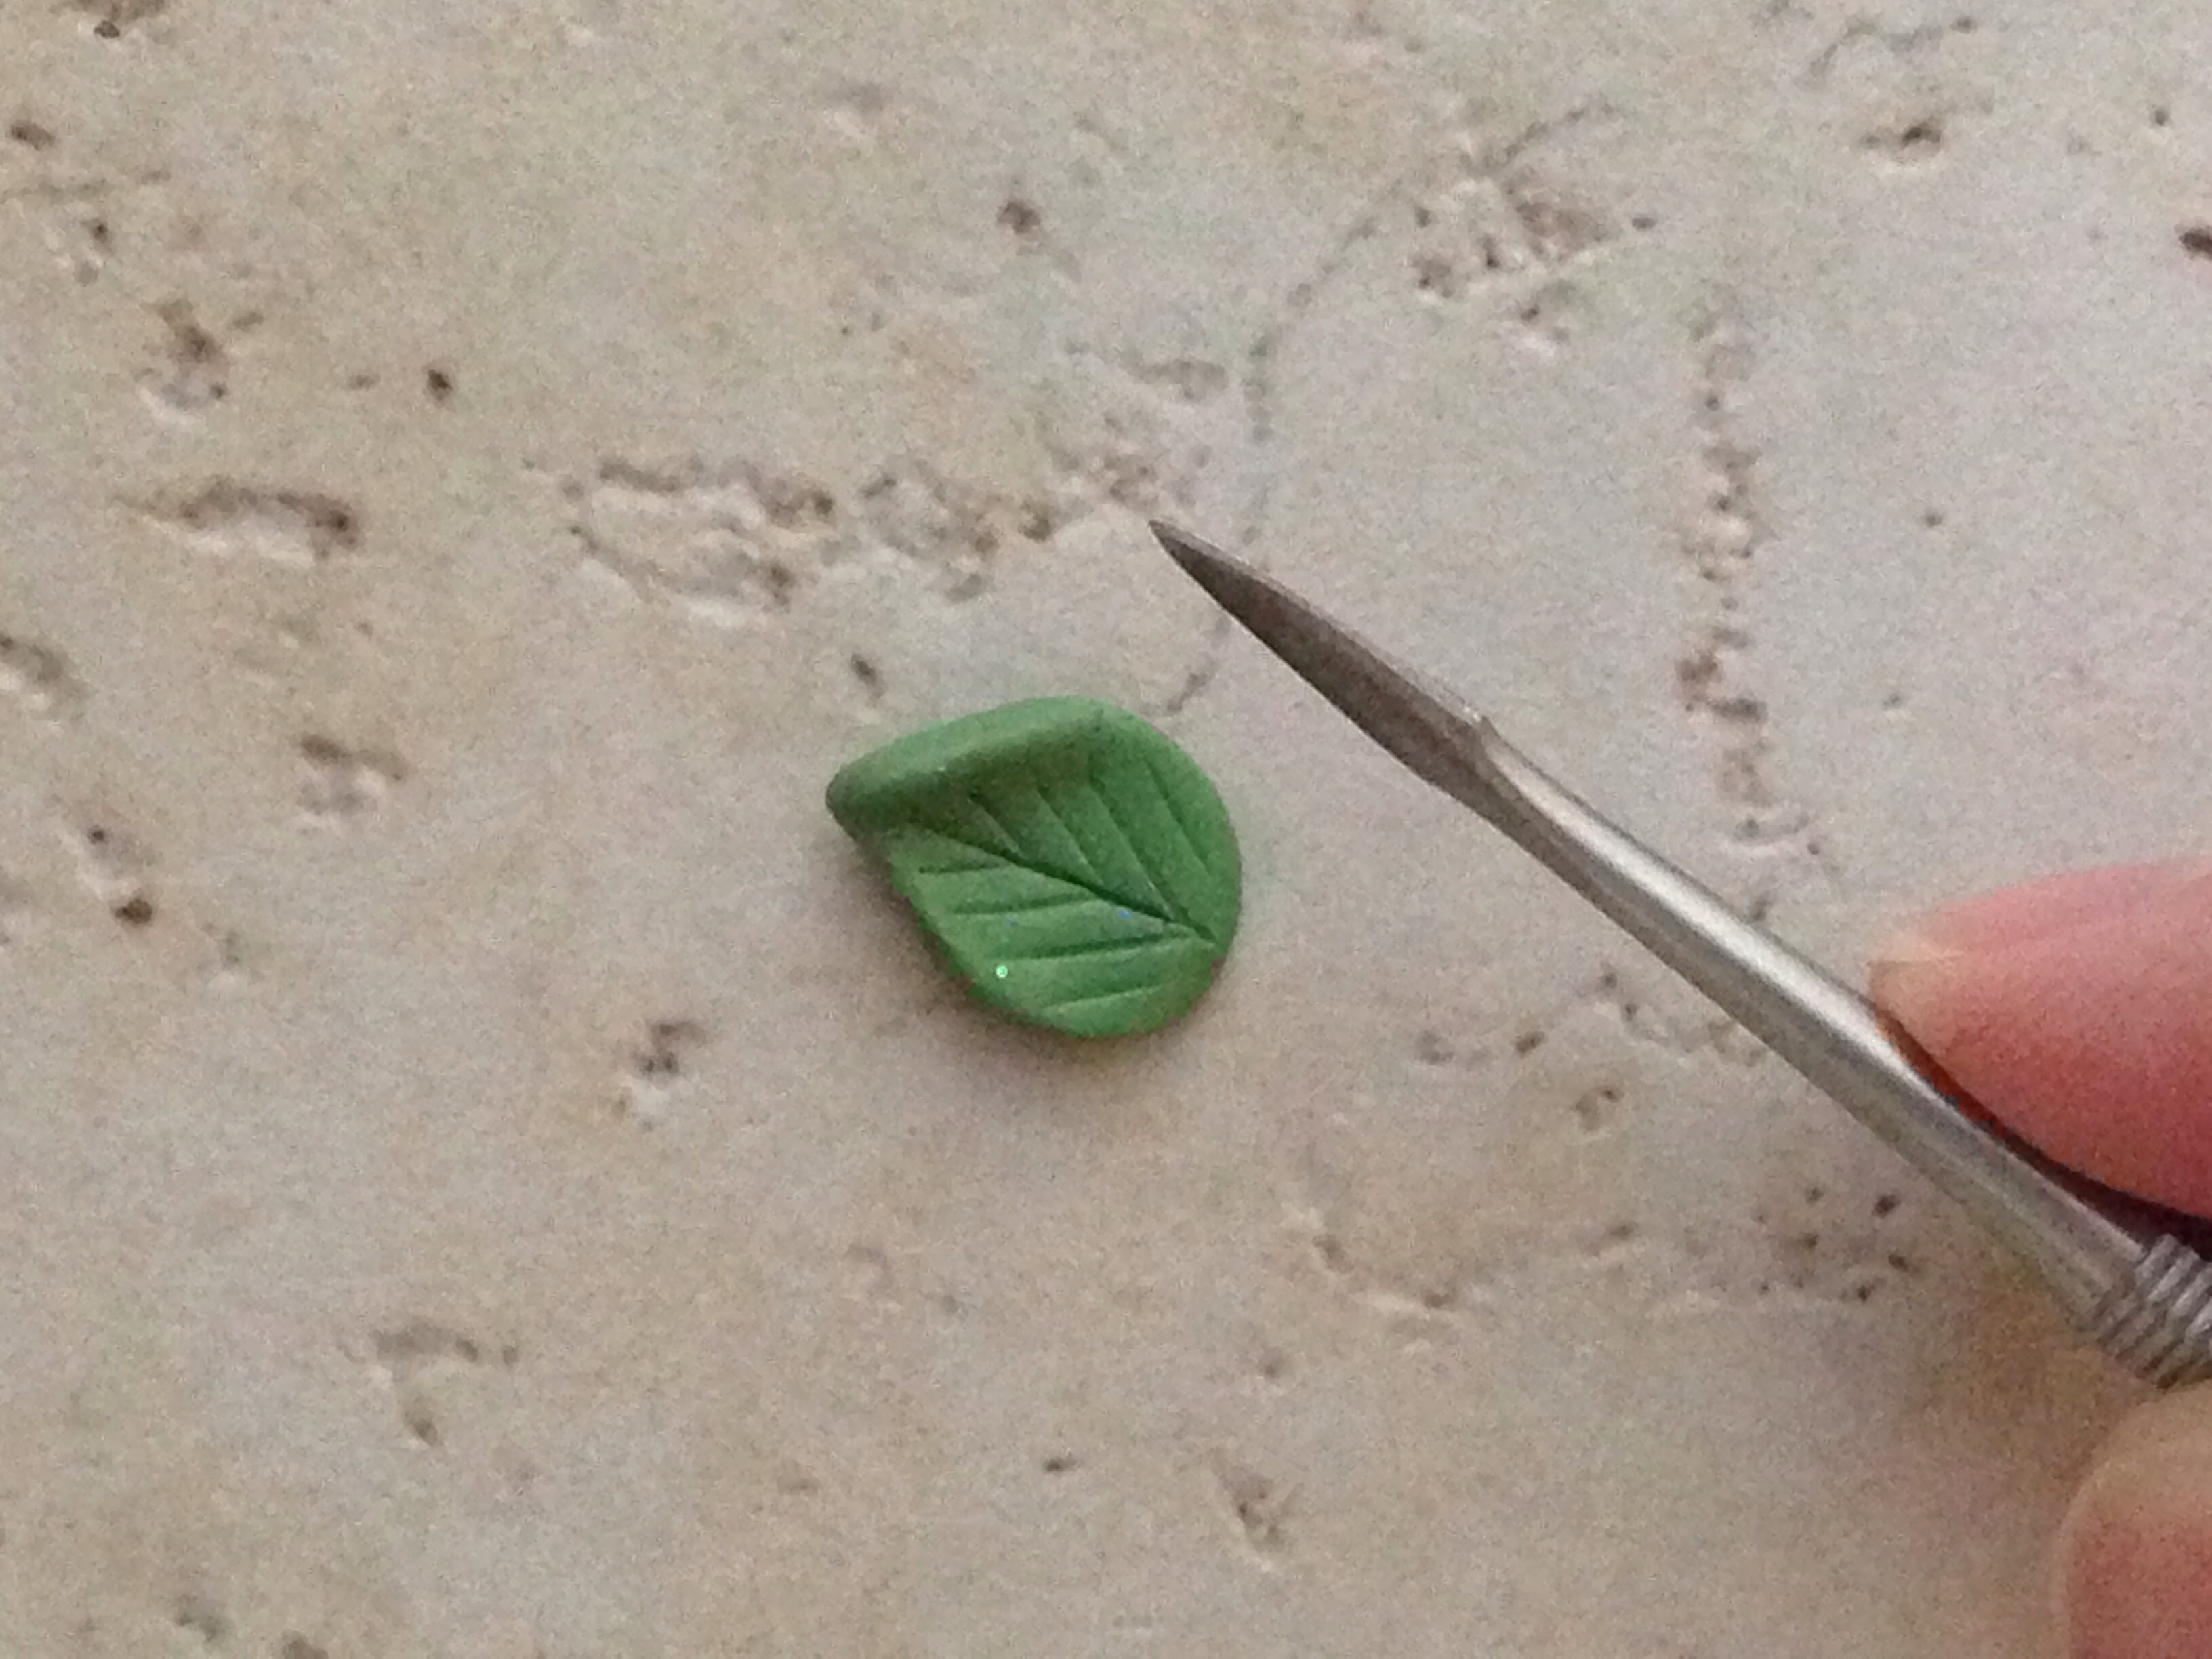
Step 6: Lastly, you’ll want to make your detritus. I used a silicone mold to make several leaves of different colors to toss in with the dragon, but you can form your own leaves without a mold easily enough. I baked the leaves separate from the dragon so they could be moved around or removed from the box. Raw clay sticks to itself, so any pieces touching each other during the baking (or air-drying) process will be permanently glued together.

Step 7: To bake polymer clay, preheat your toaster oven to 275 degrees Fahrenheit. I recommend using an old toaster oven for this; just don’t use it for food once you’ve baked clay in it. Polymer clay gives off fumes when it heats up, and you don’t want your toast tasting like clay…trust me. Use a separate thermometer to gauge temperature in your oven. The thermometers on toaster ovens are notoriously wrong most of the time.
Once your oven is preheated properly, place your tin (leave the lid off or open – you don’t need to bake it unless you put clay decoration on it) inside the oven. Be sure not to put it right next to the coils as it may burn. If you have room, you can bake individual leaves or other “detritus” on a piece of cardstock paper or cardboard next to the tin. Set a timer for 45 minutes and check the oven temperature (and your clay) every 15 minutes to make sure everything is ok.
For air dry clay curing times, follow the instructions on the box and add another 12 hours for good measure!
The finished product is below...
One Last Thought
It’s hard to imagine all that goes on under the trees and bushes of the forest. I hope this article provided you with a small glimpse into that small, and yet extremely important world. Can you imagine what a forest ecosystem would be like if there were no decomposers or detritivores? All that detritus would pile up on the forest floor, growing deeper and deeper with each passing year. Without the nutrients that are normally returned to the soil during the decomposition process, the plants and trees would wilt and stop reproducing.
Eventually, the forest would die, leaving behind so much dead plant and animal matter that nothing else could live there. Now, that’s a frightening thought. Luckily, it’s not something we have to worry about, right? Thanks to all the critters (and “fun guys”) that call the forest floor their home, we’ll continue to breathe the fresh air provided by forests throughout the world.
So, do you think you’ll pay a bit more attention to what’s underfoot the next time you take a stroll through the woods? Good for you! If you want to learn more about what lives on the forest floor (and everywhere else in the woods), below are a few fun forest games I recommend! Enjoy your tiny bit of the forest floor (in a box) and...
Go Hug a Tree!
Related Articles
If you enjoyed this article, you may wish to read these as well!
Tropical Rainforests in Peril
There’s a lot going on science-wise when we consider the topic of global climate change. One of the most vital concepts (and one we’re studying intensely as a possible method for slowing global warming) is carbon sequestration. Tropical rainforests help with that. They serve as very effective carbon sinks, meaning they sequester carbon naturally and with little effort…it’s just part of their life cycle...
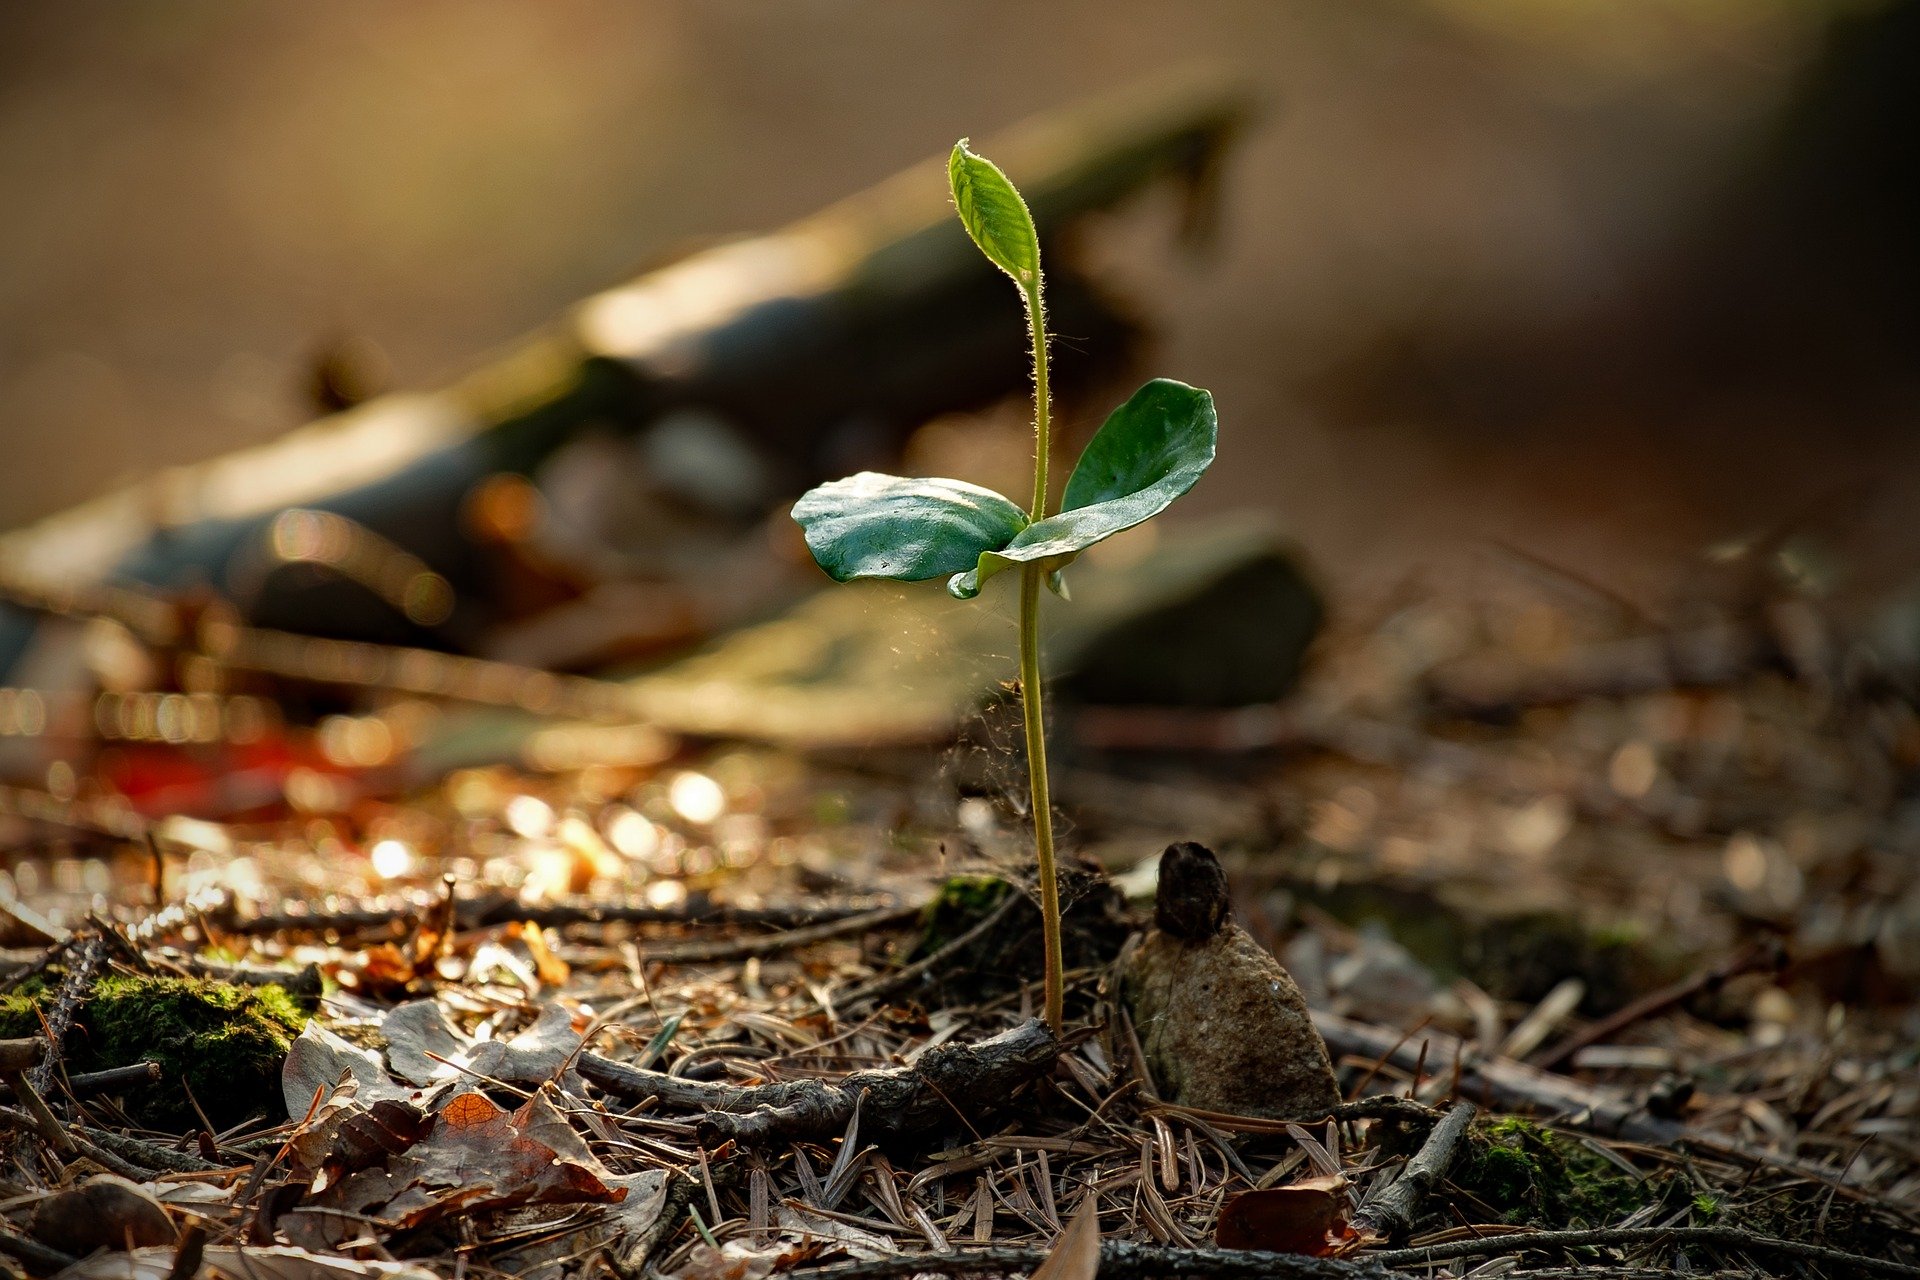
Reasons to Plant a Tree
As I was typing the title for this article, I realized that most naturalists and conservationists don’t really need a handful of reasons to plant a tree. You already know that trees affect positive environmental change wherever they take hold of the Earth. If you’re one of the lucky ones, your home or neighborhood is already surrounded by trees...
Nature at Night
Years ago when I was a park naturalist, one of my favorite programs to lead was a guided night hike. I would take families out on a short trail that wound its way around a small lake fed by a natural spring. The trail was lined with trees, and the spring pool left the air feeling refreshingly cool, especially on a hot summer night in the Midwest. It was the perfect setting to perform some fun science experiments for kids – at night...
© 2021 Tree Huggin' Mom - Created 100% Using GrooveFunnels
Ask me how GrooveFunnels can help you build your dream website!
Follow Me on Social Media!