The study of stars is a tough subject to teach during the day. My kids are very visually-oriented, and they prefer to see the real thing whenever they can. That’s hard to do when you have students from 8:00 a.m. to 3:00 p.m. Last time I checked, the stars aren’t visible that early in the day. So, what’s a teacher to do? Create a stars classroom…that’s what!
The concept I’m going to present in this article originated with a park naturalist I worked with in Missouri. It’s been modified over the years and can now be used to represent various habitats and historical settings. I’m currently working on a course that will teach you how to use it in just about every way imaginable, making this a wise investment for the hands-on classroom. The course will also include a video of the construction process. If you’d like to receive an update when the course is available, please subscribe to my newsletter.
Please note, this post contains affiliate links. If you click through and make a purchase, I receive a small commission. This doesn’t cost you anything, but it makes me happy…so happy that I might even go out and hug a tree! Thanks for your support! Read my Disclaimer for additional information.

Classroom in a Bubble
What do black plastic, a box fan, and duct tape have in common? Not much, but those three items are pretty much all you need to build your own “Bubble Classroom.” This invention was originally developed by a park naturalist I worked with in Missouri. He designed it because he was constantly teaching subjects with an element of darkness (such as caves and astronomy). As you may already know, it’s difficult to put a room with a bunch of windows into relatively complete darkness in the middle of the day (without investing in a ton of aluminum foil to cover the windows).
This contraption can help you provide information about stars for kids. With our Bubble Classroom, we could take students inside and give them a chance to experience the night sky or a cave environment in safety and darkness. That made the program more realistic and definitely captured the attention of our participants. The Bubble Classroom was a popular destination for elementary school kids at my park.
Once inside the bubble, we could show videos or PowerPoint presentations on a small whiteboard, have the kids help decorate (with stars or speleothems), talk about the history of constellations or the animals that live in a cave, and even make a few crafts (with the help of lanterns). After I provide instructions for building the bubble, I’ll tell you how we presented our star programs both inside and outside (in case you’re not interested in making your own Bubble Classroom). And don’t worry, I’ll happily give you tips on logistics and things to avoid as well.
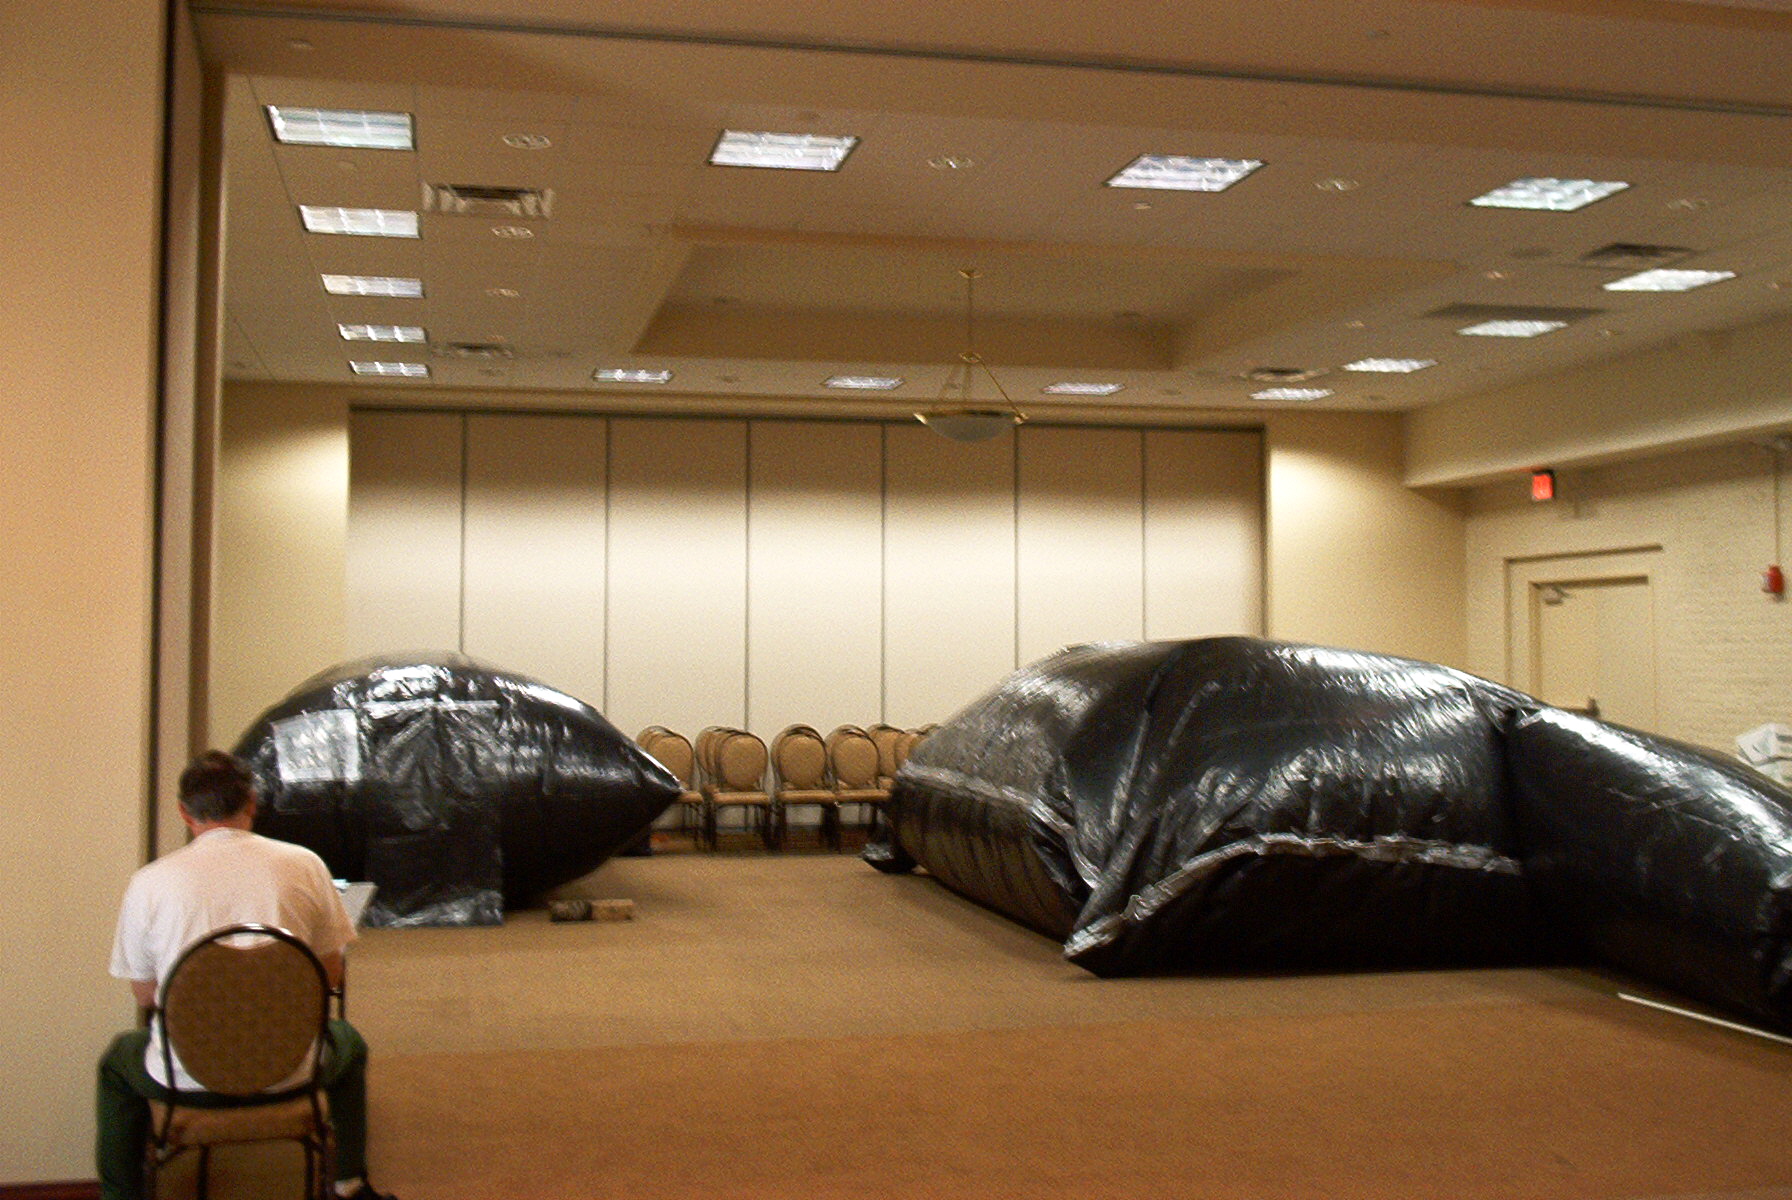
Here’s a photo of what a smaller (on the left) and large bubble look like from the outside (sorry it’s a little fuzzy; the photo has degraded a bit):
Ready to build your own? It’s actually very simple. The most important thing is to give yourself plenty of room to work. The school gym is a good place to do this. I would avoid constructing one of these outside in warm weather as the tape tends to get sticky and becomes more difficult to work with. The black plastic gets hot very fast, and that can be really uncomfortable as well. Be sure to work barefoot or in socks (no shoes) to avoid putting holes in the plastic.
How to Build Your Own Bubble Classroom
Supplies:
Black duct tape (at least 2 rolls)
Masking tape (or painter's tape)
Box fan
Extension cord
Metal clips (to connect the fan and the fan tunnel)
Scissors or box cutter
Tape measure
Optional: tie downs (bungee cords or rope will work)
Optional: concrete blocks or anything heavy enough to hold the bubble in place (not as much of an issue if you set the bubble up inside vs. outside
Instructions:
1. Decide how big you want to make your Classroom Bubble. Our largest was 20 feet X 20 feet. Our smallest was 10 feet X 10 feet. For a class of 20 students, you will likely want to split the group in half and bring 10 students at a time inside the bubble. In that case, a 20X20 design will be more roomy. When you’re deciding how big to make your bubble, think about where you will set it up as well. Once blown up, it won’t be 400 square feet; it will be smaller than that, but you will still need a fairly good amount of space to spread out. Ideally, the gym or other large room would be your best option.
2. Roll out 20 feet of plastic, cut it from the roll, and unfold. Repeat this three more times for a total of four pieces. If I’m remembering correctly, the roll of plastic we used was somewhere in the vicinity of 100 feet long and 10 feet wide (that was for a 20ftX20ft bubble, and we didn't use all of it). Adjust accordingly.
3. Tape two pieces of the plastic together lengthwise (see diagram 1 below). Repeat for the other two pieces. You should end up with two pieces of plastic, each measuring 20 feet X 20 feet.
4. Place one sheet on top of the other and begin taping along all the edges. Leave one corner open to add the tunnel for the fan (see diagram 2 below). You’ll want to tape the corners really well.
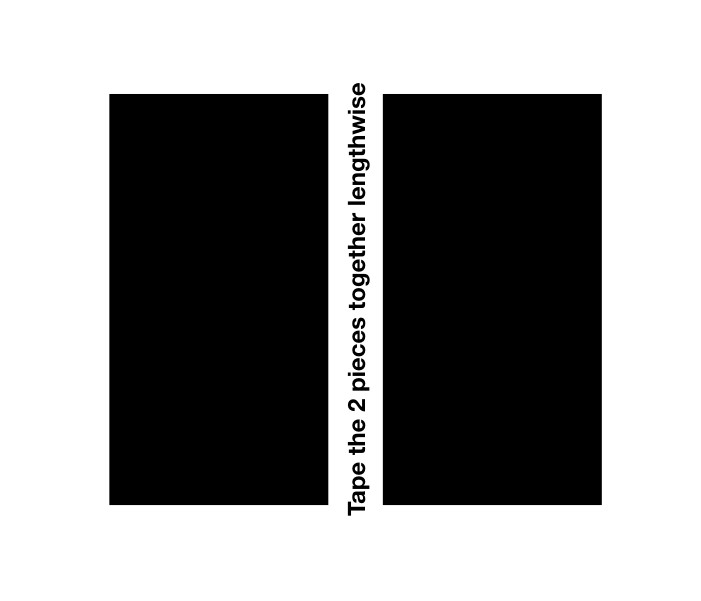
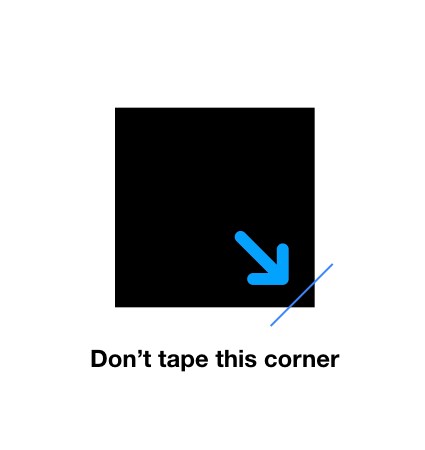
Diagram 1
Diagram 2
5. Cut another piece of plastic about six to eight feet in length. Fold this piece in half and tape it closed so it becomes a long tube. Turn it inside out and tape along the seam to reinforce it.
6. Stuff one end of the tube into the hole you left on the corner and temporarily tape it into place (use masking tape so it can be easily removed). Use the metal clips to connect the tube to the fan. I suggest reinforcing the holes you make in the tunnel so the clips don’t rip through it.
7. Cut another piece of plastic about five feet long. Trim it down until its 5 foot X 5 foot. This piece will act as a door flap to keep air inside the bubble.
8. Turn on the fan and let the bubble blow up. Decide where you want to have the “door” and use your scissors (or a box cutter) to cut a single slit in the plastic roughly four feet in length (see diagram 3 below).
9. Line both sides of the opening with duct tape to add a bit of weight. Reinforce the top of the slit so it doesn’t tear any further with use.
10. Tape the plastic piece from step 7 above the slit so it covers it completely. You may want to add some velcro to the plastic piece and the bubble to seal it better once everyone is inside.
11. Take a flashlight or lantern, scissors, and your duct tape inside the bubble and tape along the seams to reinforce them. Save the corner with the tunnel for last.
12. To secure the tunnel to the inside of the bubble, cut slits in the tunnel (see diagram 4 below) and fold them backward until they connect with the bubble walls. Tape them to the walls securely. Add more tape until every part of the end of the tunnel is taped to the wall of the bubble. You don’t want air escaping.

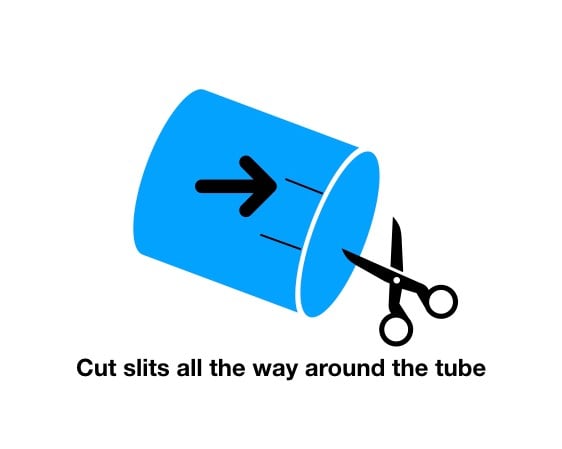
Diagram 3
Diagram 4
13. Check the bubble for any holes (you’ll be able to see light coming in) and cover them with duct tape. You’ll want to keep some tape on hand for small repair jobs once you start using the bubble as well.
14. Once outside the bubble, remove the masking tape from the outside of the tunnel and use duct tape to seal the tunnel to the outer walls of the bubble. There’s no easy way to do this part, so don’t be worried if it looks goofy. As long as air is not escaping, you’re doing it right!
That’s it! You’re ready to get your bubble on!
Activities for Your Stars Classroom
Learning the stars and constellations should be fun. Why? Because astronomy is awesome! The problem is we can’t actually take the kids to outer space to see stars up close. Luckily, your stars classroom can help reduce that disappointment.
A Journey to the Stars
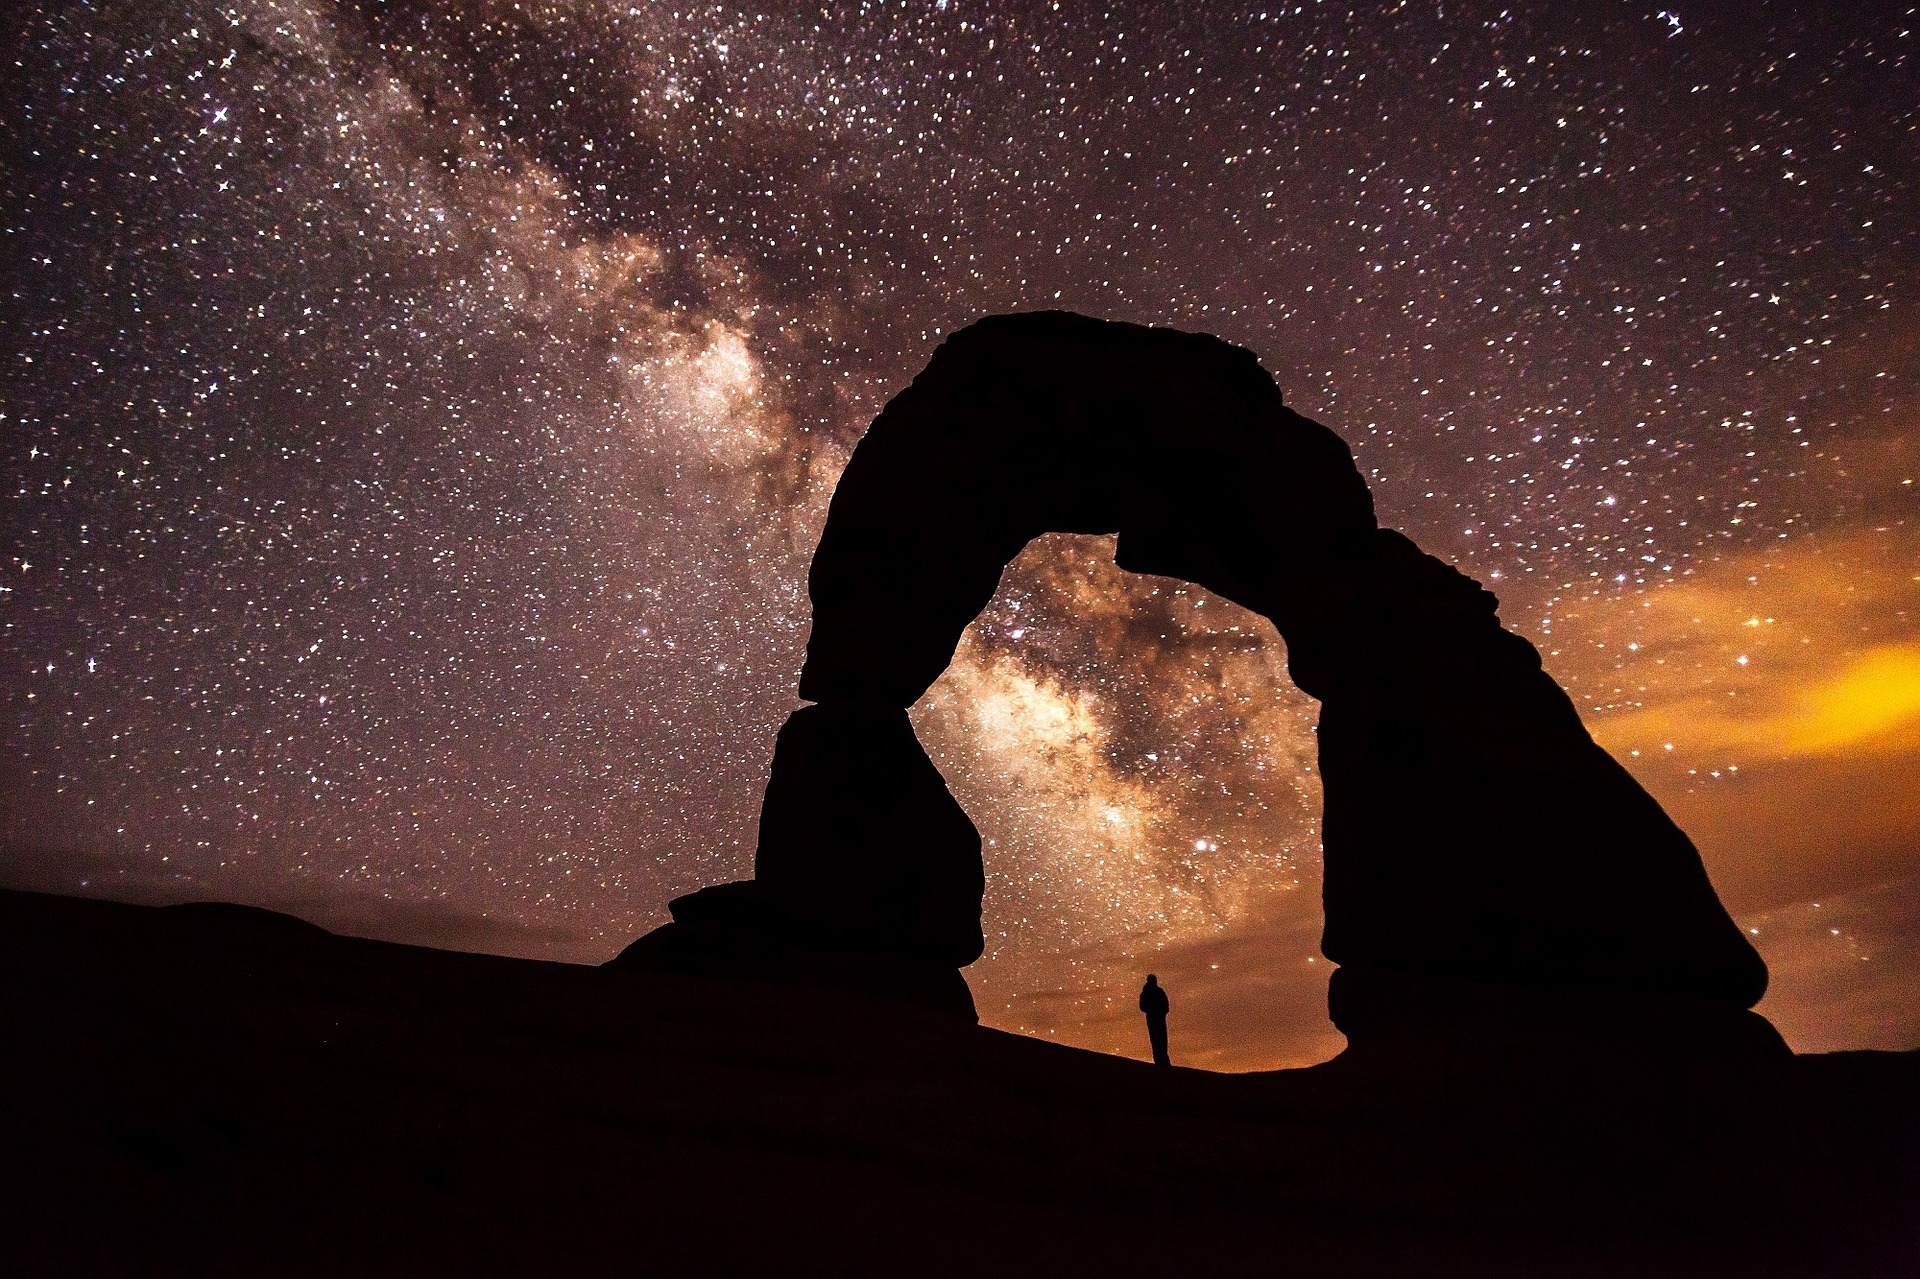
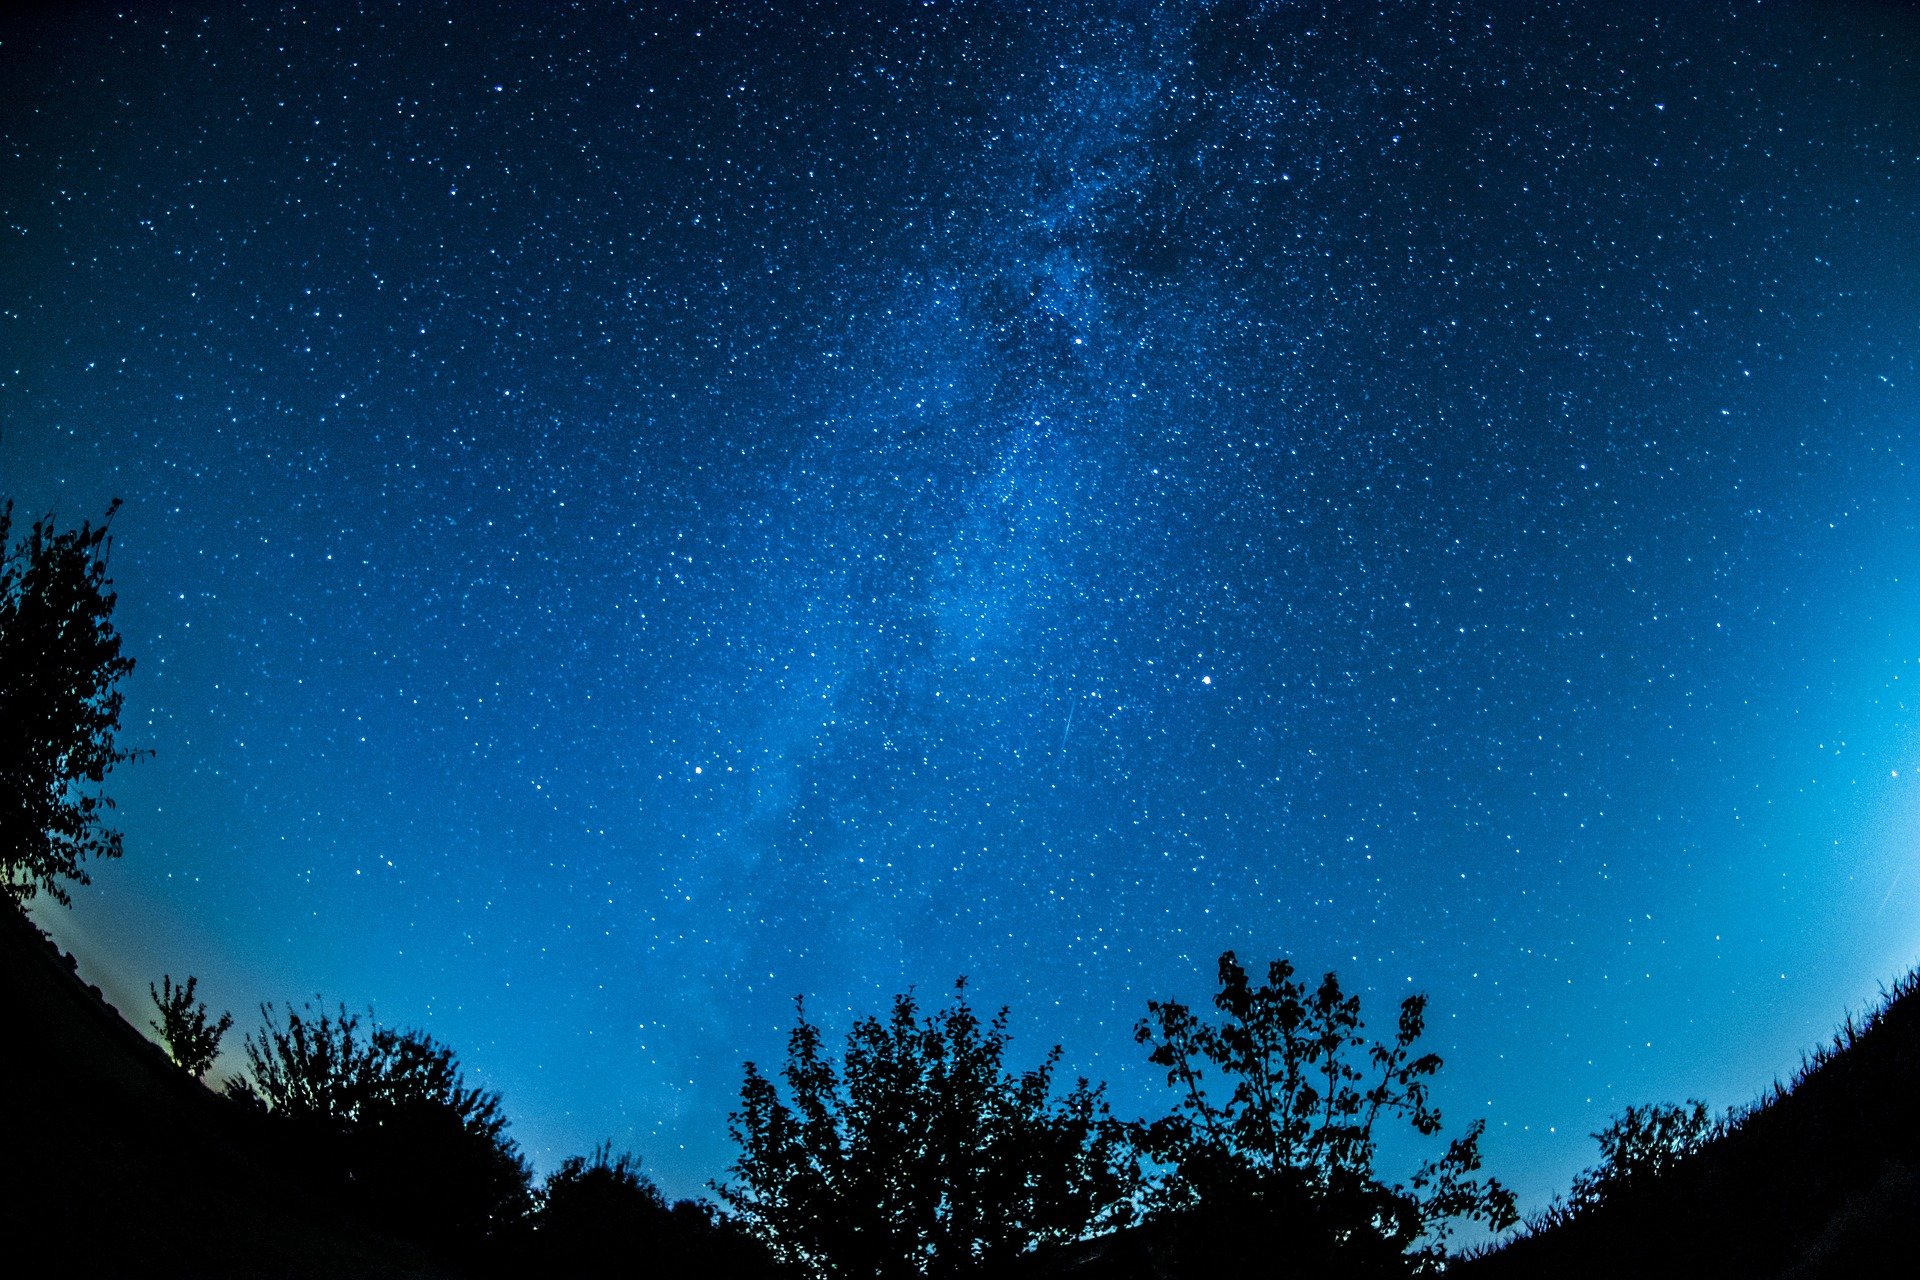
When I presented a program on stars and constellations, I began by telling the kids we were going on a journey to visit deep space. Obviously, I used this approach with younger kids, but the Bubble Classroom is cool enough that even older kids will get into it (sort of). We would blast off in our rocket and travel through space until we came to our closest star, the sun. I used a white board which acted as the “windshield” of our spacecraft and projected images onto it as I talked.
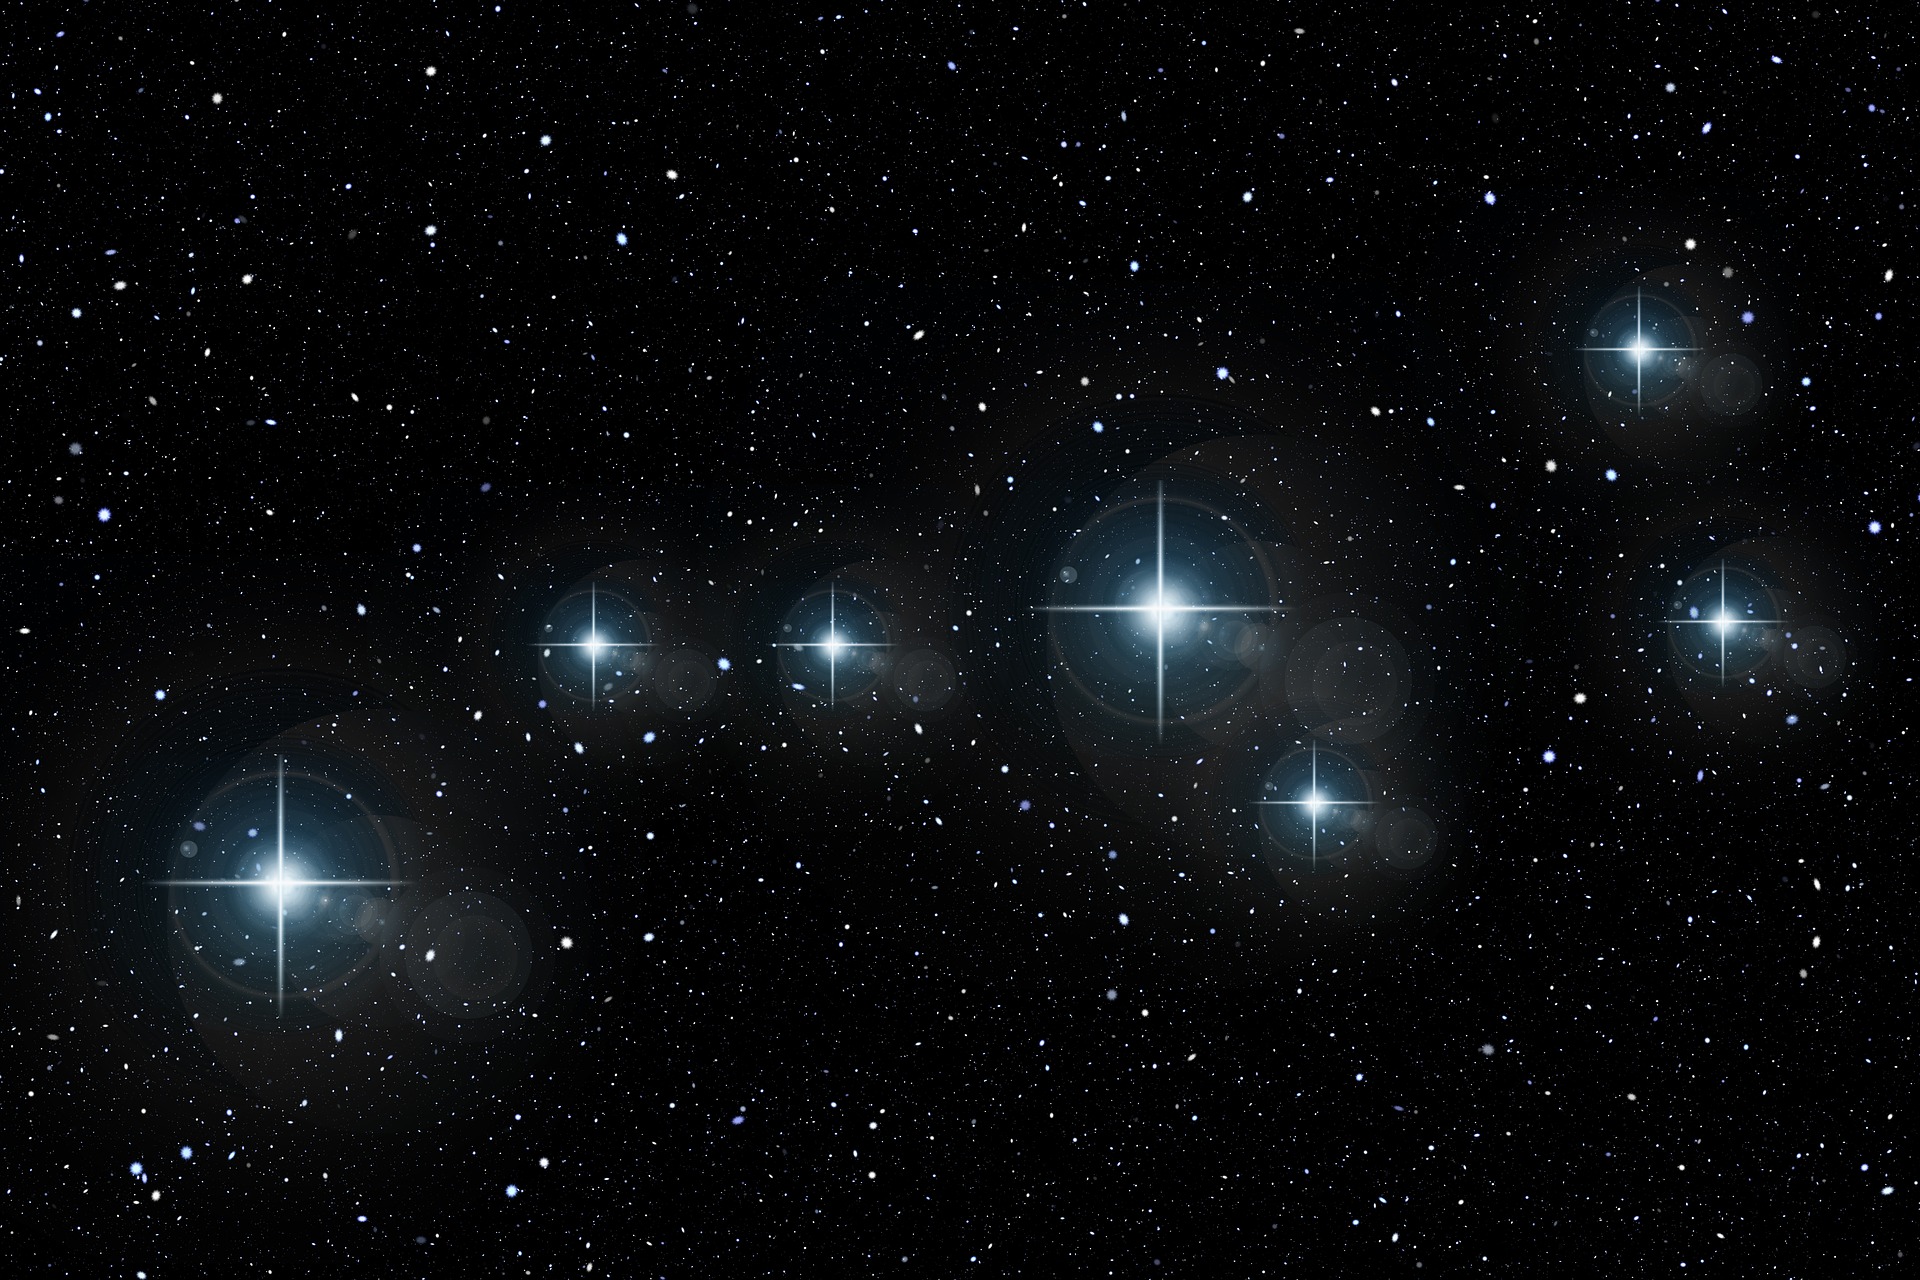
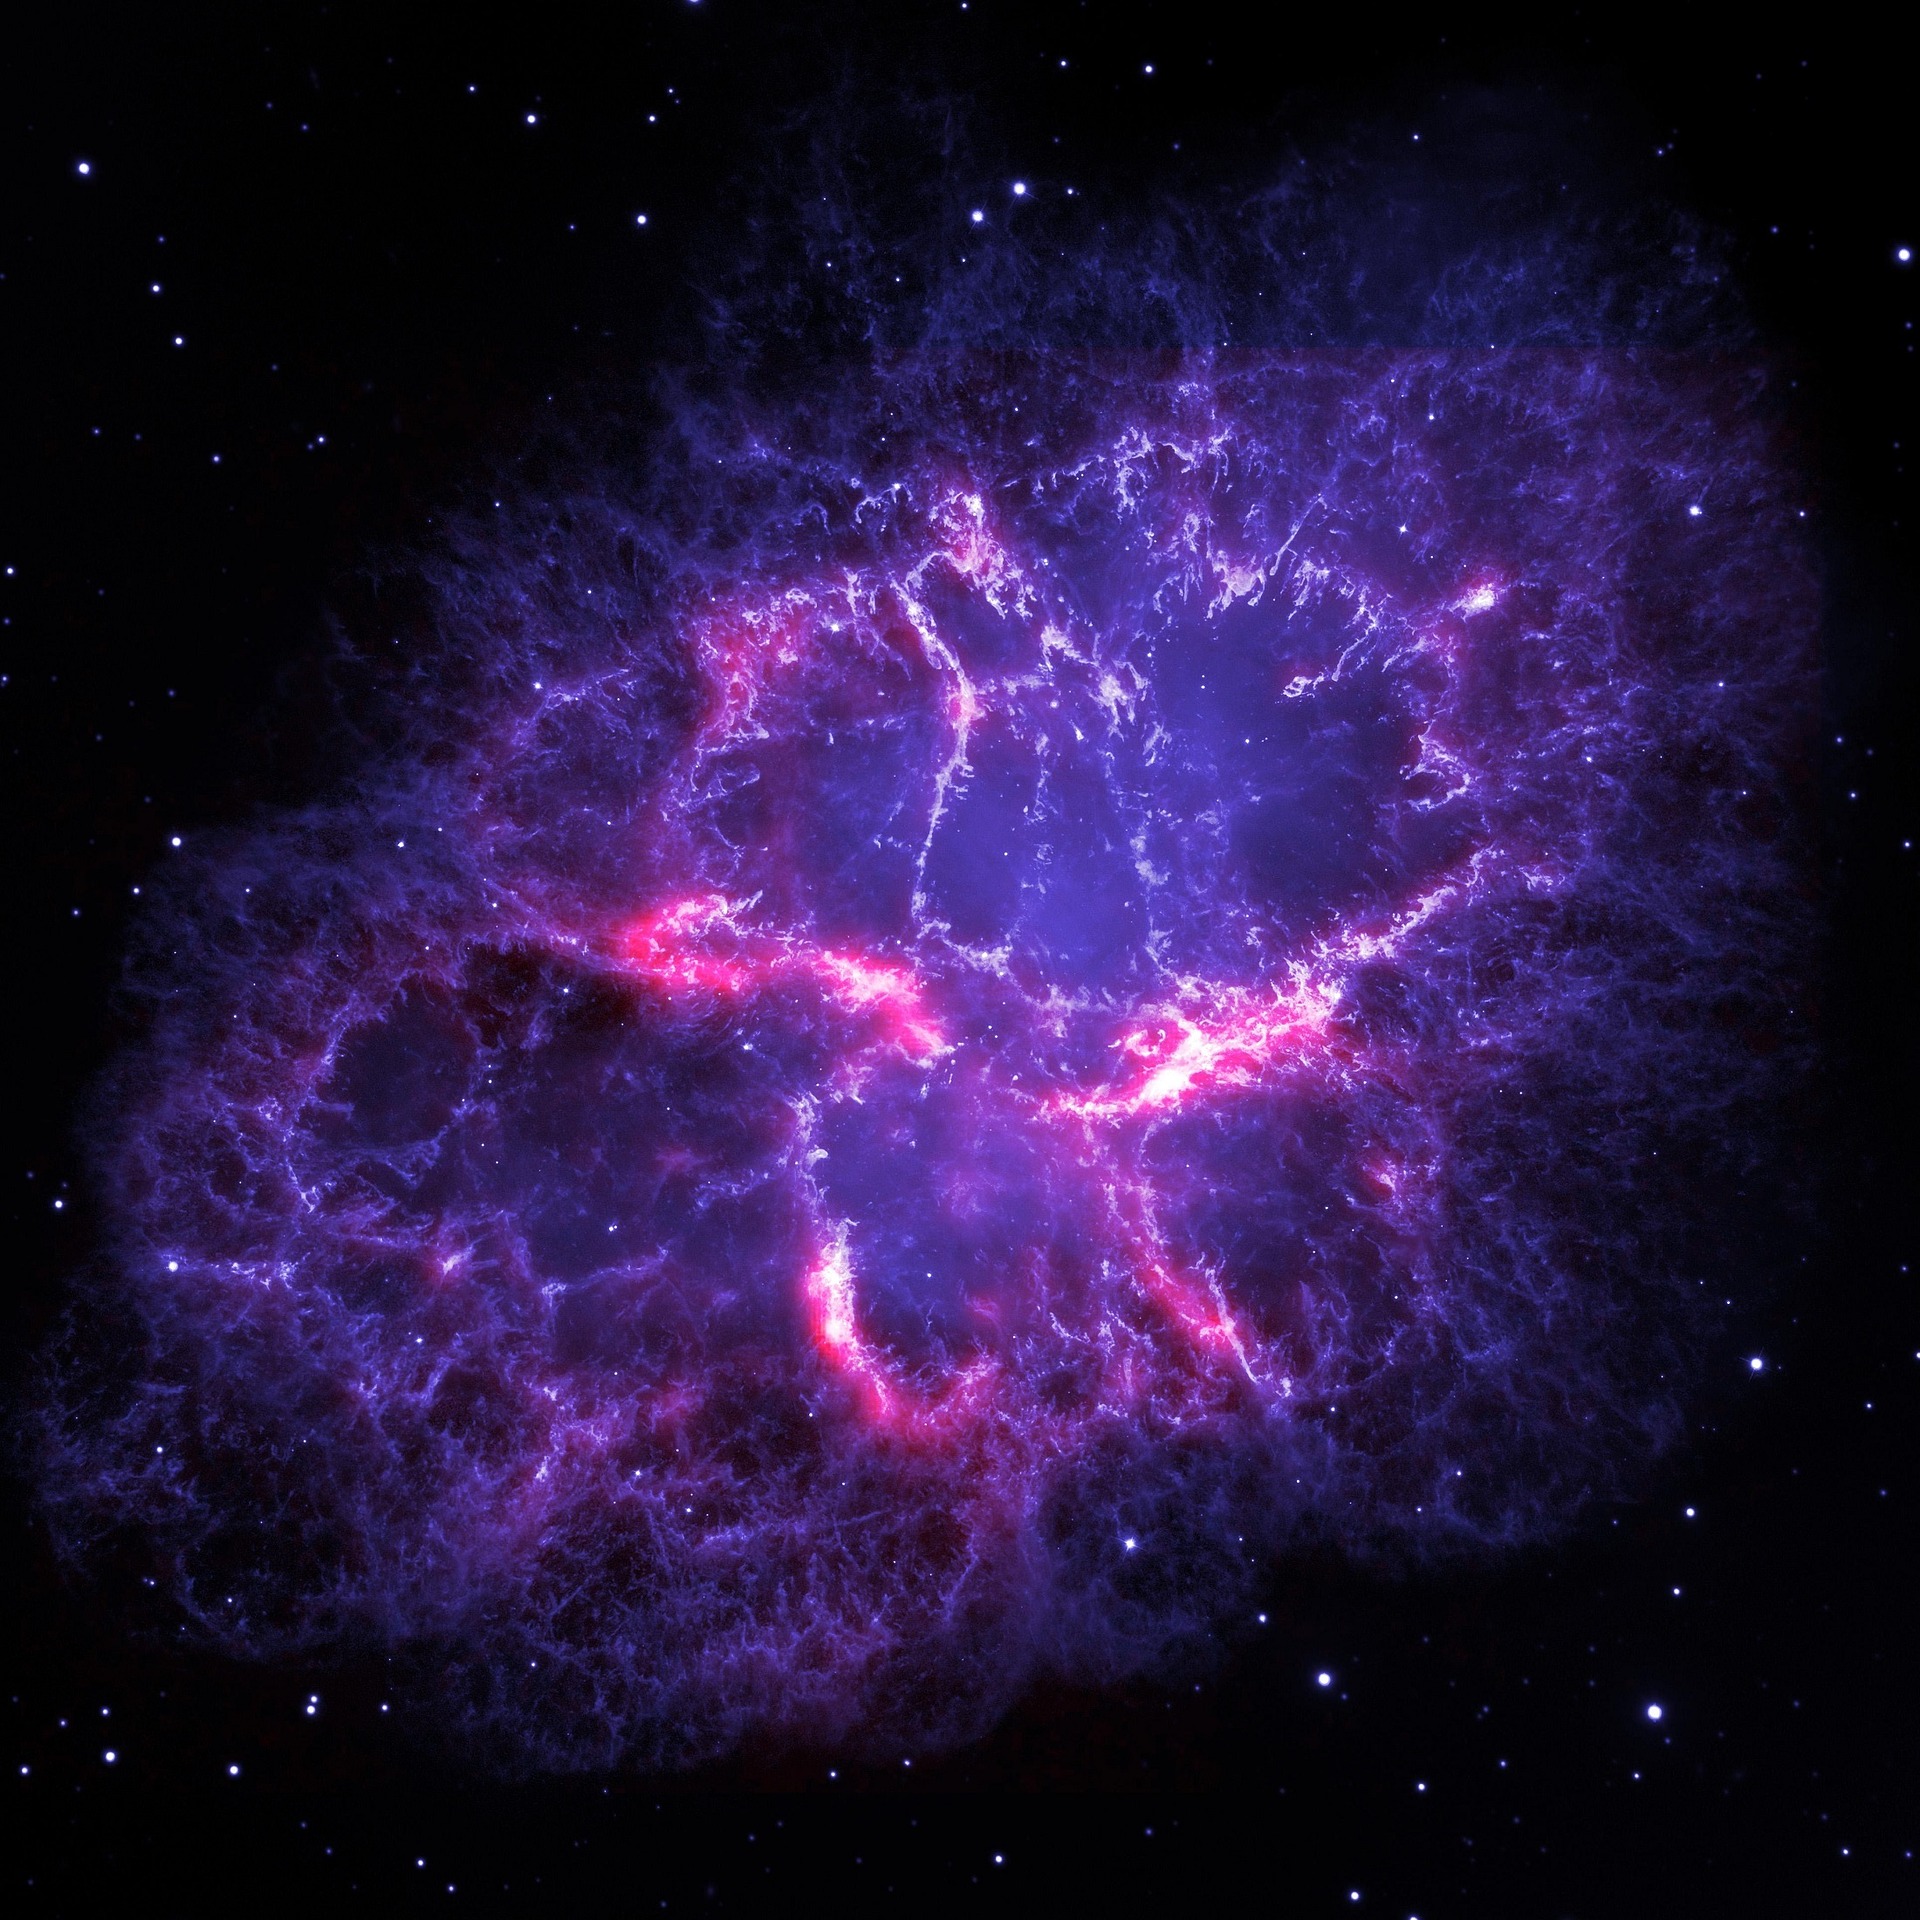
We visited the sun, the Milky Way, various nebulas and galaxies (so they could learn the different types and how they form), and even a black hole (for that one, I just turned off the projector – they love that part). After exiting the black hole, we took a closer look at some of the more common constellations, including Cassiopeia, the Dippers, Orion, Cygnus, Draco, and Bootes. These are all pretty easy to spot in the night sky. Sometimes I threw in a few Zodiac constellations as well. We discussed the meaning of constellations and moved on to the real fun.
The students then used glow-in-the-dark stars to recreate the constellations on the ceiling of our Bubble Classroom. It helps to have a milk crate or two inside the bubble with you for the shorter kiddos. Each child should have their own small flashlight so they can “charge” the stars to show their classmates.
We continued the experience outside by building 3-D models of their constellations using mini marshmallows and toothpicks. If the kids could manage not to eat their creations, the marshmallows dried out and hardened, providing a permanent constellation they could take home and hang in their bedroom. They could even dab a bit of glow-in-the-dark paint on the dried marshmallows for a fun effect at night.
Plan B
As I mentioned before, our Bubble Classroom was quite popular and we used it for lots of different programs. However, I’ve also gone the simpler route and just turned off the lights in a room and presented a similar program. Rather than hanging glow-in-the-dark stars from the ceiling, have the students hang up their 3-D models and then tell their classmates about their constellation (history, location, brightest stars, etc.). Here are a few other ideas and resources that will help you develop a stellar star unit:
Crafts and Activities:
Art Project (that can be used to make holiday cards)
Resources:
Future Plans
I hope your stars classroom is a big hit! If you build your own bubble, let me know how it goes. Any suggestions to improve the design? I’d love to hear them. Pictures of your kiddos enjoying their Bubble Classroom? Send them my way!
If you’d like to know more about how you can use your Bubble Classroom to compliment future lesson plans on all kinds of science subjects and even a few history ones, please subscribe to my newsletter below. I’ll let you know when the course is released. Newsletter subscribers will also receive a special discount. I know as educators you don’t make the big bucks; don’t worry, this course will be affordable before the discount and even more so after.
Related Articles
If you enjoyed this article, you may wish to read these as well!
Nature at Night
Years ago when I was a park naturalist, one of my favorite programs to lead was a guided night hike. I would take families out on a short trail that wound its way around a small lake fed by a natural spring. The trail was lined with trees, and the spring pool left the air feeling refreshingly cool, especially on a hot summer night in the Midwest. It was the perfect setting to perform some fun science experiments for kids – at night...
How to Hoot Like an Owl
As I write this introduction, I’m wondering how many people out there have actually searched “how to hoot like an owl” (aside from turkey hunters). It seems like an odd topic, but from past experience, I can tell you it’s a lot of fun (almost as much fun as making owl crafts with your kids)! There’s nothing more entertaining than watching an entire audience (from grandparents to grandkids) at an evening nature program hooting their hearts out...
All About Spiders
Wondering how to get rid of spiders in your house? Well, if you read this article, you’ll learn about spiders in a different light. You already know where spiders live…in your home, right? Well, that’s not the only place you can find them. Keep reading…there’s a lot more to spiders than just eight legs...
© 2021 Tree Huggin' Mom - Created 100% Using GrooveFunnels
Ask me how GrooveFunnels can help you build your dream website!
Follow Me on Social Media!