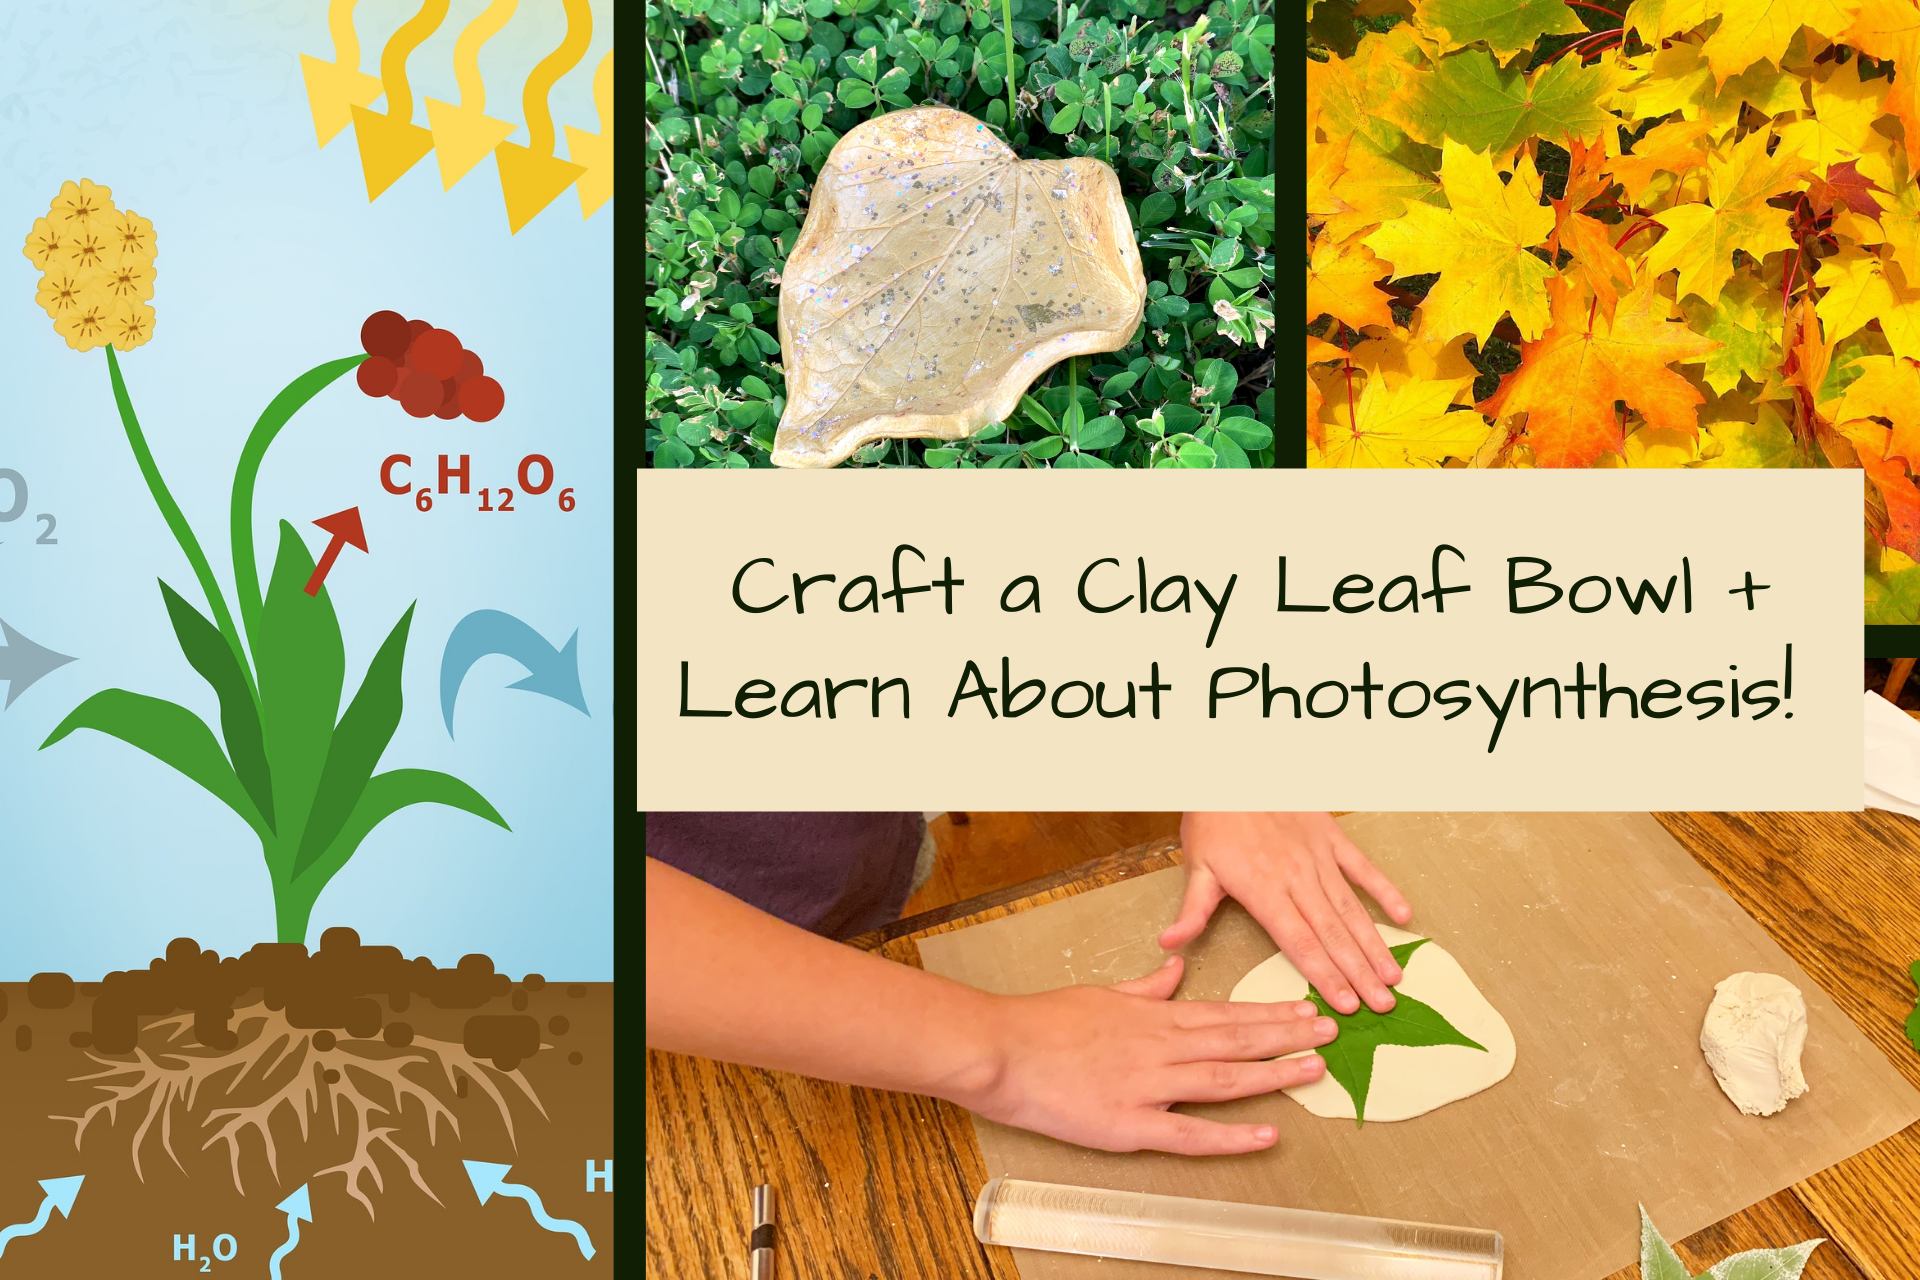
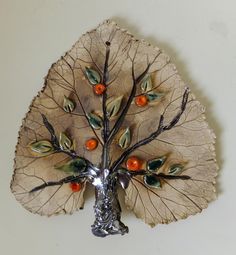
Have you ever noticed how many different varieties of leaves exist out there in the wilds of your neighborhood? Don’t worry if your answer to that question is “no, not really.” Most people don’t pay much attention to leaves…until they have to rake them up, that is! Well, with this simple, clay leaf bowl project, you’ll definitely start noticing the beauty of leaves.
Please note, this post contains affiliate links. If you click through and make a purchase, I receive a small commission. This doesn’t cost you anything, but it makes me happy…so happy that I might even go out and hug a tree! Thanks for your support! Read my Disclaimer for additional information.
How to Make a Leaf Bowl
Since I’m betting you clicked over to this article to find out how to make a leaf bowl, I’ll get right to it! However, if you’d also like a short science lesson on leaves and plant identification, don’t stop with the craft project…keep reading. Below you’ll find several unique resources for kids and adults that will show you how leaves carry out photosynthesis to produce oxygen and glucose. The whole process is really quite fascinating. You’ll also find some additional suggestions for clay leaf projects you might enjoy!
DIY Leaf Bowl
Supplies You'll Need:
Leaves of various shapes and sizes (bigger leaves make bigger bowls)
Air dry clay (in white so you can paint your bowl)
Rolling pin, soda can, or other device you can use to roll out the clay
Craft knife, straight pin, or similar object to cut precise edges
Work surface (plastic placemats work well)
Small ceramic or glass bowl
Acrylic paints in your preferred colors
Paintbrush
Paper towels
Mod Podge or other sealant

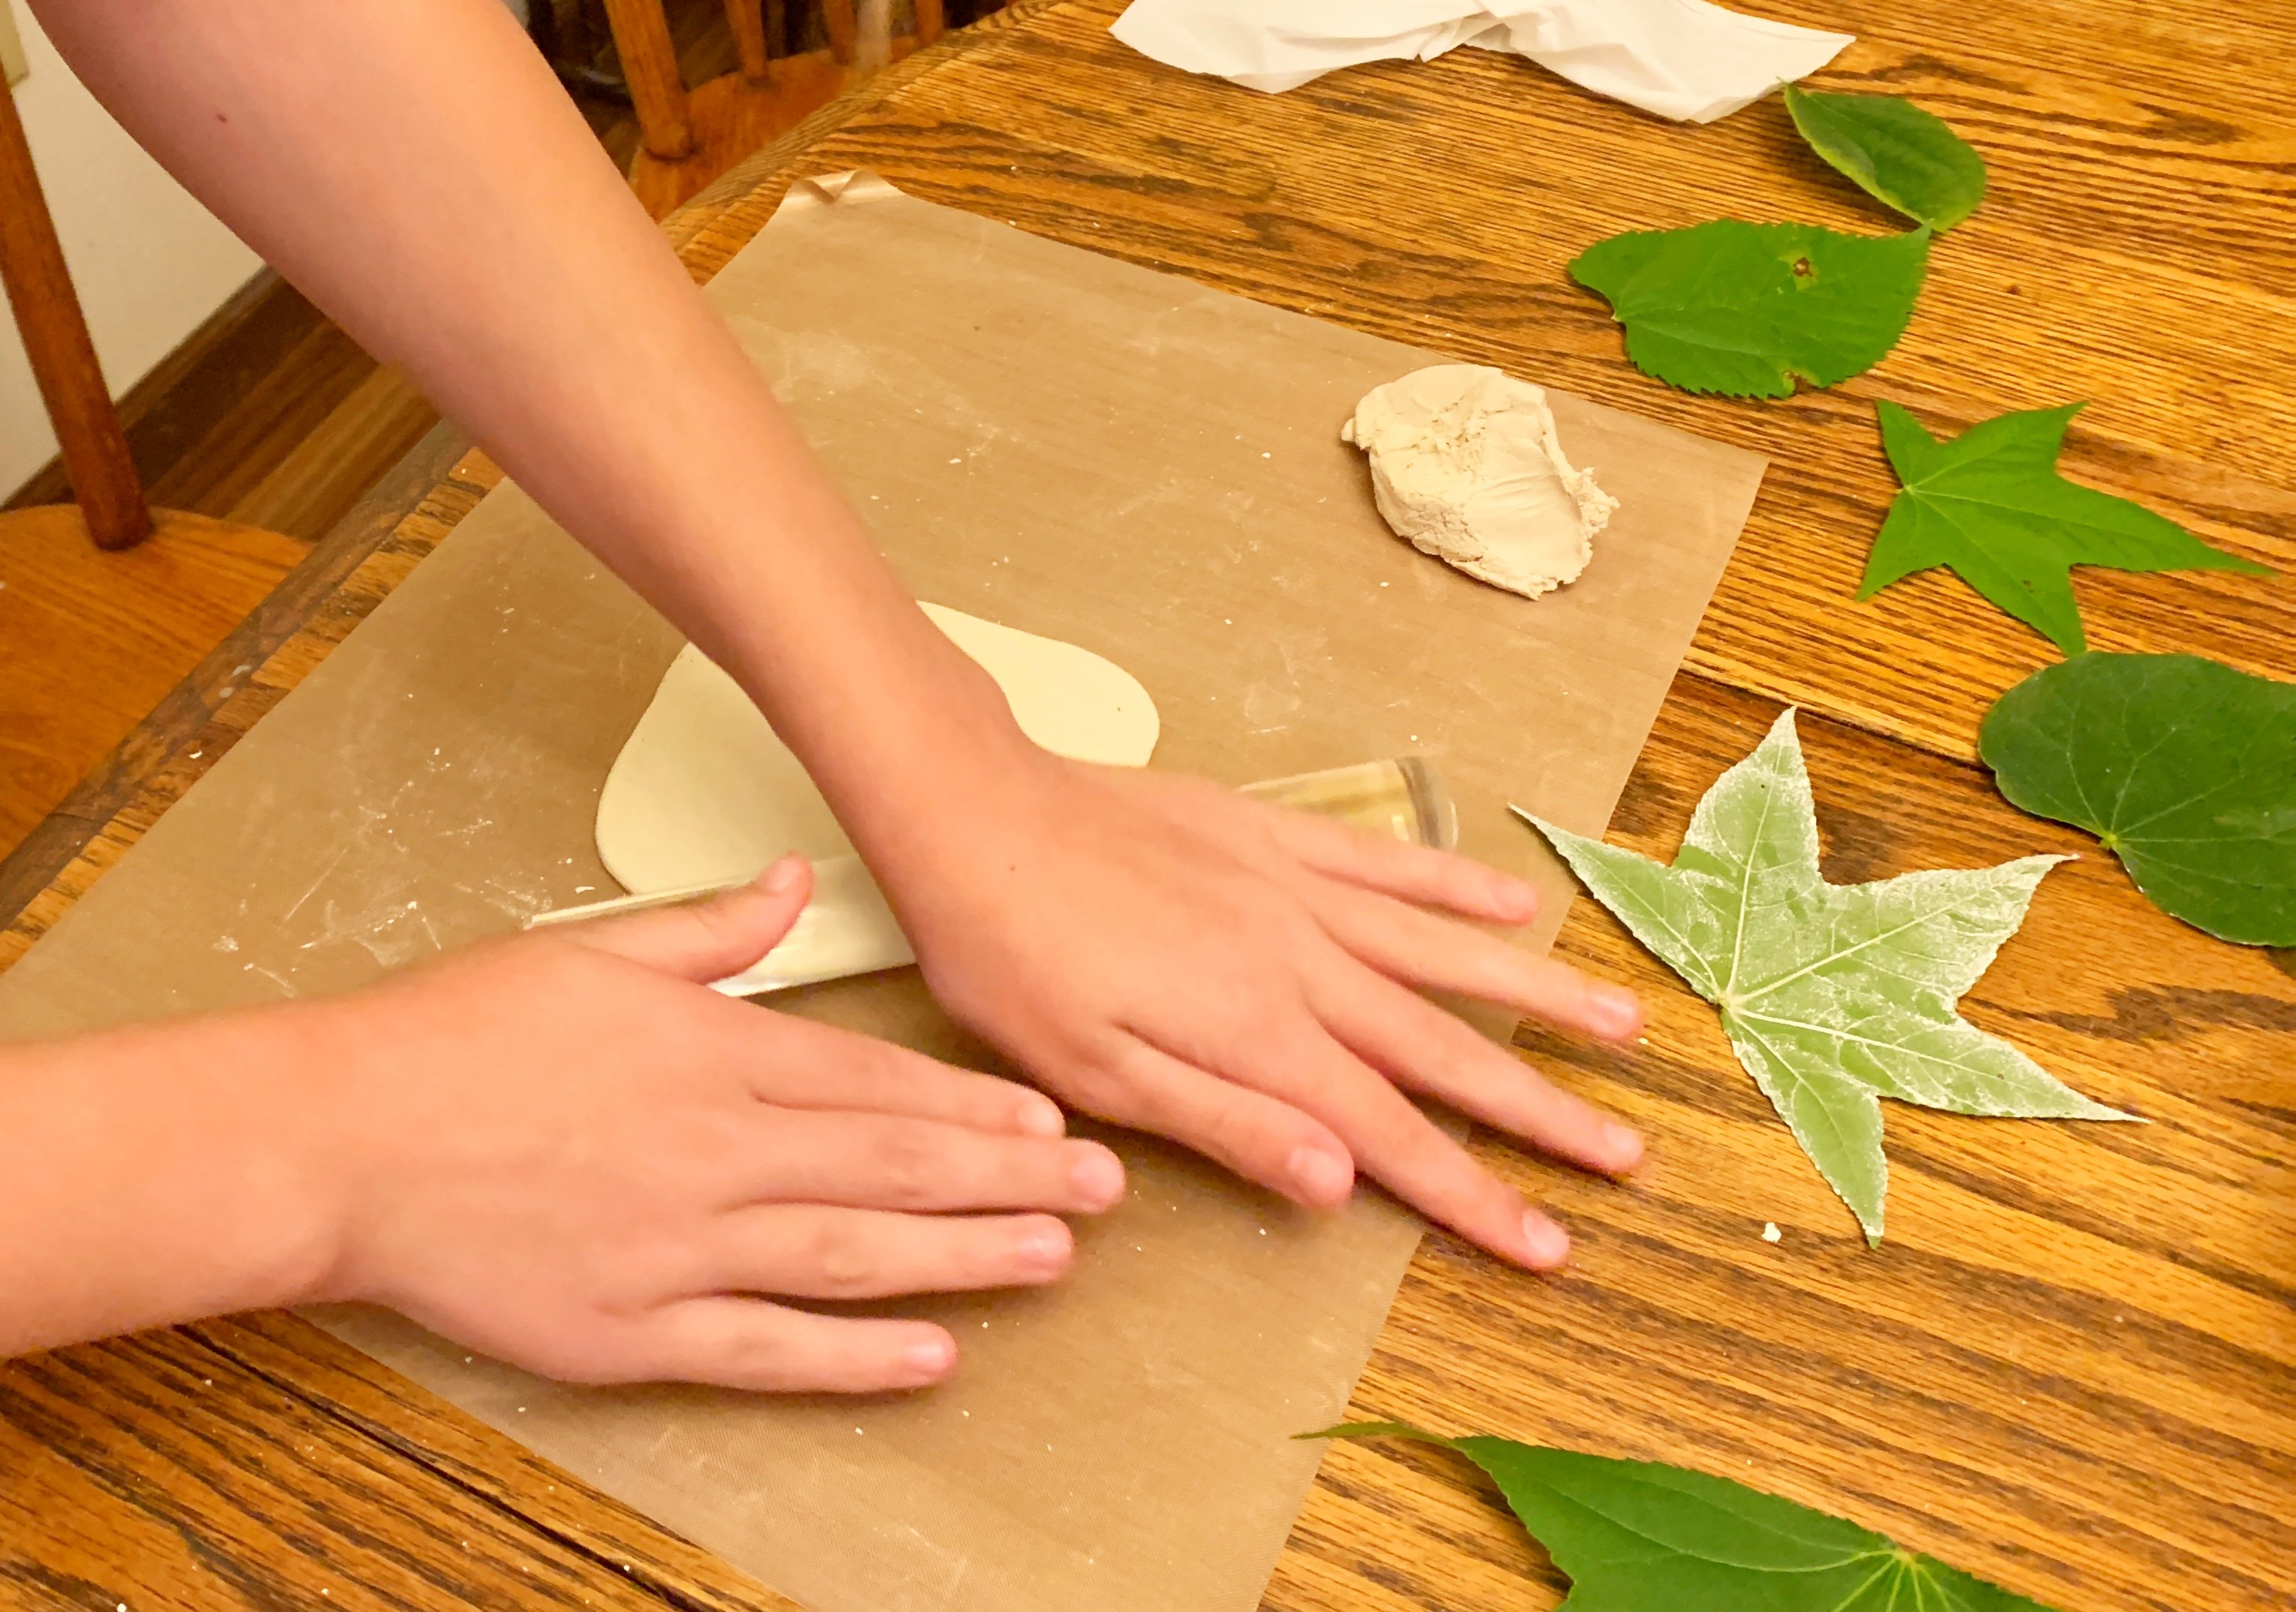
Step 1: Open your clay and pull off a piece about the size of your fist. I recommend spending a little extra money to get the clay that’s packaged in a plastic resealable tub so you can save the rest for future use. Take a few moments to work the clay with your hands to pull some of the moisture out of it. Roll it around on your work surface, squash it, and repeat. When it doesn’t feel too sticky, use your rolling pin to roll it out to about ¼ inch thickness. Try to do this as evenly as possible.
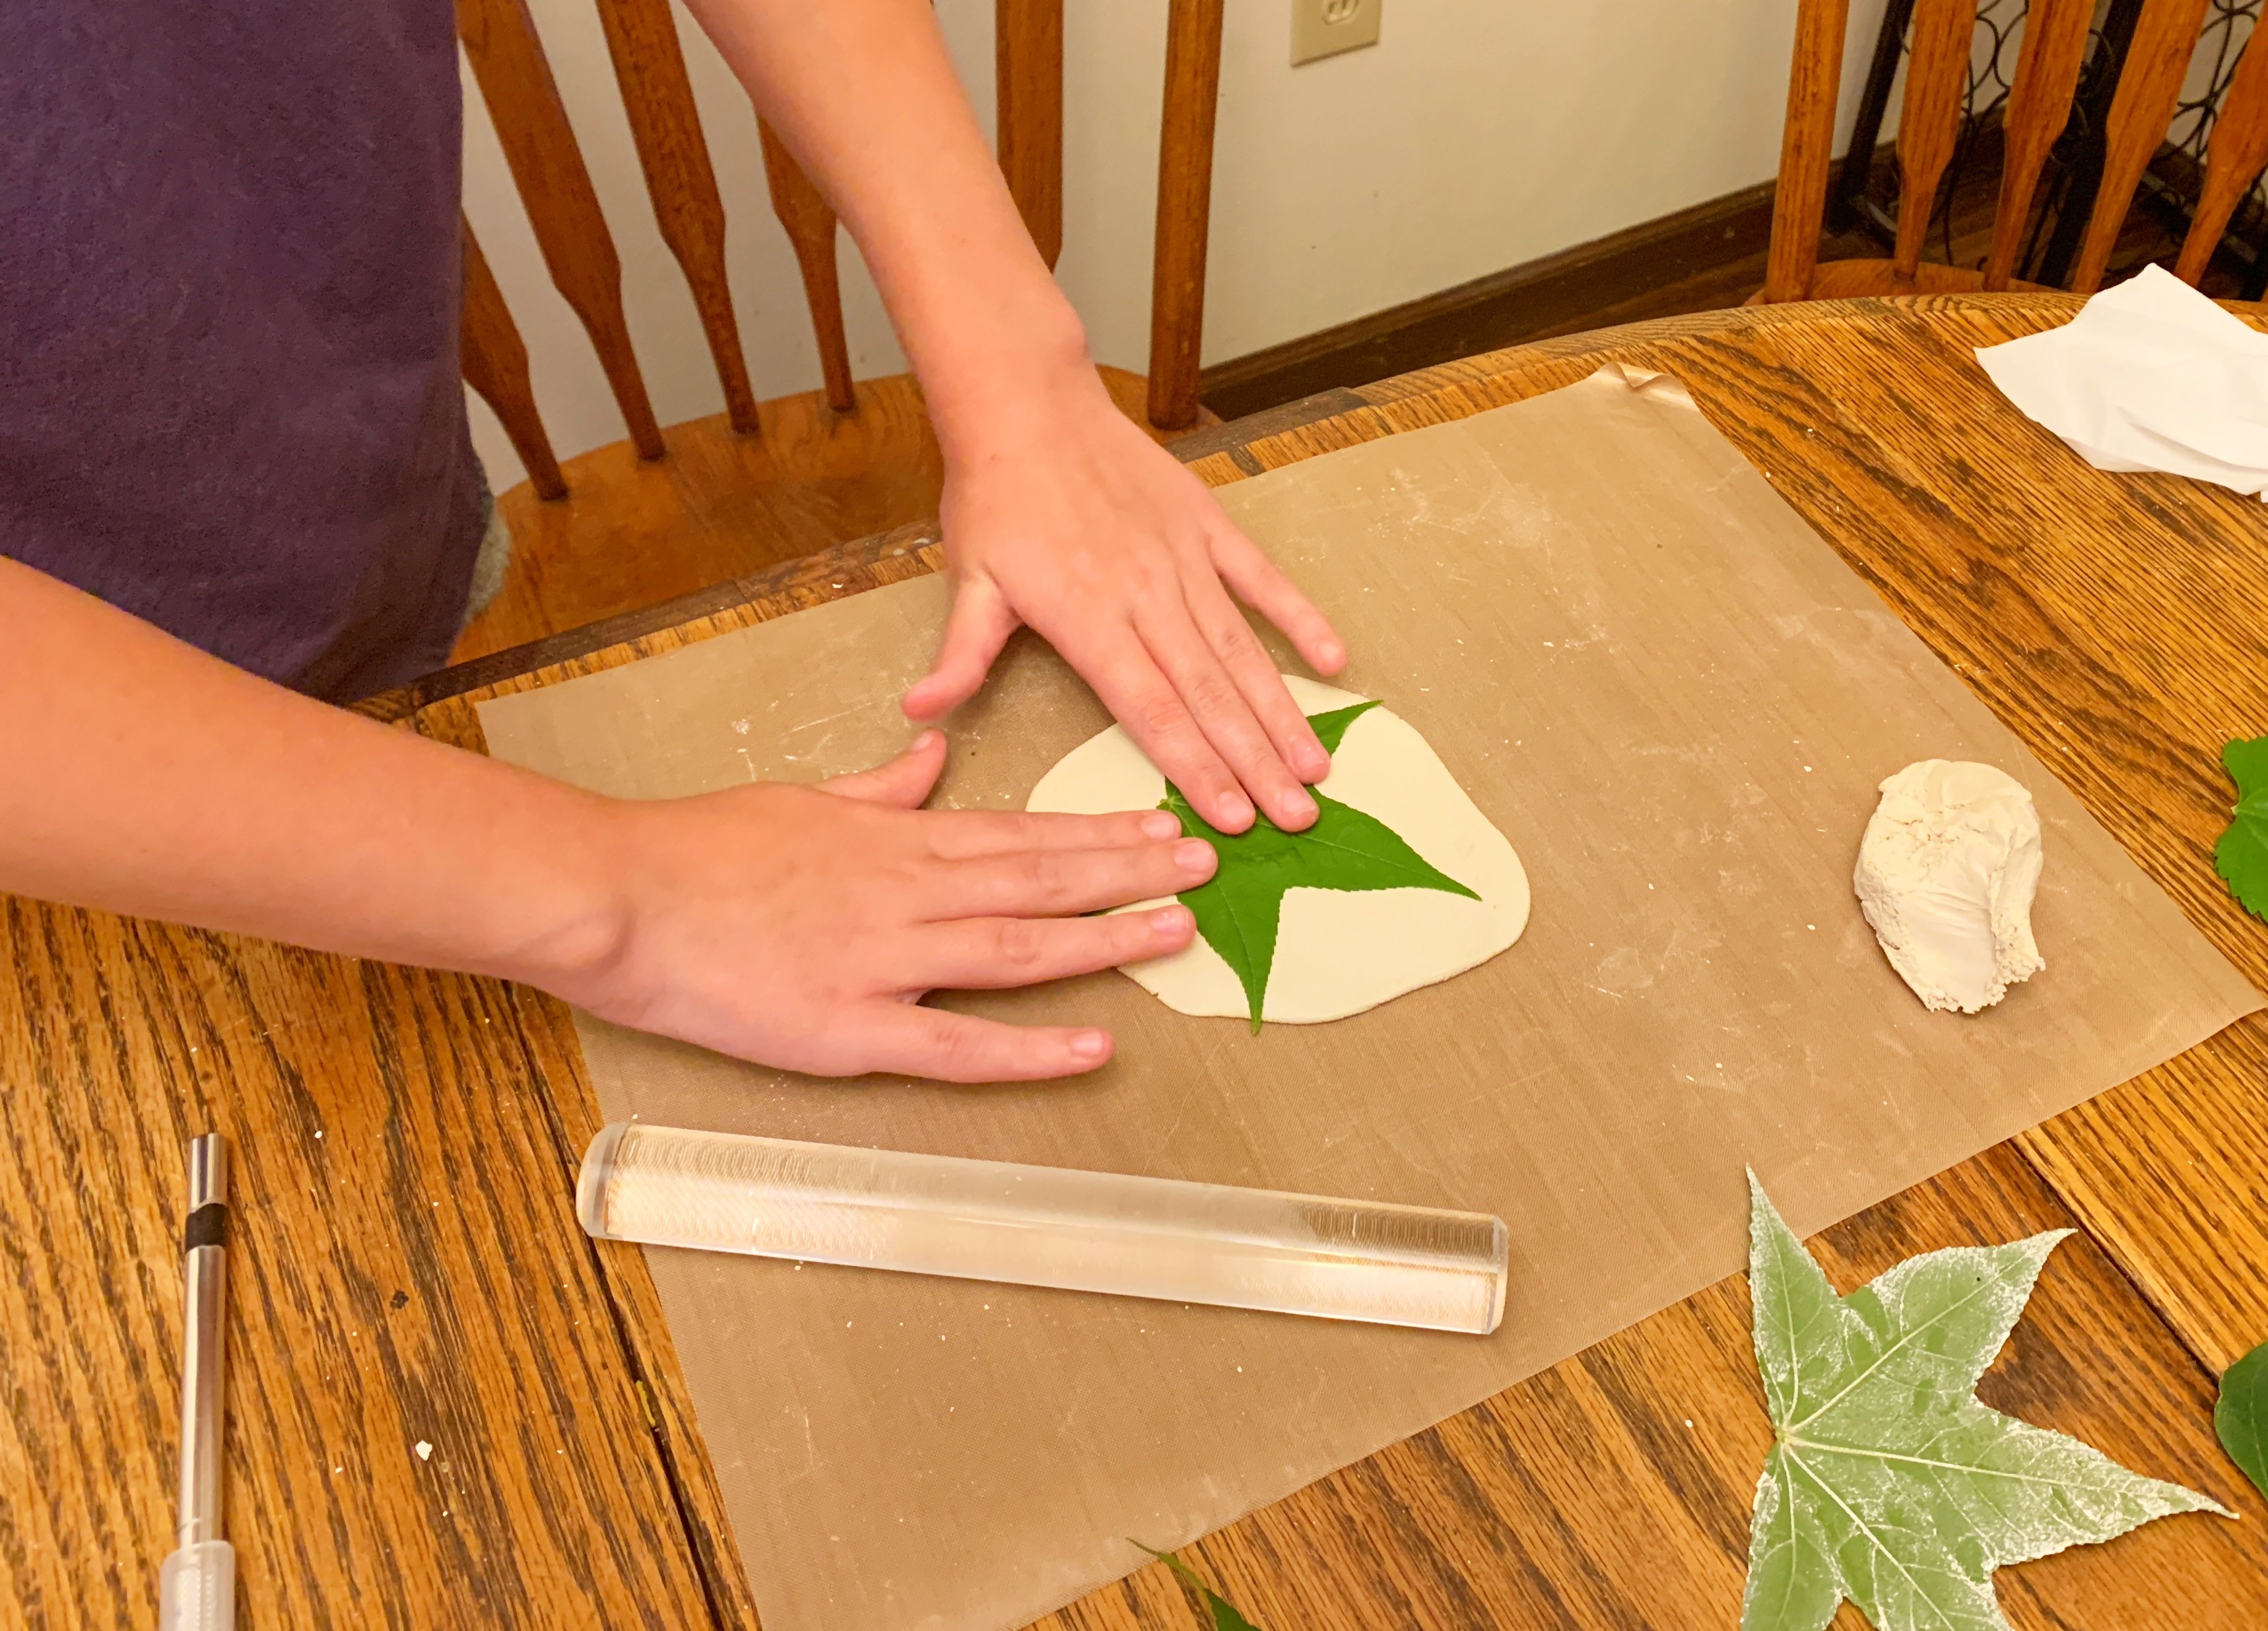
Step 2: Choose a leaf that’s smaller than the piece of clay on your work surface and place it on the clay, light side down (bottom of the leaf). The veins are more pronounced on the bottom side of the leaf and will make a better impression in the clay. Use your hands and the rolling pin to gently flatten the leaf against the clay. Pull up the clay and leaf before moving to step 3 and then lay them down again on your work surface. Air dry clay is very sticky and doesn’t come up easily. Doing this now will make it easier when it’s time to transfer your clay leaf to a bowl.

Step 3: Using a craft knife, cut away the excess clay around the leaf. The simpler your leaf, the easier this will be. Once you’ve finished, smooth the edges of the clay leaf with your finger.
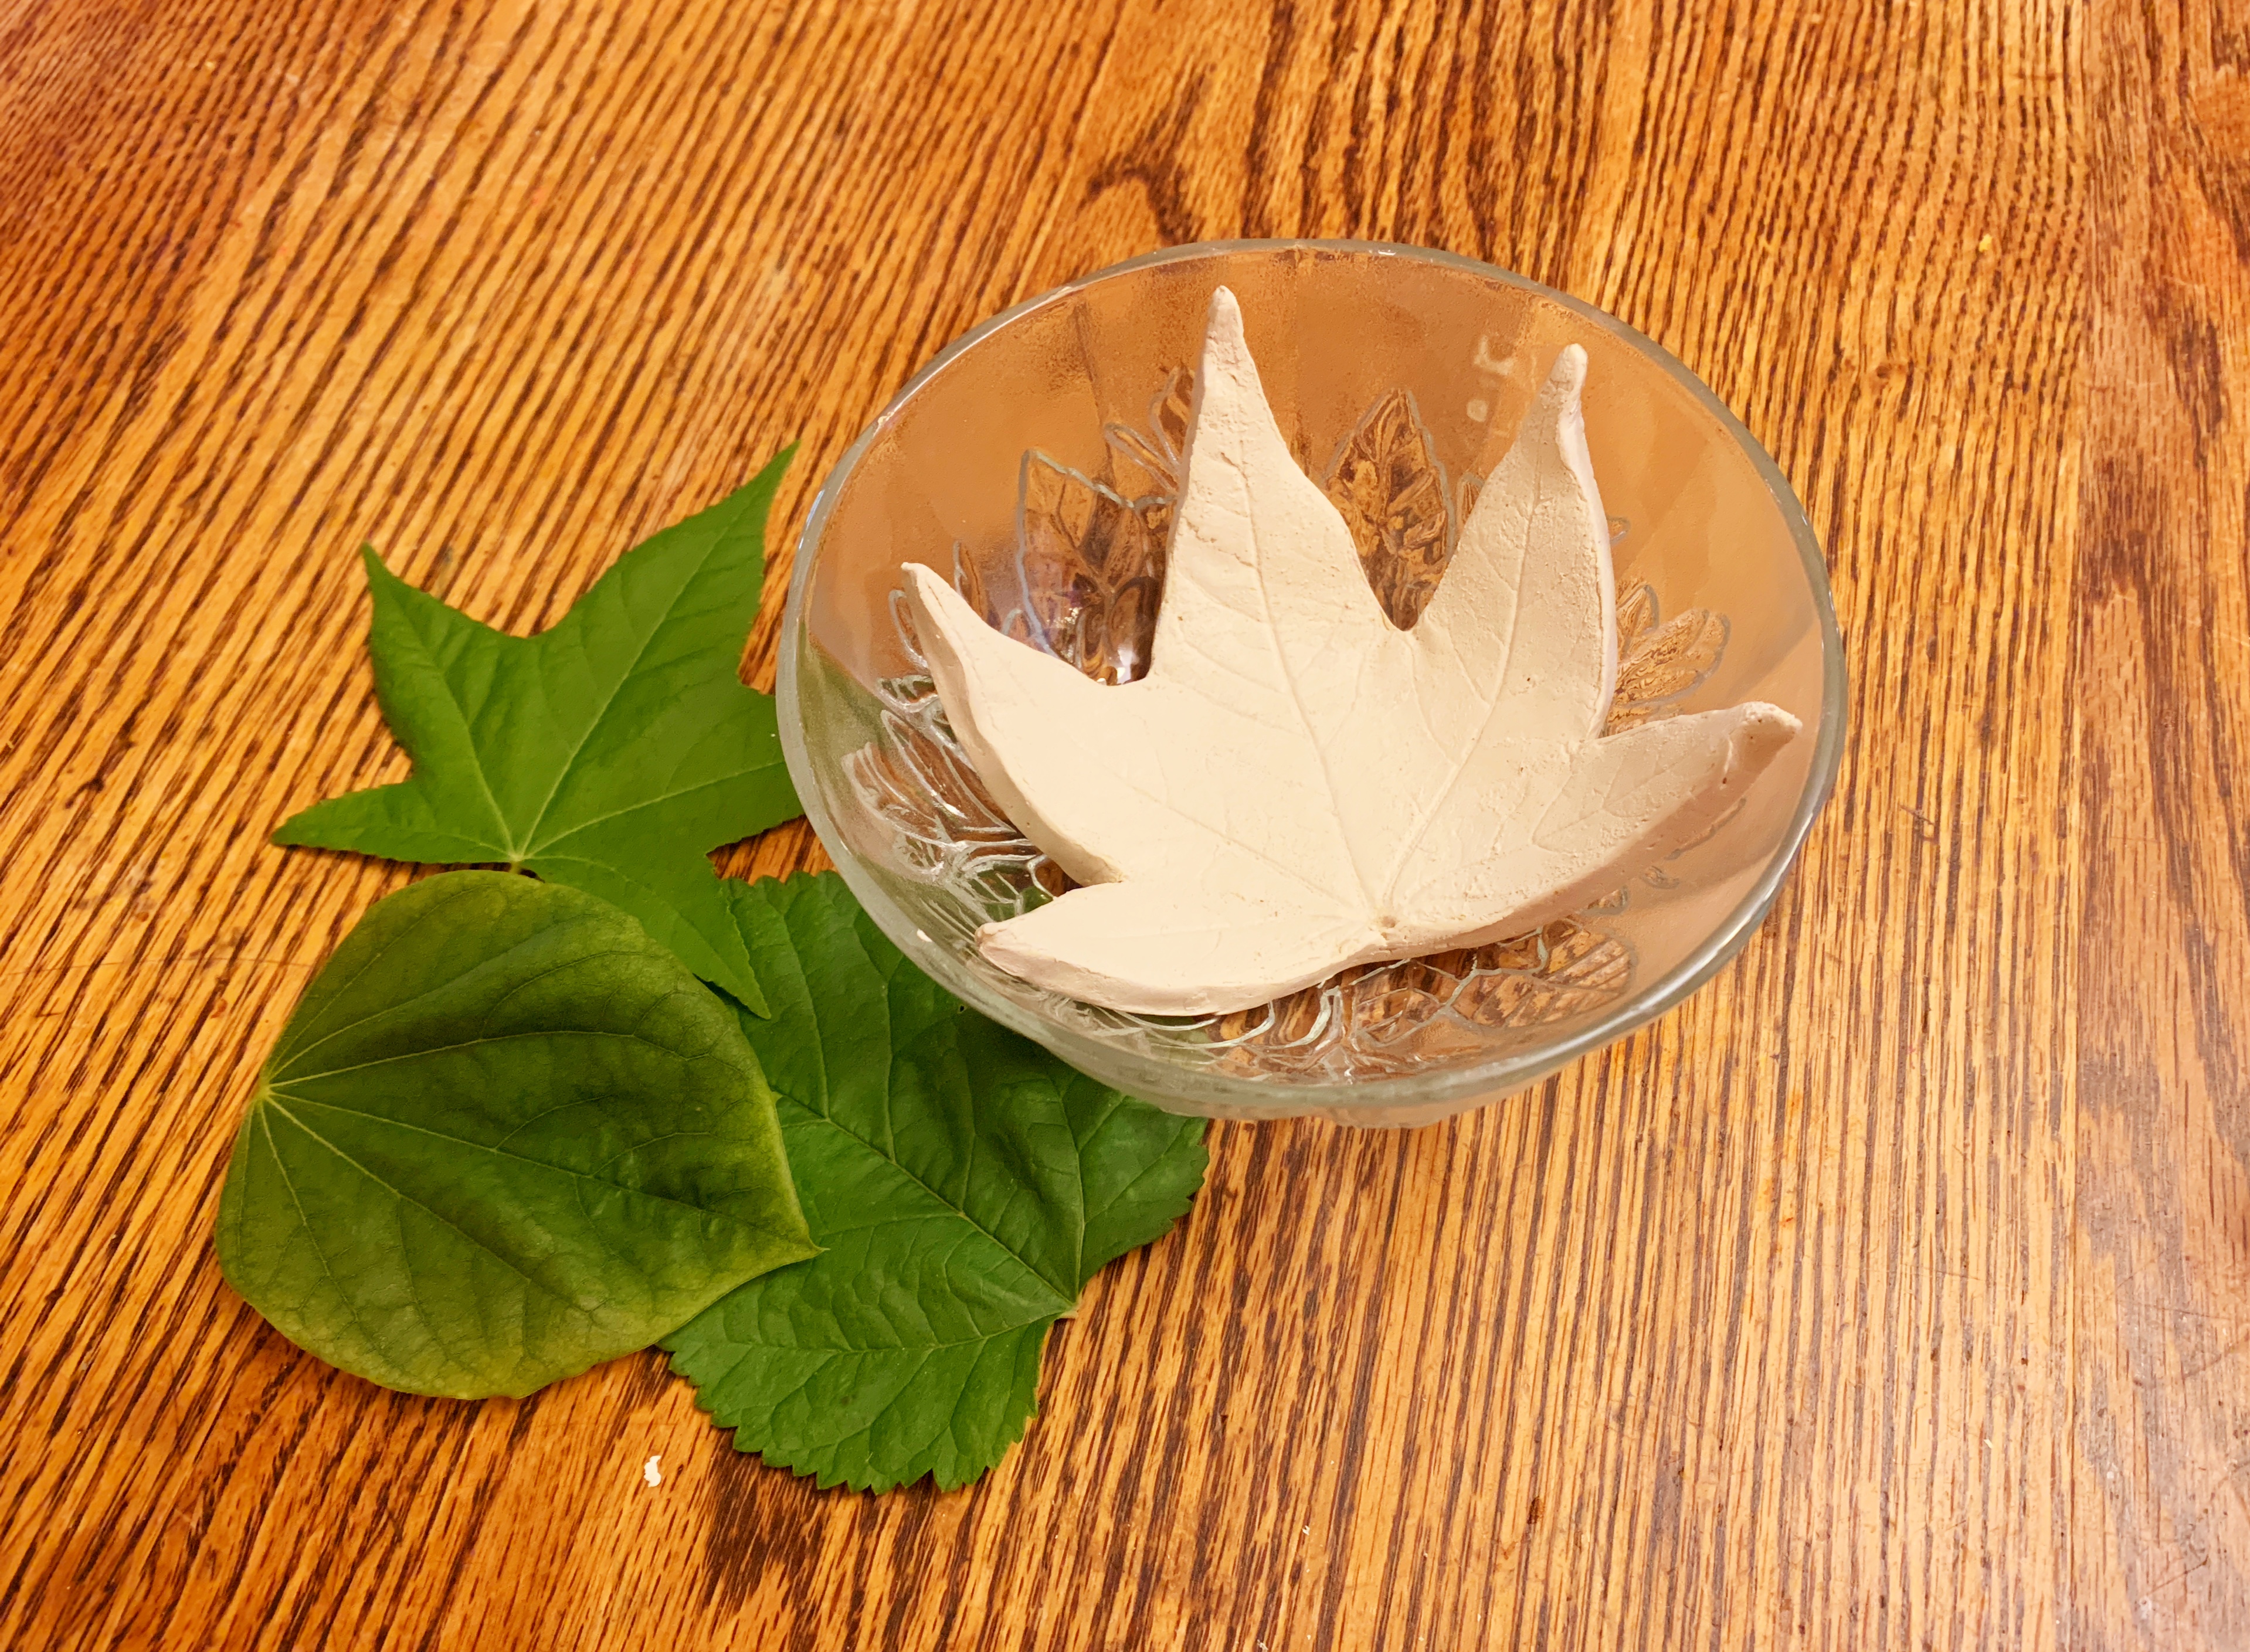
Step 4: Peel the real leaf off of the clay and place your clay leaf inside a ceramic or glass bowl. Press down gently so as not to smudge the leaf impression. Set aside for three days.
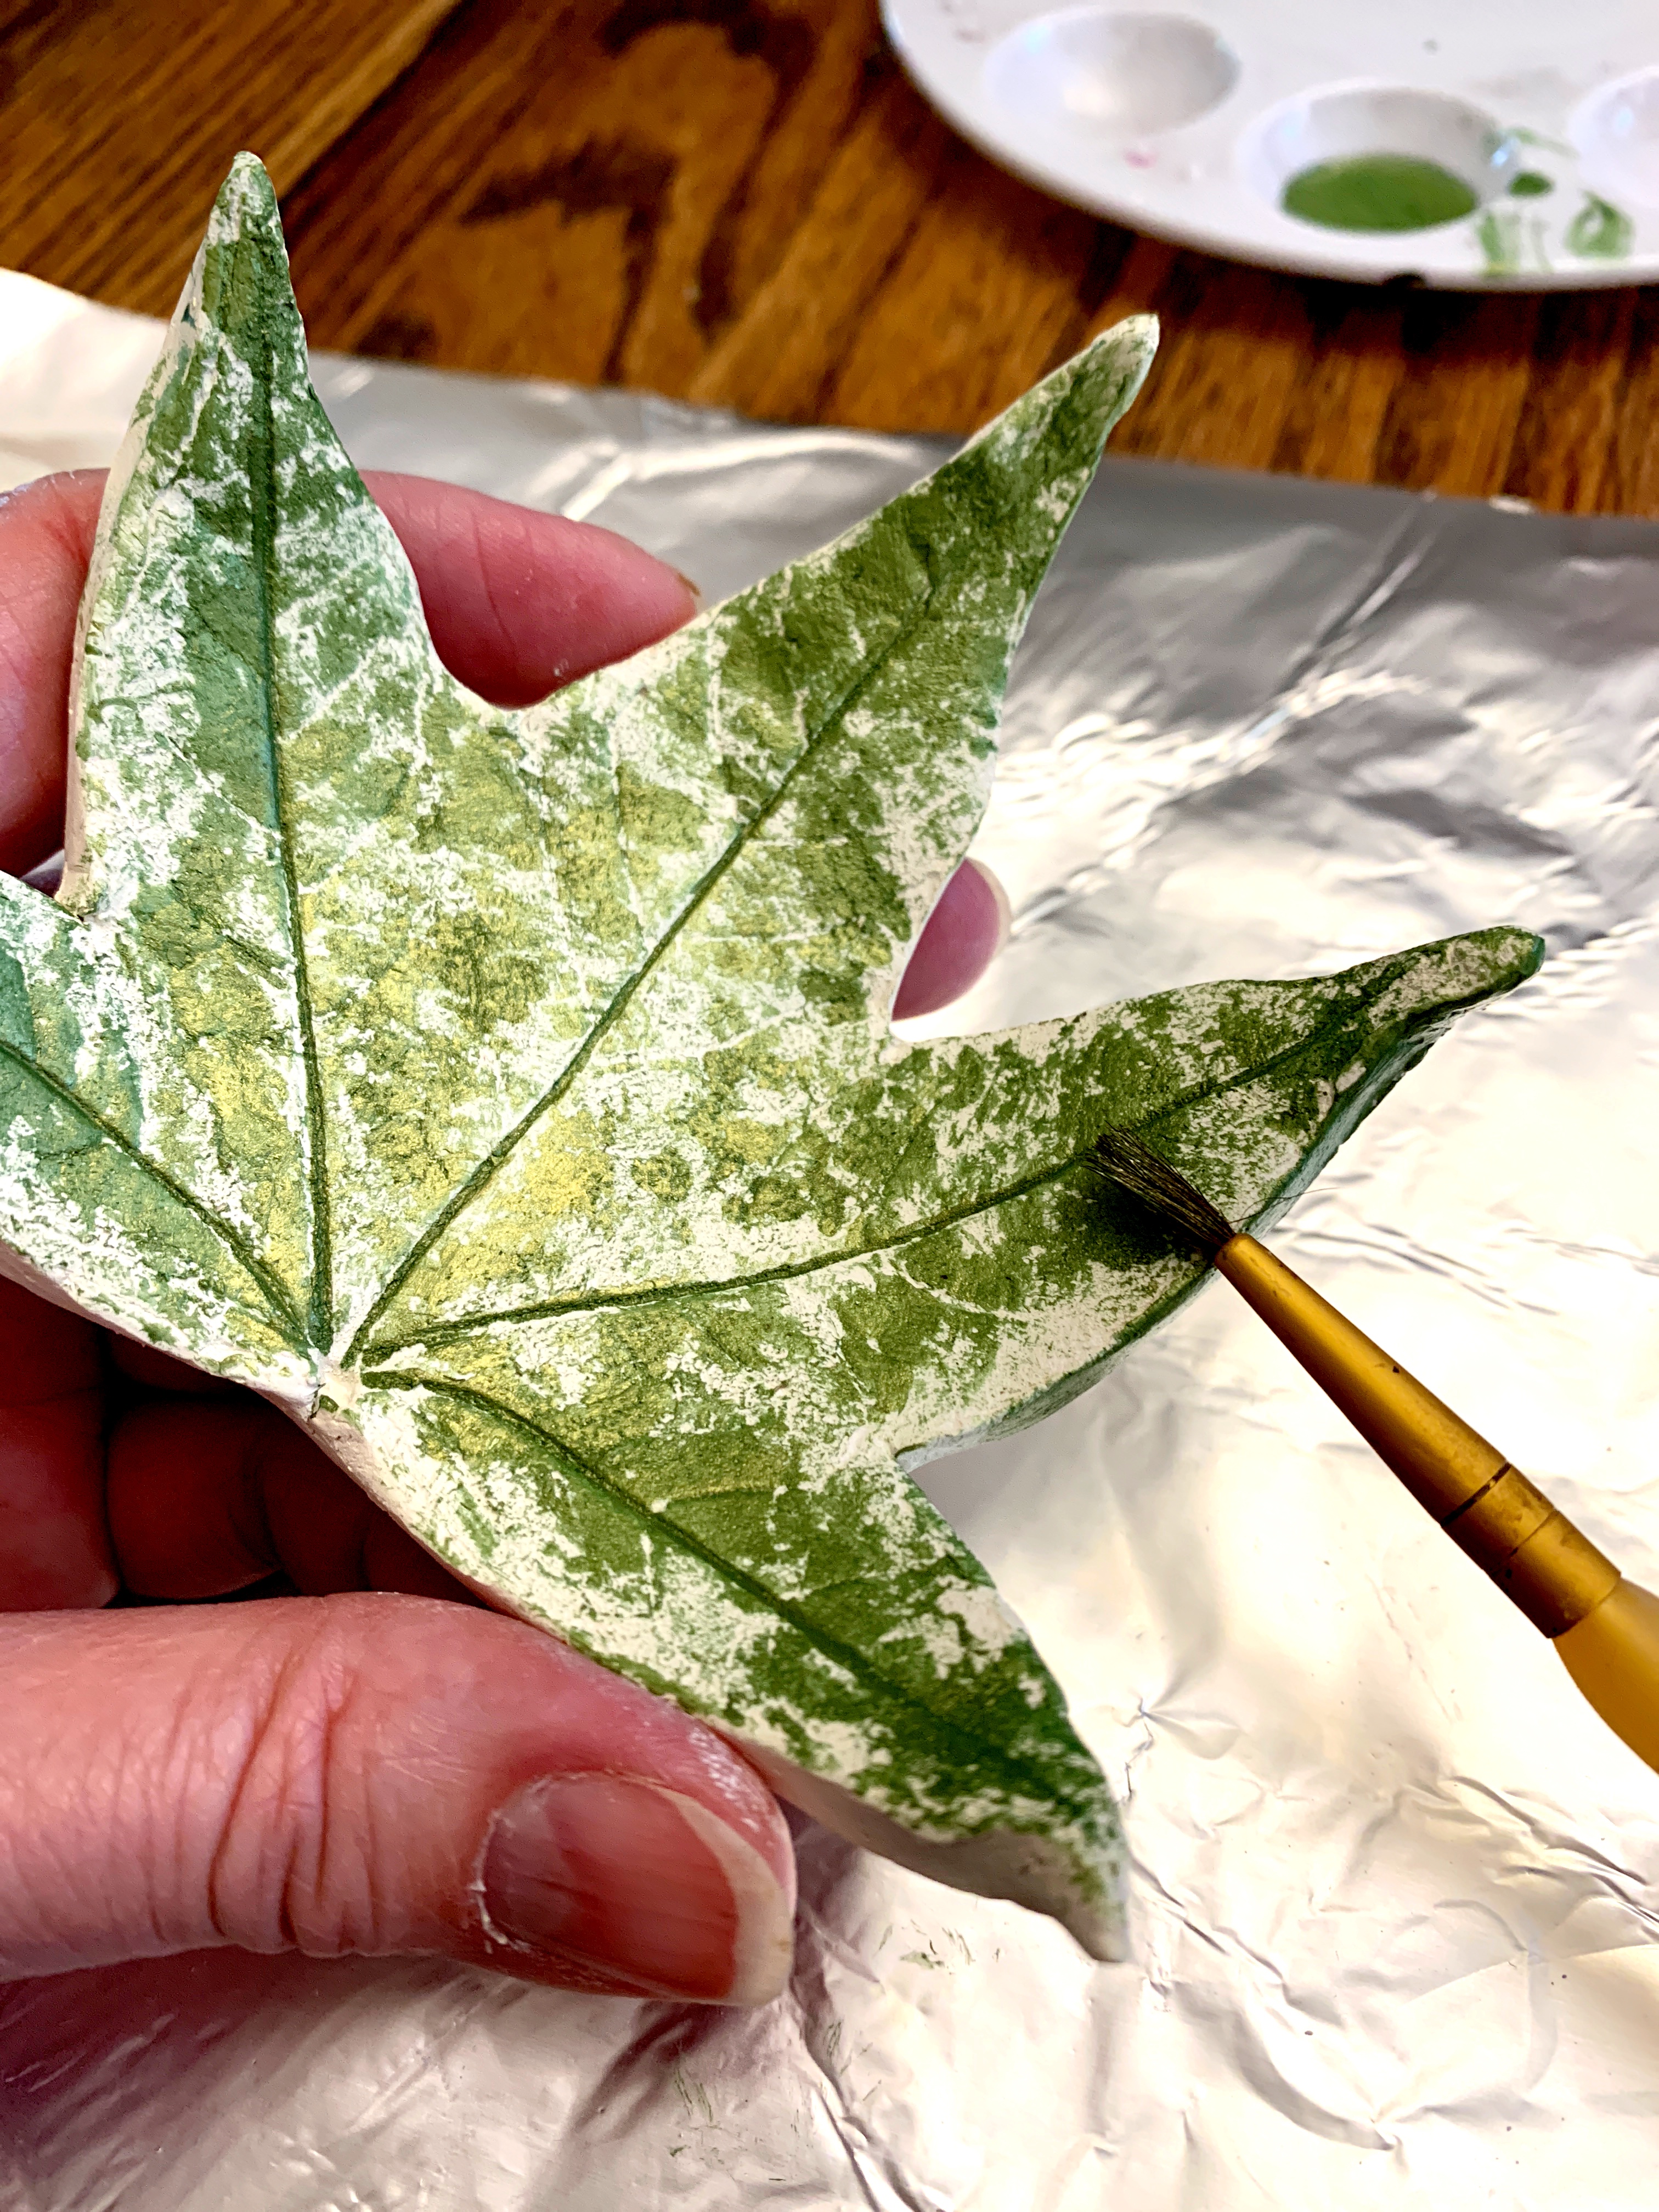
Step 5: Once your clay leaf bowl has air dried, it’s time to paint. Acrylic paint works well for this project, not only in regards to the clay, but also when it comes to clean-up. With air dry clay, you’ll probably want to use two coats of paint, but that’s not necessary on the bottom of your bowl. Try multiple coats in different colors and highlight the veins with darker colors. Sponges work well too.
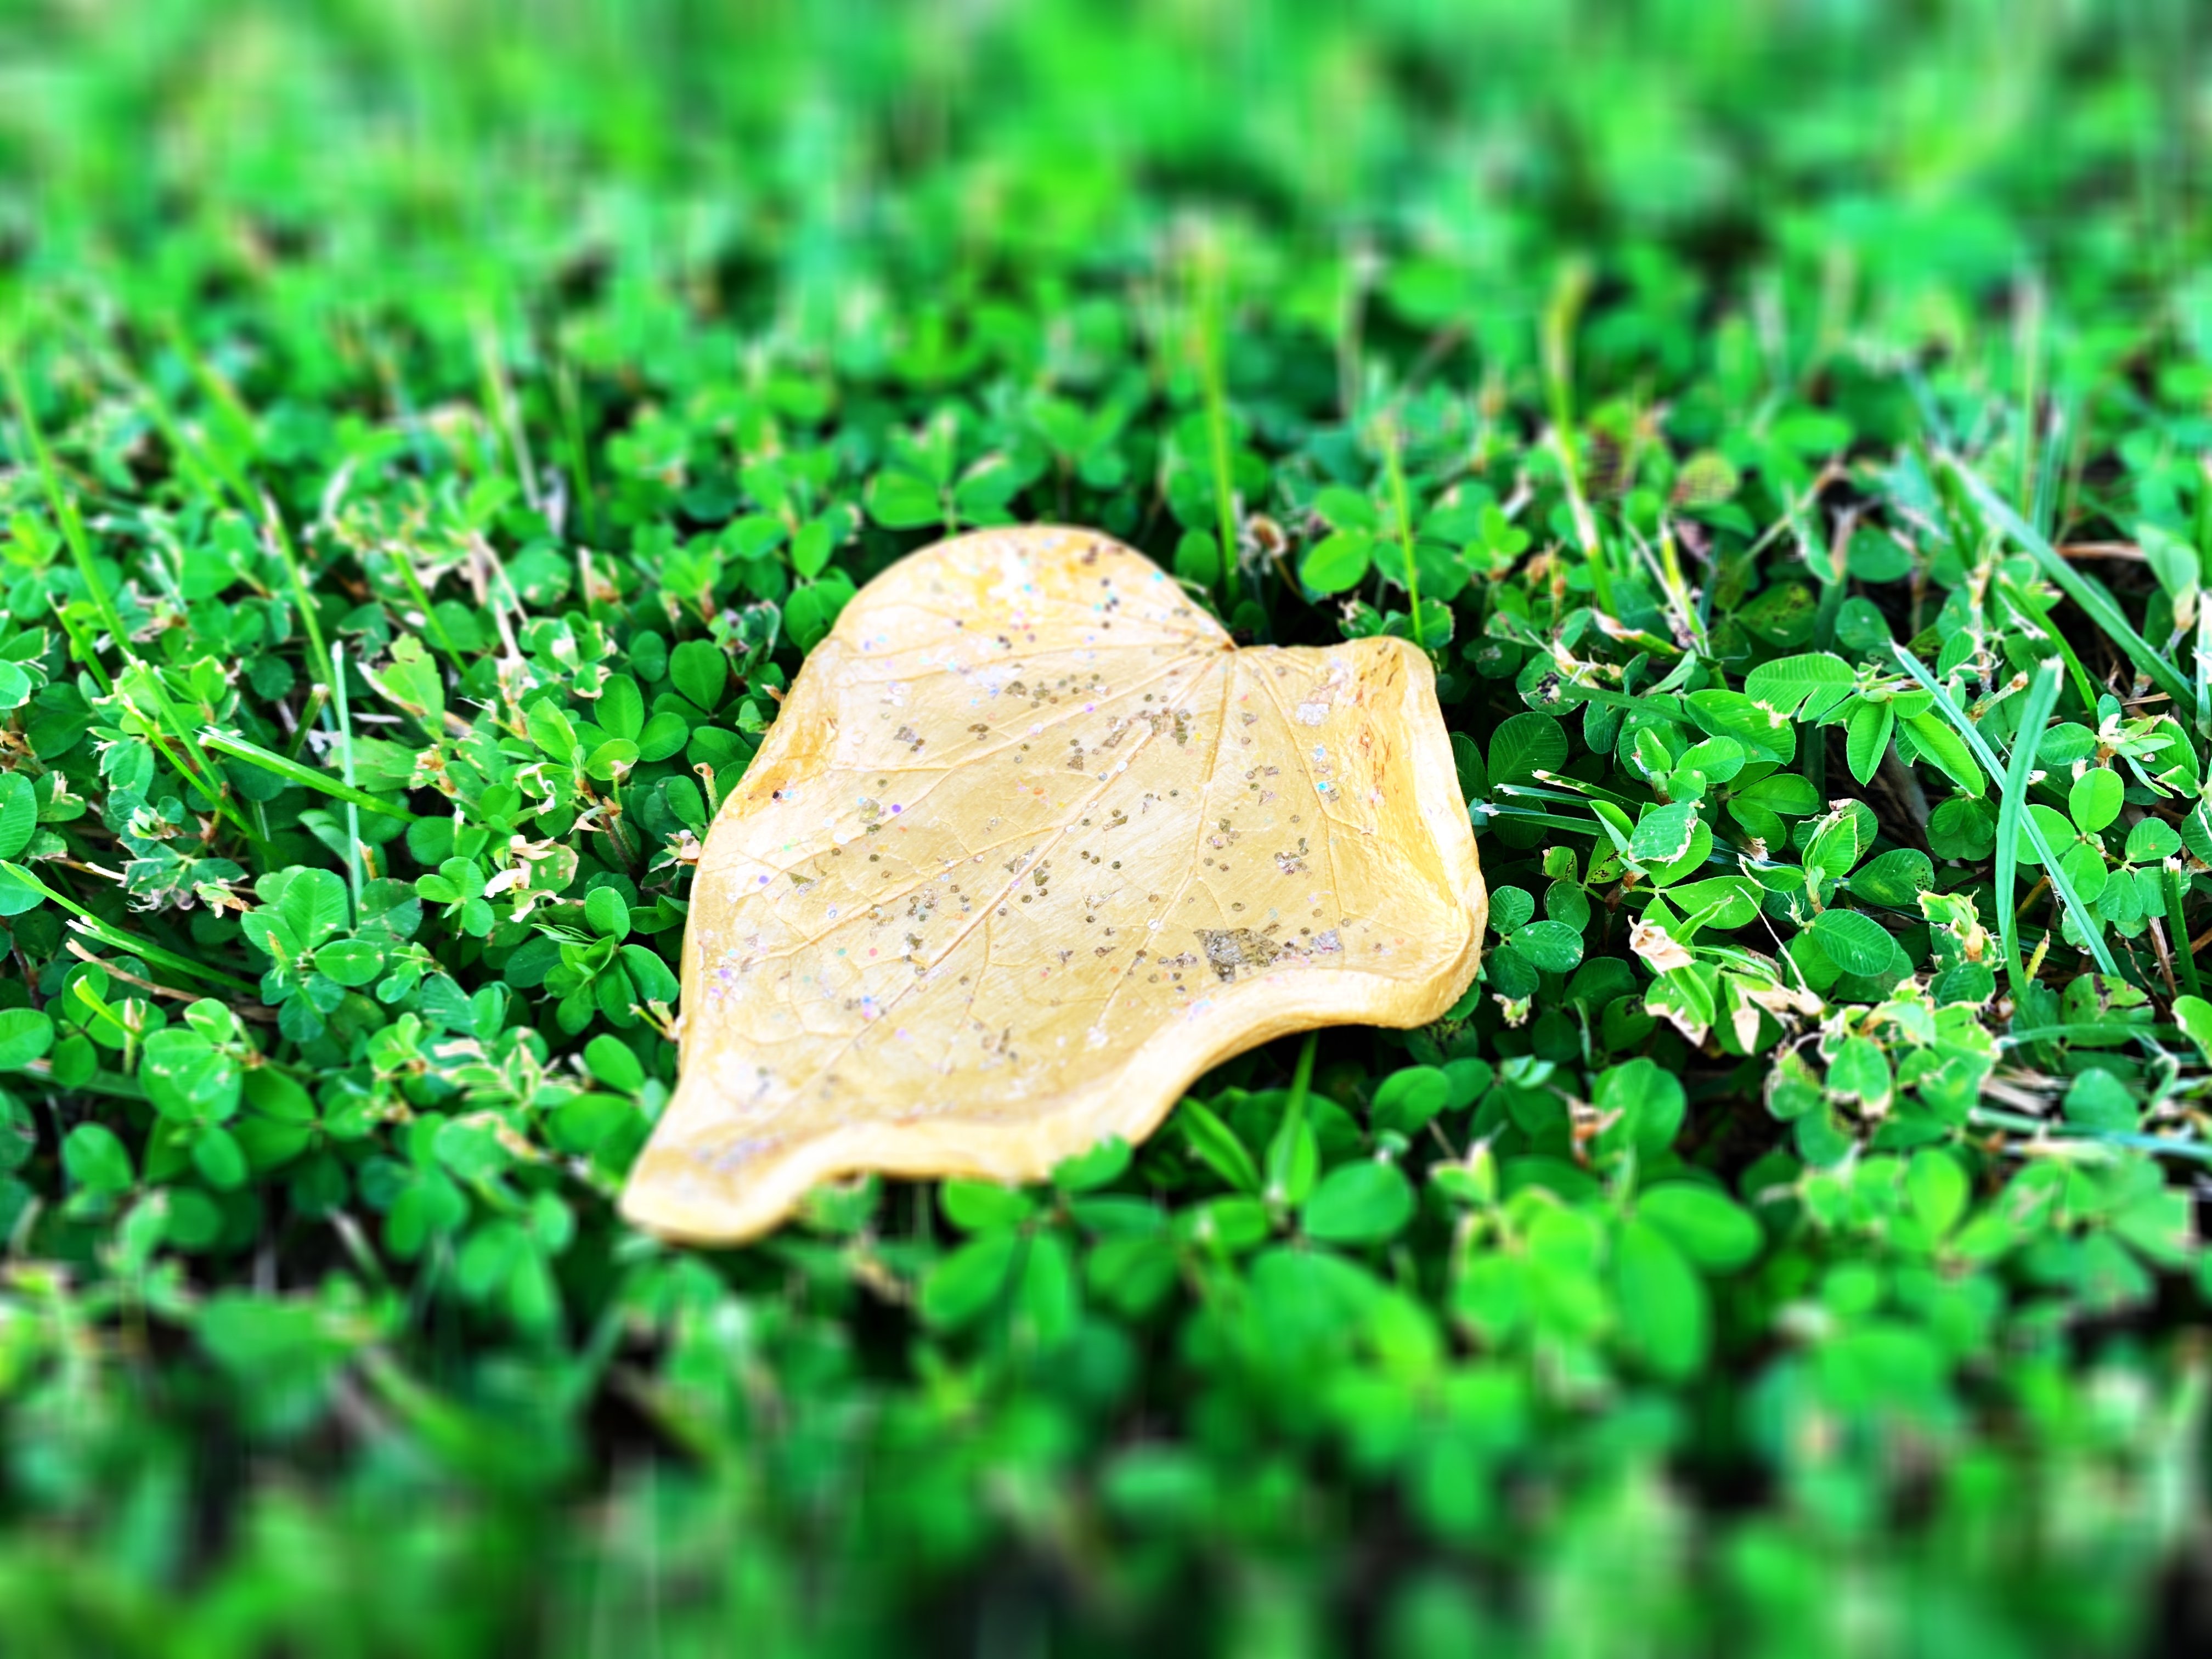
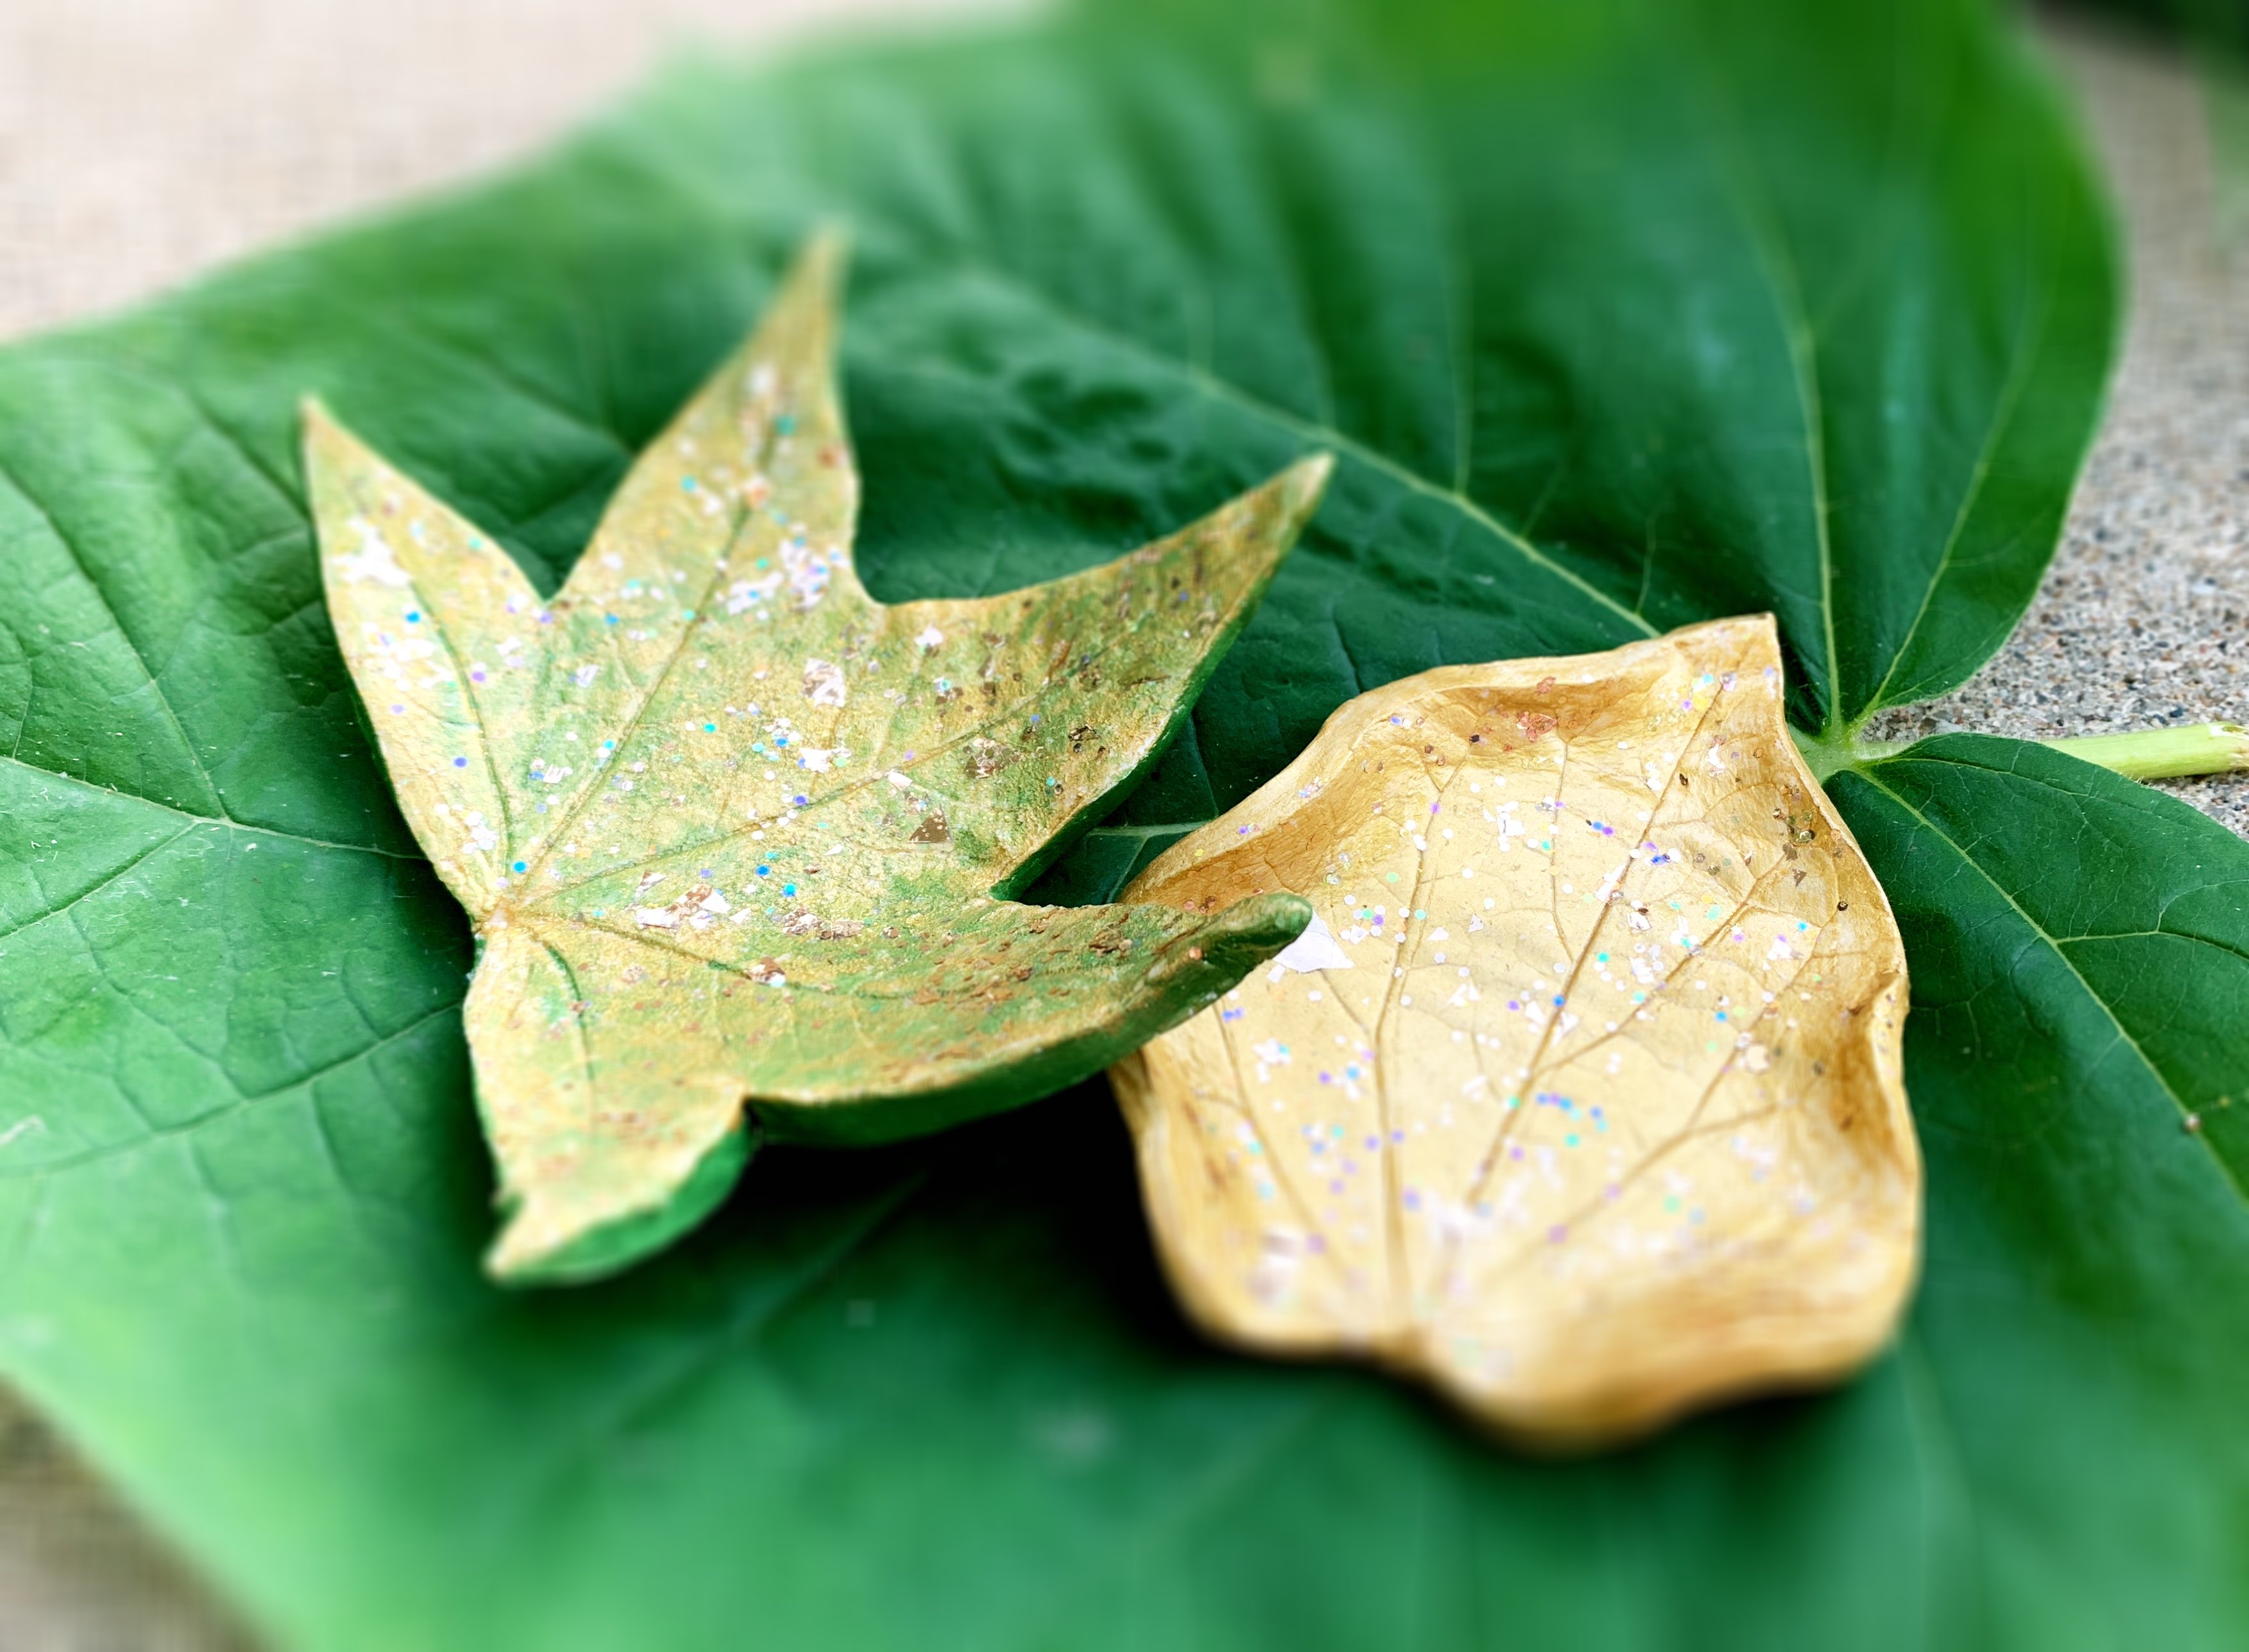
Step 6: After the paint dries, use Mod Podge or another sealant that’s safe for clay to add a little shine to your bowl. You might also try making a flat leaf dish. To achieve this effect, simply fold up the sides of your leaf and place tissue under the folds as the clay dries so it will hold the shape. This gold leaf dish will make a gorgeous holiday decoration!
Why Are Leaves So Important?
When you were choosing the leaves for this craft project, I imagine you took a closer look than you normally would, right? You wanted a leaf with strong vein lines and a good shape for your bowl or dish. While studying leaves is not a common pastime, it can reveal some interesting facts about life on our planet.
Leaf Functions
Leaves come in many different shapes, sizes, and colors. Some leaves are paper thin, while others are thick and chunky. Some leaves are green during the growing season, and others are more showy in deep reds and bright yellows.
Regardless of how they look, all leaves have the same primary functions:
Use photosynthesis to make food
Conduct respiration for the rest of the plant
Store food, chemical energy, and/or water
Assist in reproduction and pollination
These functions all help the plant survive and reproduce, and ultimately they direct our survival as well. If it weren’t for leaves, plants wouldn’t be able to photosynthesize. Without photosynthesis on Earth, there would be no animal life (that includes humans).
Image Credit: www.enchantedlearning.com
Leaf Structure
It’s hard to imagine what the inside of a leaf looks like, but this diagram gives you a pretty good idea.
The part of the leaf that we can see is the outer layer, or epidermis. This layer secretes a waxy coating called the cuticle that helps the plant stay hydrated. The pores that allow air in and push oxygen out are the stomata. They are also found on the epidermis, but you can’t see them (they’re too tiny). Each stoma is controlled by guard cells that open and close depending on the time of day and the plant’s needs. The middle layers of the leaf can be broken down into the palisade mesophyll and spongy mesophyll. The palisade mesophyll layer contains the plant’s chloroplast cells. These cells contain chlorophyll, which absorbs energy from sunlight. The spongy mesophyll layer cushions the leaf’s vascular tissue, including the xylem and phloem. These are the veins that move food and water throughout the leaf and the rest of the plant.
Photosynthesis for Kids
So, now that we have an idea what a leaf looks like on the inside, how does photosynthesis work? Well, we know that photosynthesis is the plant’s way of producing its own food (which you and I cannot do, by the way) so it can grow and reproduce. This process occurs inside the chloroplast cells in the plant’s leaves. The chlorophyll inside these cells is what makes a plant green.
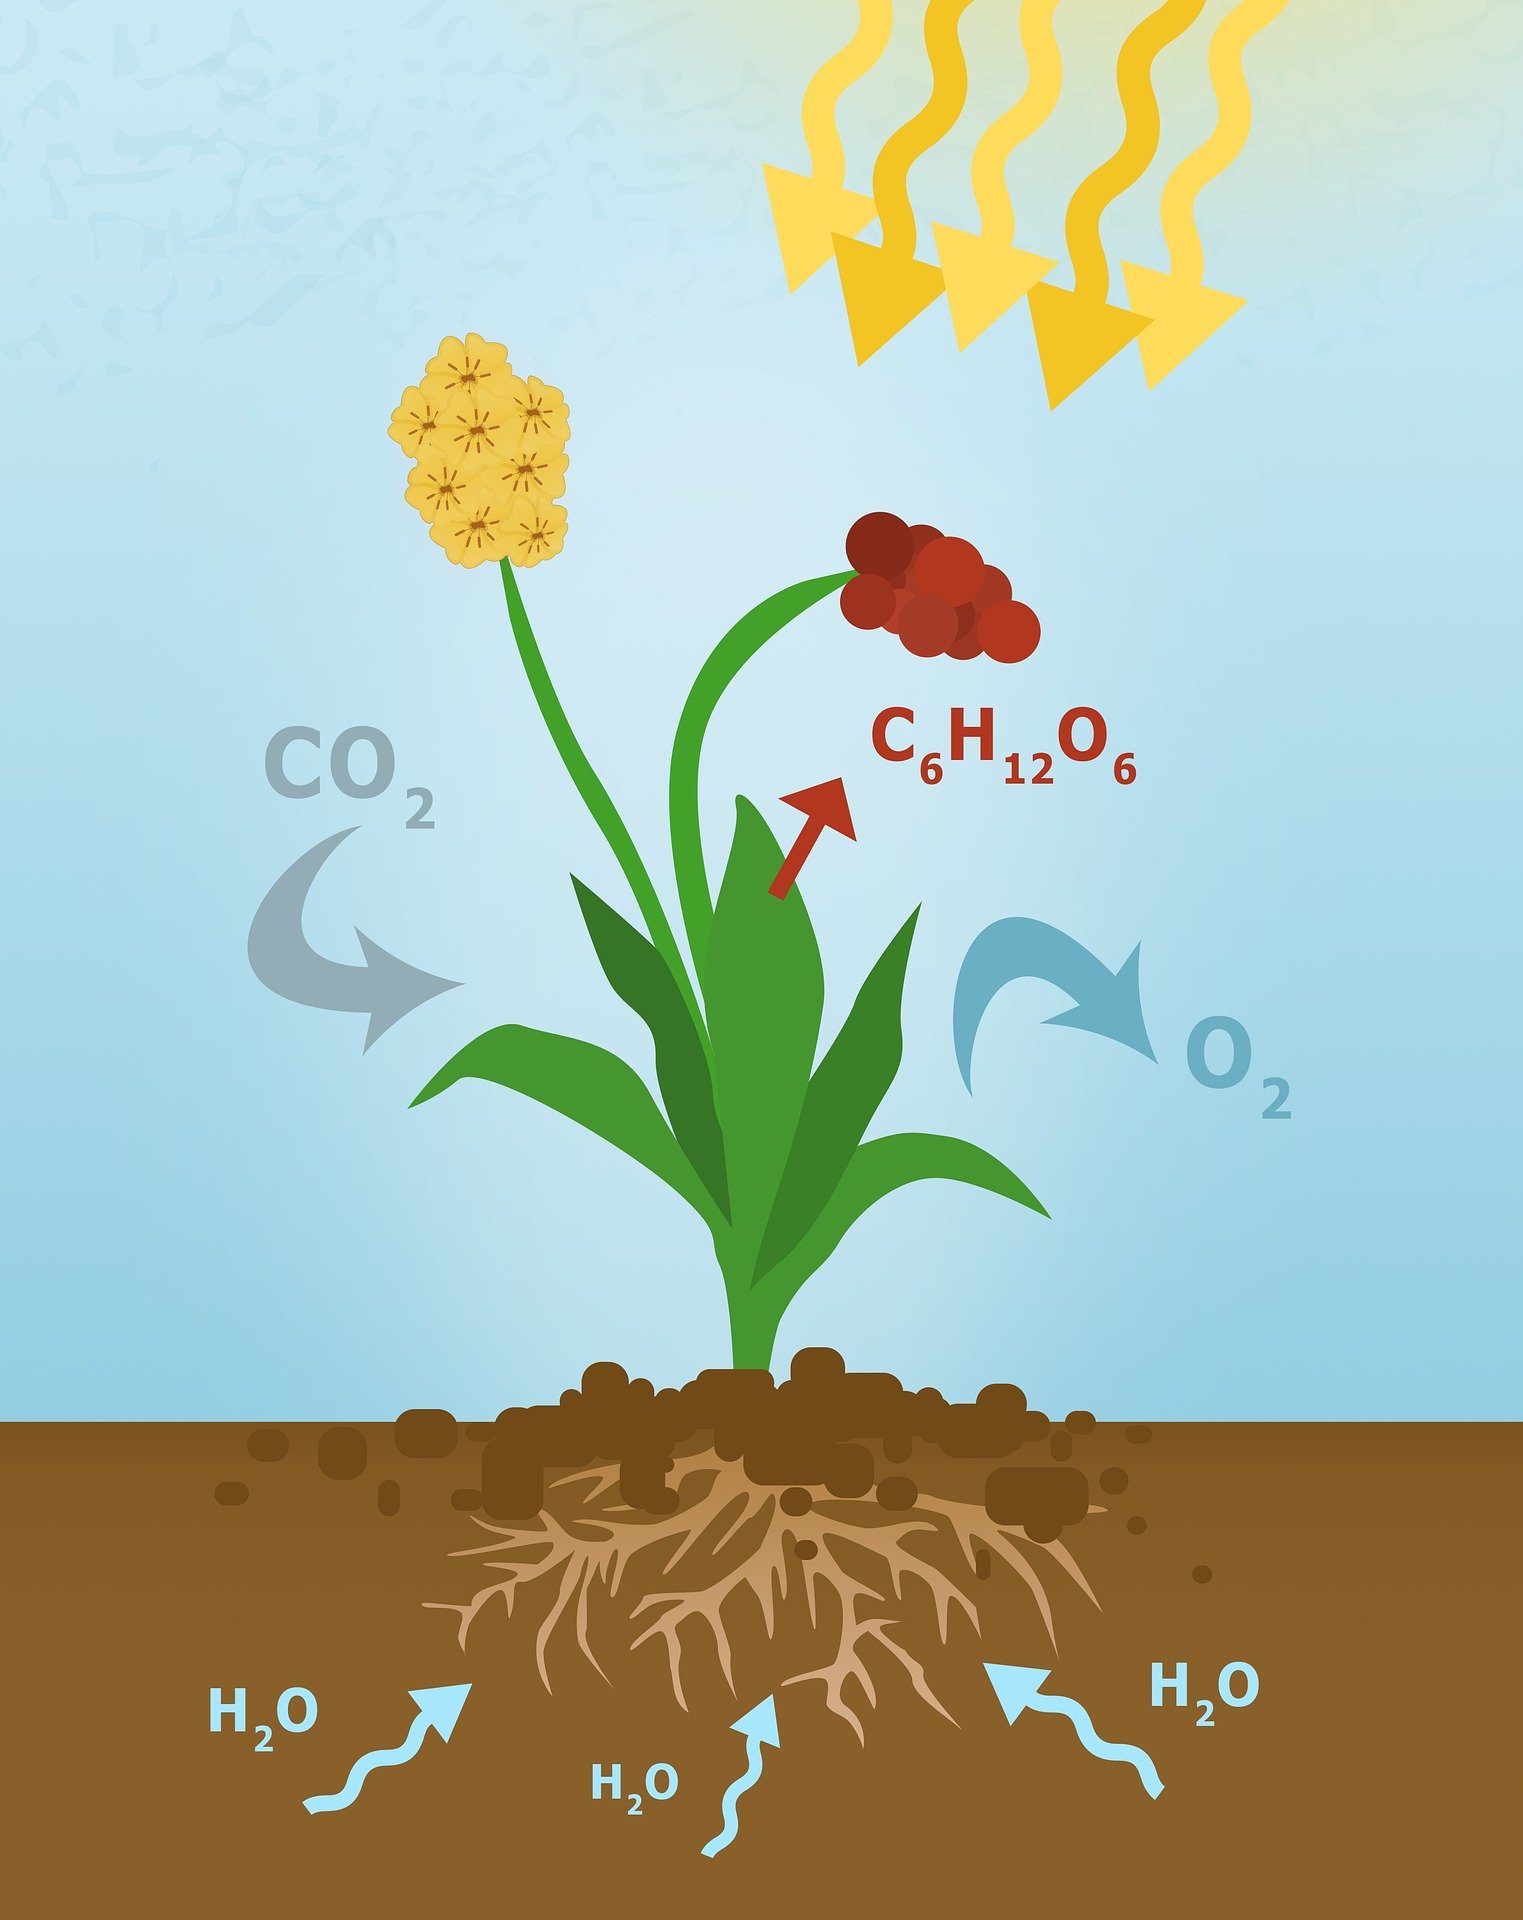
The steps of photosynthesis look like this when we write them down on paper:
6 molecules of CO2 + 6 molecules of H2O + sunlight = oxygen + glucose
The reactants of photosynthesis include carbon dioxide, water, and sunlight. The products of this process are oxygen and glucose. Let’s break down each of the components of the photosynthesis equation above…
Leaves take in air containing carbon dioxide (CO2) through pores on their undersides (stomata). Water is absorbed by the plant’s roots and travels up the stem (or trunk) to the leaves through the xylem, which are the raised veins you see on the bottom of a leaf. Sunlight fuels the breakdown and recombination of the water and carbon dioxide molecules to form sugar. Oxygen is a byproduct of this chemical process.
Side note: I originally listed glucose as the first product of the photosynthesis process above. When my nerdy biochemist husband saw my article, he informed me in not-so-plain English that oxygen was, in fact, the first product produced during the various chemical reactions that take place inside a photosynthesizing leaf. So, I changed it. He’s happy now.
The video below expands on the photosynthesis process, providing a step by step look at what goes on inside a leaf:
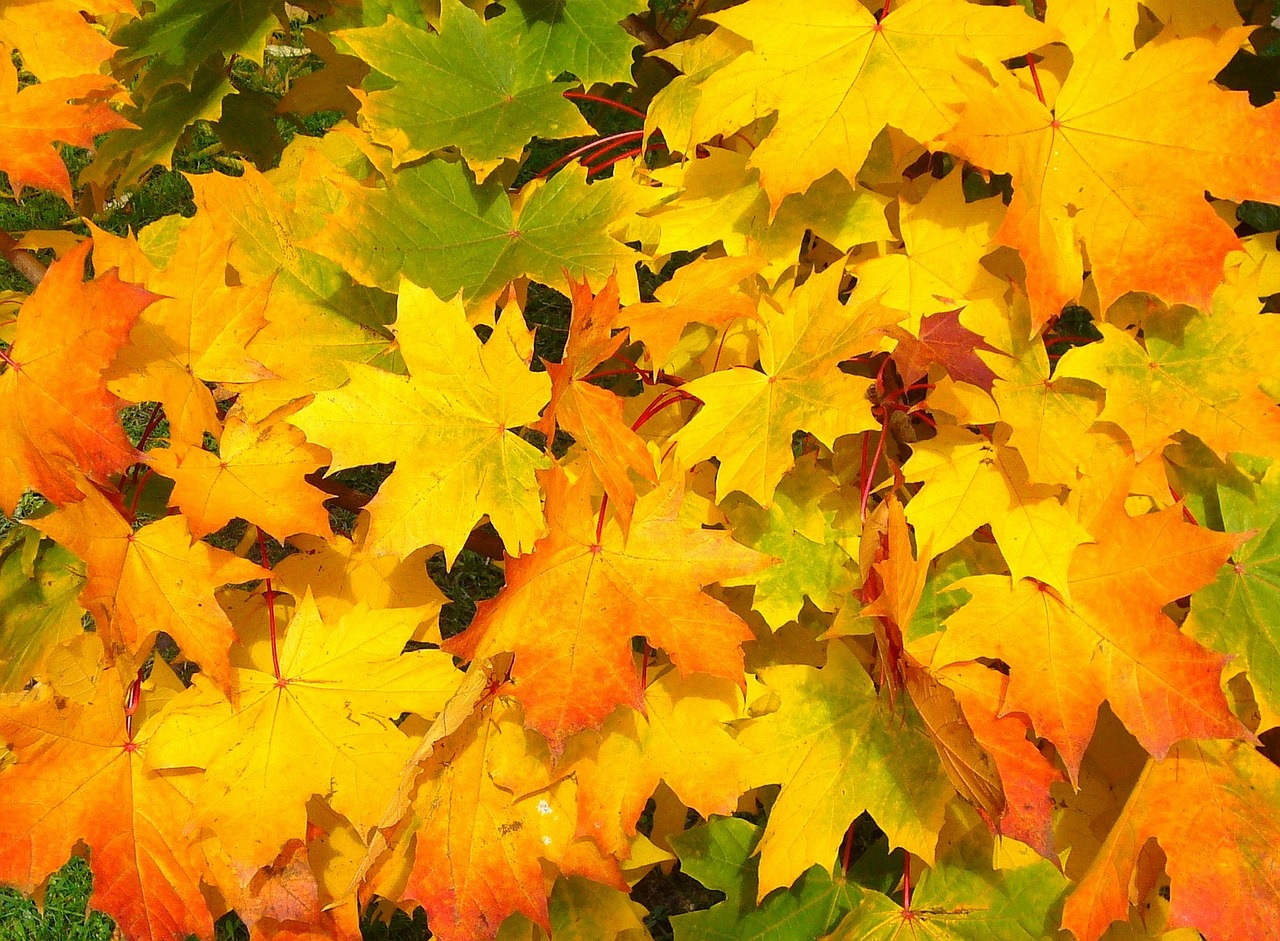
Why Leaves Change Color
Every fall season when the days get shorter and the temperature drops, trees shut down their glucose factories (leaves) and take a break for the winter. They’ve spent the summer making and storing food (which they’ll use to survive the winter), and now it’s time to rest. Trees go on vacation during this time because there isn’t enough light or water for photosynthesis to continue. Since we know that chlorophyll is what gives leaves their green color, what happens in the fall that makes the leaves turn yellow, red, orange, or brown? Well, the chlorophyll breaks down and disappears when the plant is no longer photosynthesizing. As a result, the leaf’s green color fades away and the underlying colors appear. Many of the bright autumn colors we enjoy are simply hiding beneath the green waiting for fall to roll around so they can reveal themselves.
The color changing process differs depending on the species of plant and where it lives. Reds and purples (anthocyanins) are produced specifically for the fall season, but only by certain plants and trees. Yellow and orange pigments (carotenoids) are hiding below the surface of summer leaves and appear once the plant's chlorophyll dries up. Other color combinations occur when chlorophyll residue mixes with various pigments left behind in the leaf. Oak leaves turn brown because of this “pigment waste.”
What are your favorite fall leaf colors? Use this coloring page (link below) to create your own fall leaves. Print them on cardstock and color away! Cut them out and glue on magnets for your refrigerator, or laminate them and make your own wind chimes (add some bells for sound).
Activity: Identifying Trees By Their Leaves
Many people shy away from identifying trees and other plants because they think it’s too hard. That’s not necessarily true. Yes, there are lots of plants out there, and it can be difficult to figure out which is which. However, there are also plenty of resources available to make that task a bit easier. For example, Oplin and the Ohio Historical Society created a website that uses an identification key to help you learn what trees are living in your neighborhood. The website is simple and fun to use. Give it a try…can you name three trees along your street? Below are a few more links to tree identification websites across the United States. Once you’ve identified a tree, you can learn more about it through the Arbor Day Foundation.
Arbor Day Foundation: What Tree Is That? Online
University of Wisconsin-Stevens Point: LEAF
Iowa State University: Interactive Tree Identification Key
Other Crafty Ideas for Clay Leaves
Air dry clay is pretty lightweight, so it can be used for other projects besides a leaf bowl or leaf dish. Below are several ideas I found on Pinterest to provide inspiration. Click on the image to visit the source website.
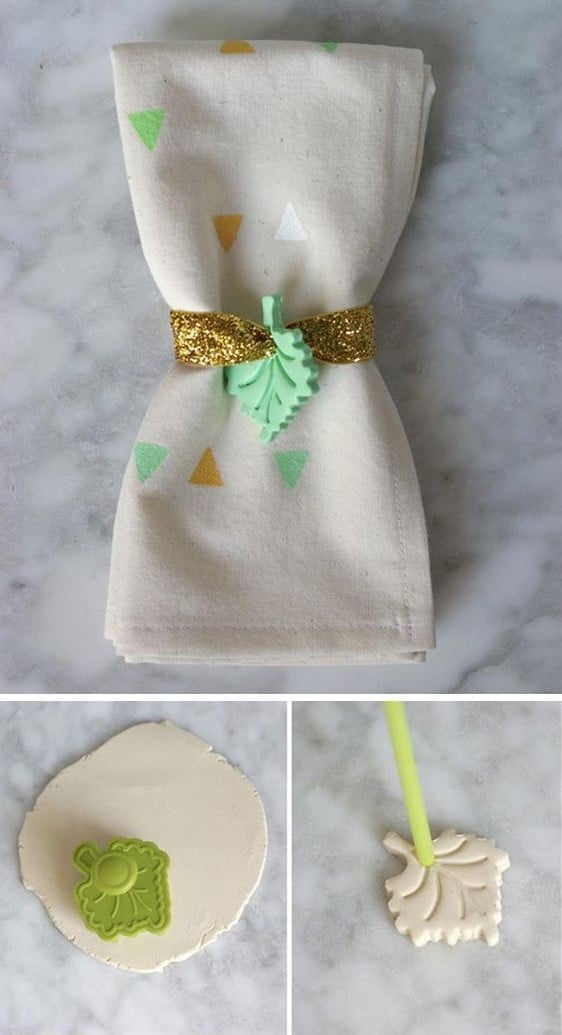
Leaf Napkin Rings
Use a paper towel roll to form clay napkin rings and then add a small clay leaf to each ring.
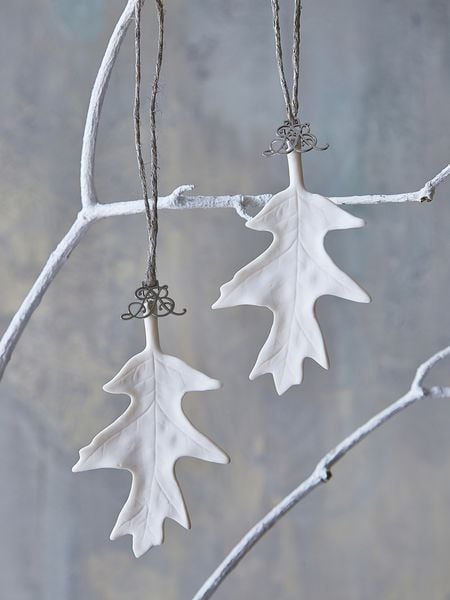
Holiday Ornaments
Punch small holes in your clay leaves to make them into holiday ornaments.
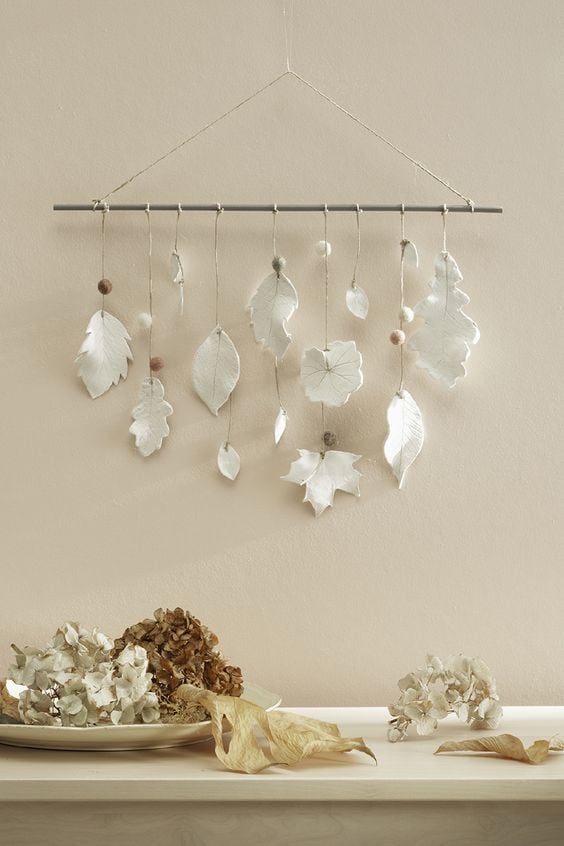
Decorative Hanging Leaves
Try making a leaf wind chime too, but don’t expect the clay leaves to make much sound.
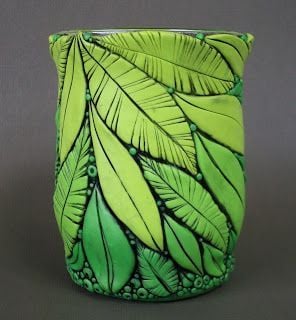
Leaf-Covered Vase
Long leaves work best for this clay-covered vase.
Tree Wall Hanging
Use a sycamore or other large leaf to create a similar wall hanging.
To finish up, I have to say I’ve wanted to make one of these clay bowls for a long time. Not only did I enjoy the craft itself, but I also paid more attention to the leaves themselves during the process. I bet you did the same, right? I hope you enjoyed crafting your own clay leaf bowl (or other project – send me pictures!) and learning a bit about photosynthesis and plant biology along the way. What a nice and simple way to bring a hint of nature inside!
Related Articles
If you enjoyed this article, you may wish to read these as well!
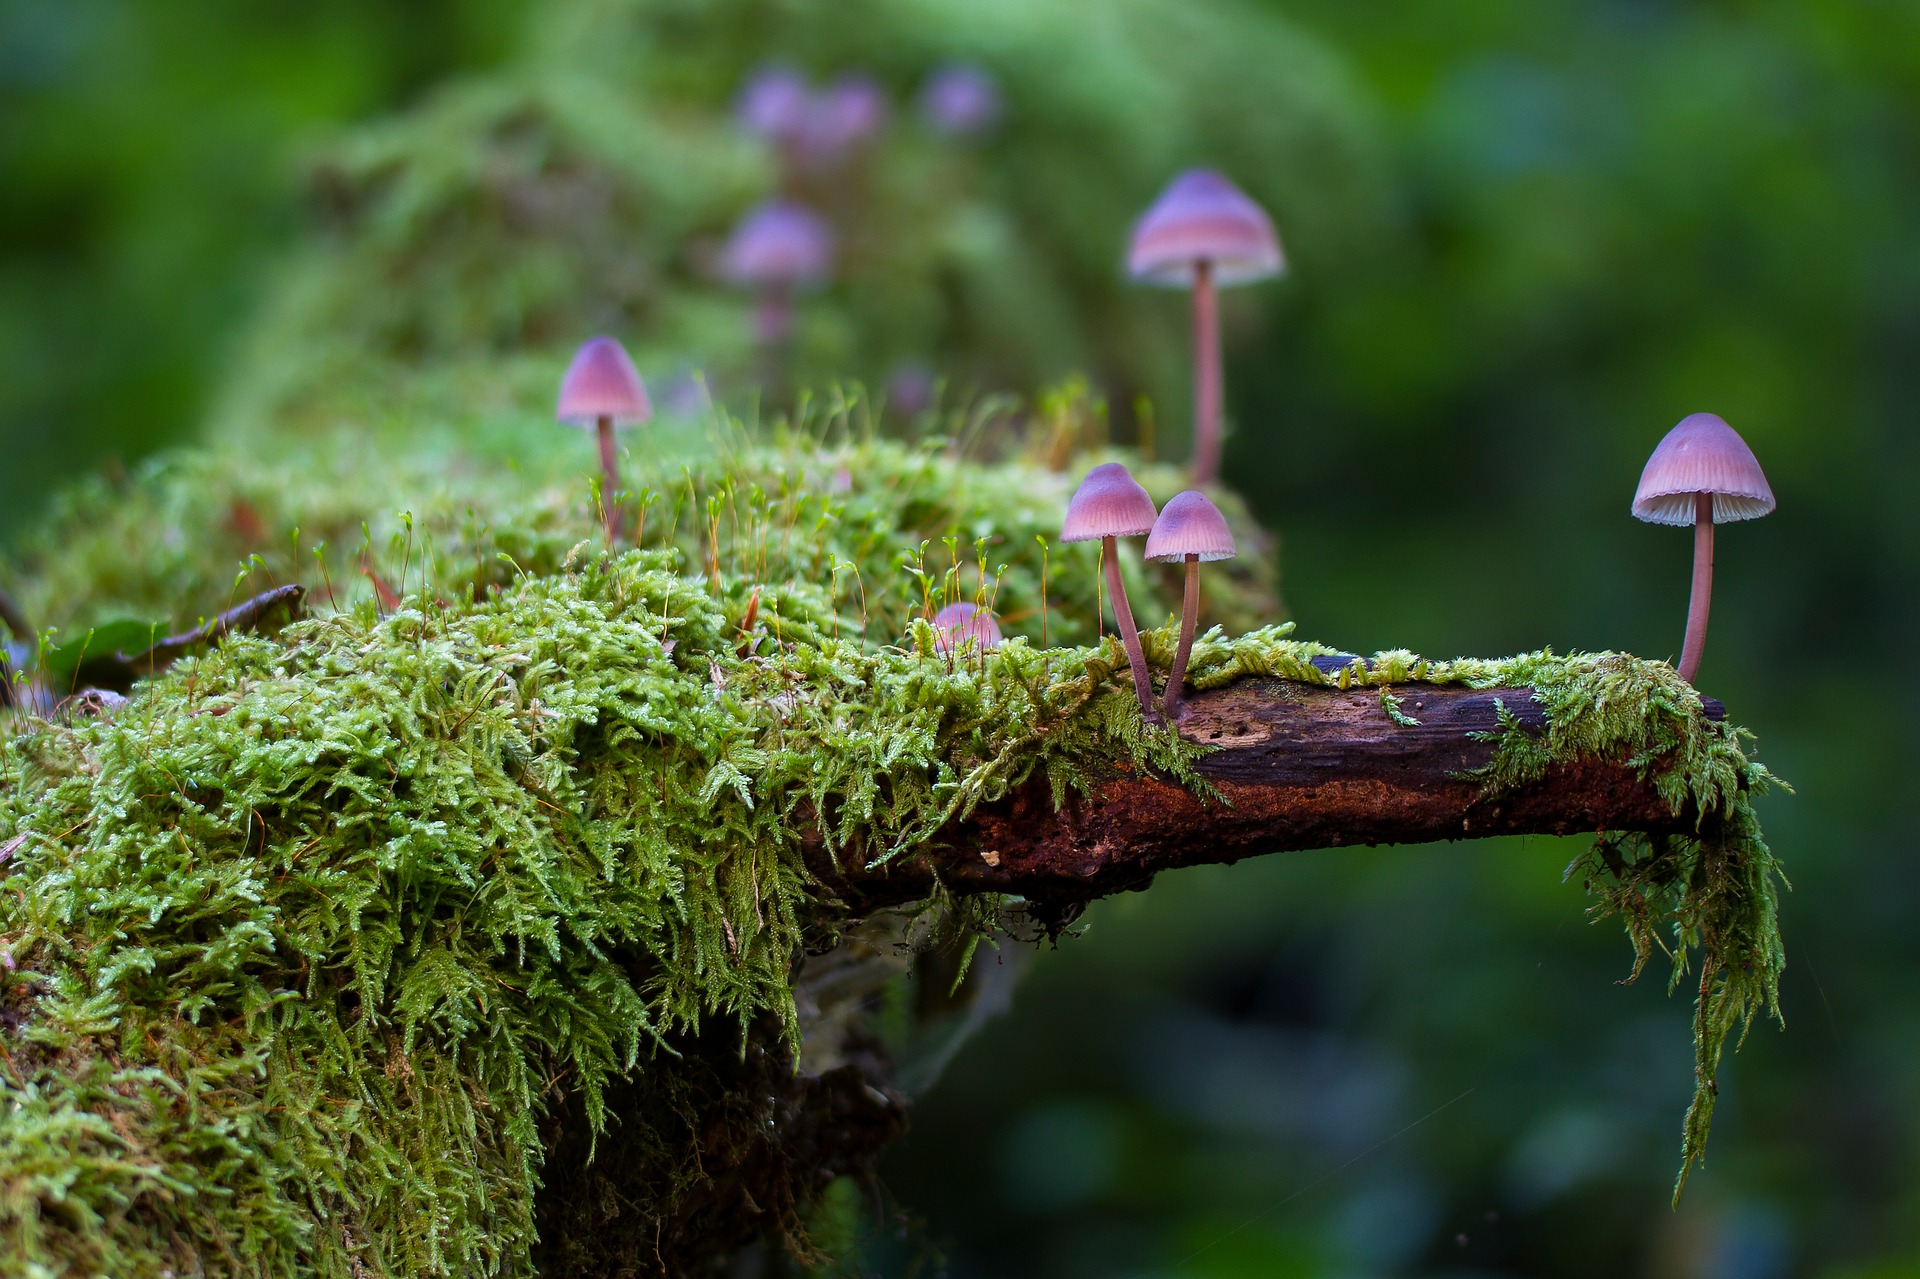
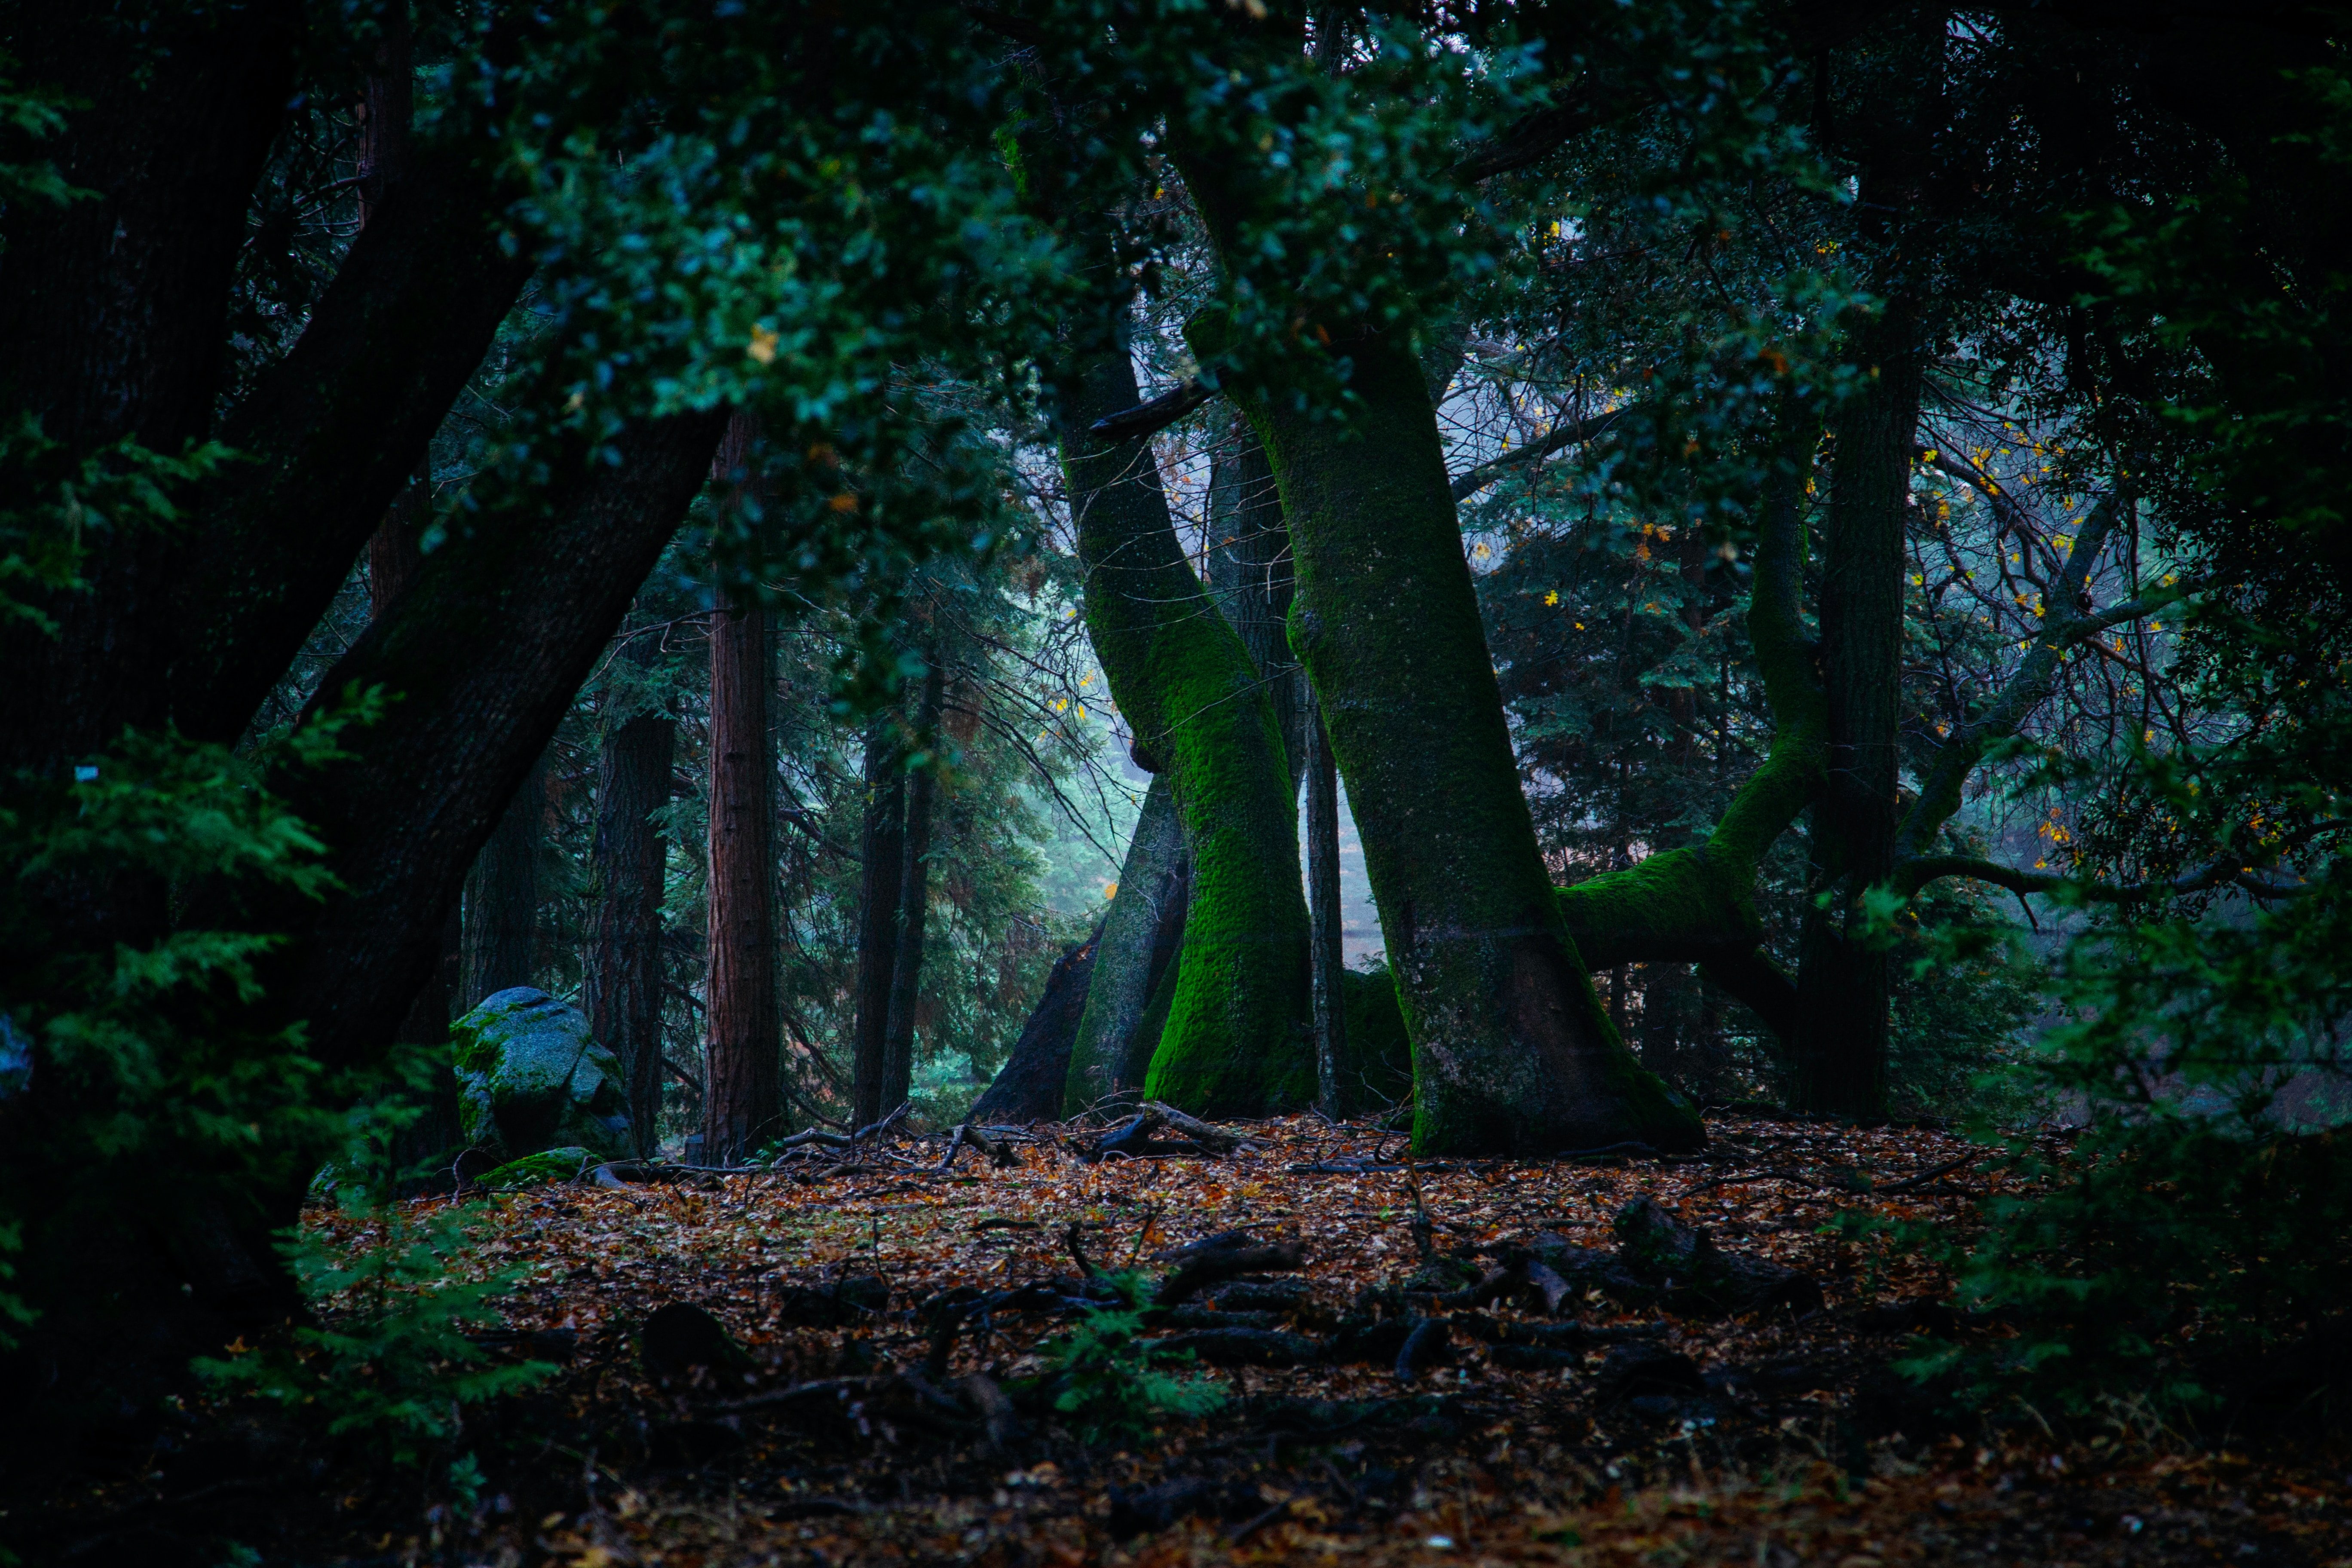
The Forest Floor
You’ve probably already learned about the forest layers in science class, but I bet you didn’t pay much attention to the floor of the forest during your studies. All the cool plants and animals are up in the canopy, right? Not necessarily...
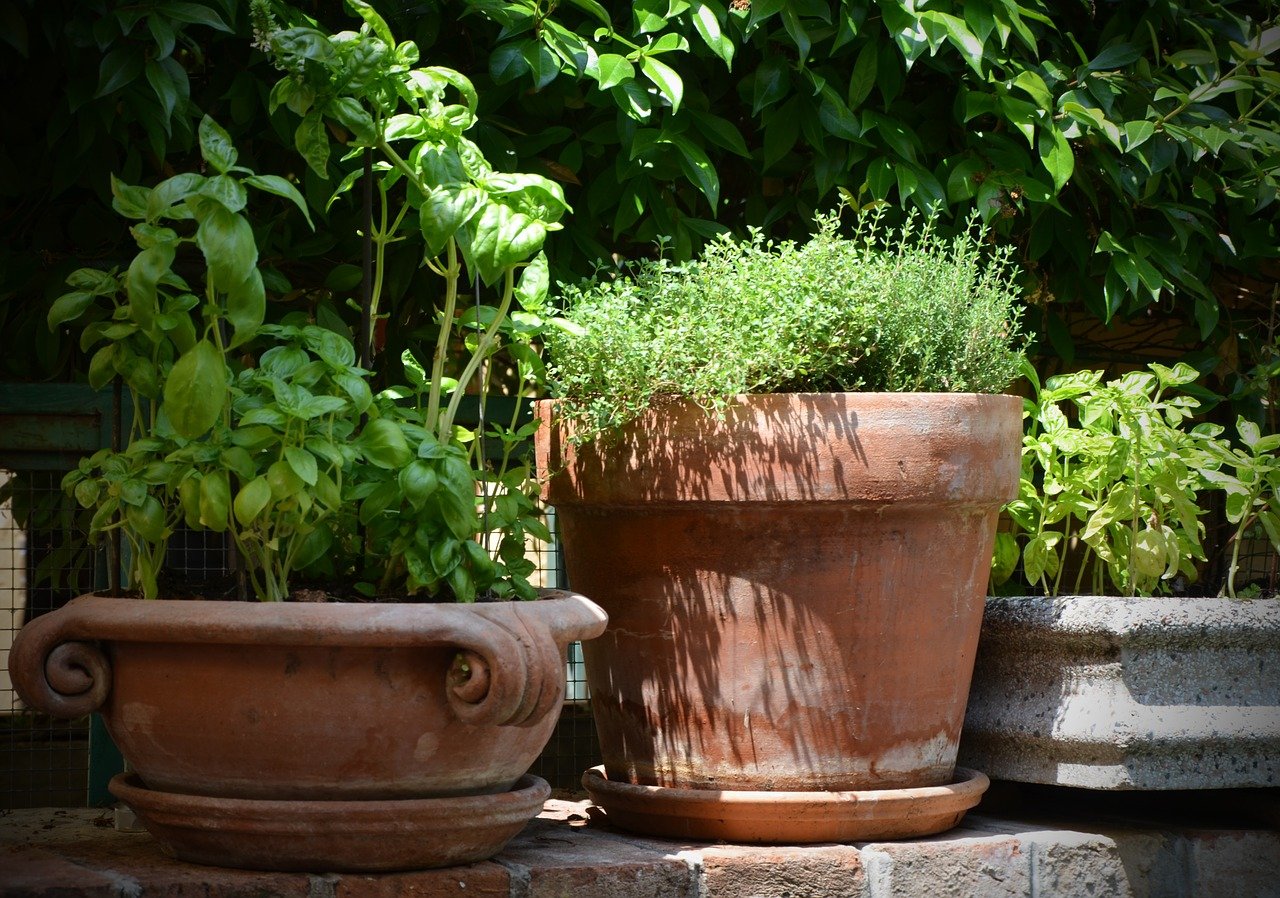
DIY Garden Label Stakes
So, as much as I would love to brag that I’m a natural green thumb, that would be a little white lie. To put it simply, I have a tendency to kill green things. Don’t get me wrong, I love planting flowers, herbs, and vegetables. They just don’t love staying alive every time I do. Honestly, I think I enjoy crafting DIY garden label stakes and other outdoor decorations more than tending the actual garden...
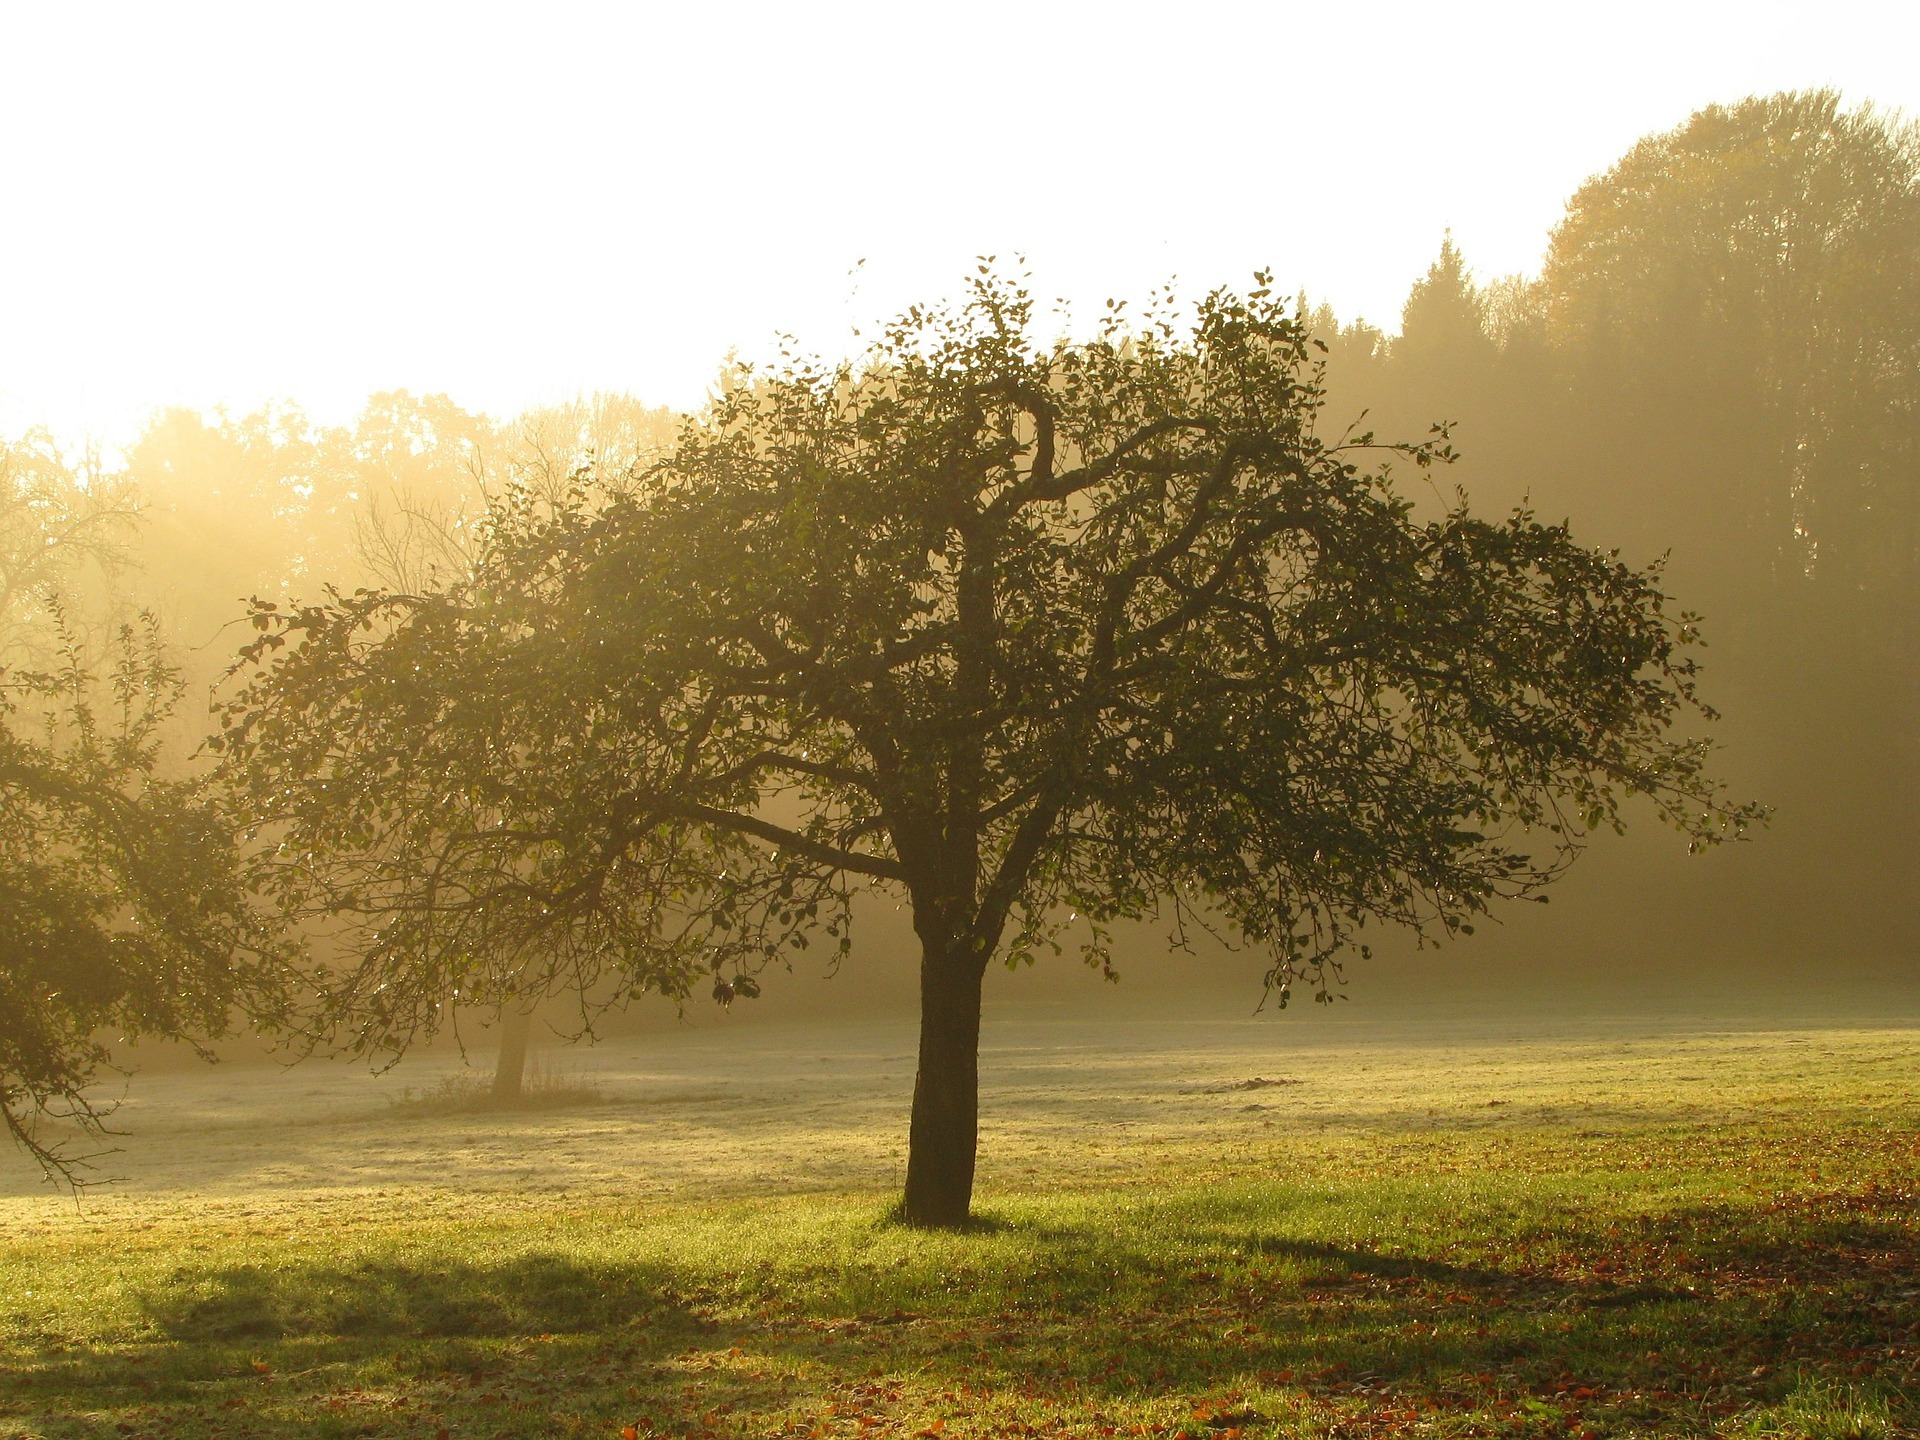
Reasons to Plant a Tree
As I was typing the title for this article, I realized that most naturalists and conservationists don’t really need a handful of reasons to plant a tree. You already know that trees affect positive environmental change wherever they take hold of the Earth. If you’re one of the lucky ones, your home or neighborhood is already surrounded by trees...
© 2021 Tree Huggin' Mom - Created 100% Using GrooveFunnels
Ask me how GrooveFunnels can help you build your dream website!
Follow Me on Social Media!